
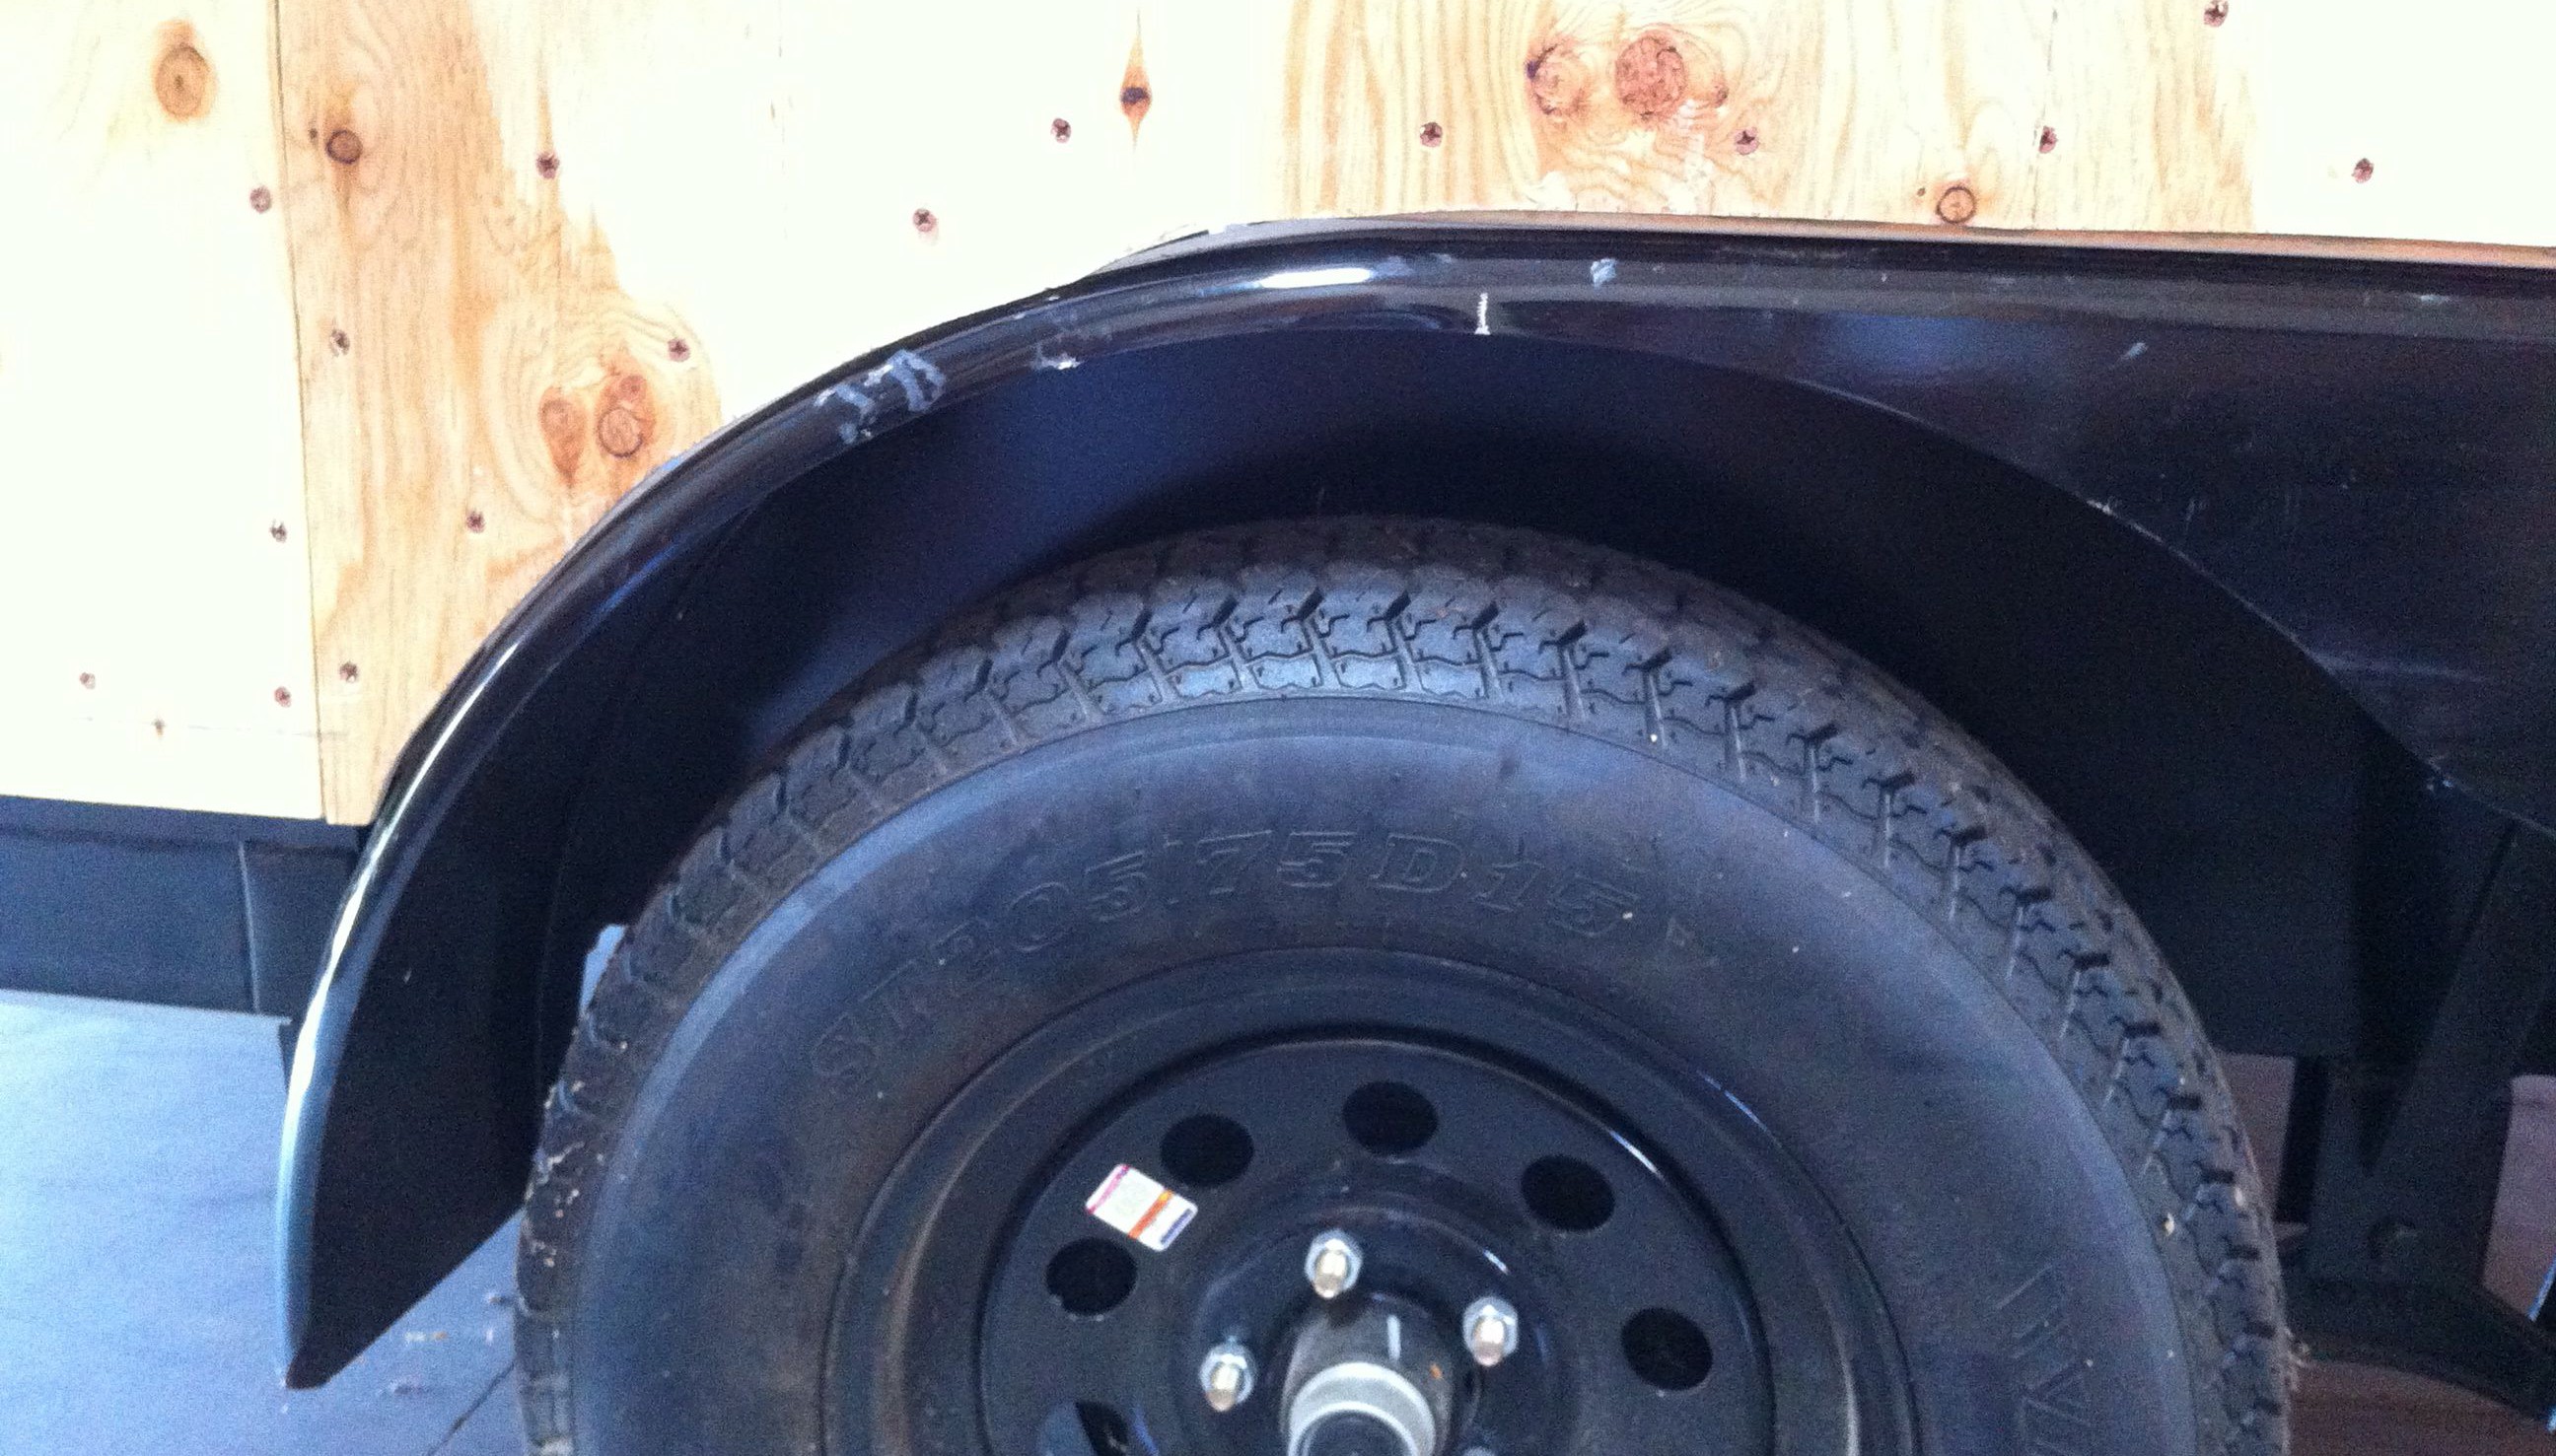
One of the many transitions I dealt with this summer: the space between the sheathing and the wheel well.
This summer has been intense. Many significant life changes and lots of activity on the tiny house front as I tried to hit some self-imposed deadlines. Way too much stress, and the blog has suffered as a result. But now I’m catching my breath again and realizing a major update is in order. As I pulled photos to include, I realized that the update was going to be excessive even by my epic post standards, so I’m breaking it down into three separate entries. This one covers the month of June. July and August to follow shortly.
For those of you not familiar with my story, the quick background is that I started building a tiny house in Oregon while still living in California. I’ve spent the last year traveling back and forth doing discrete building stints. I originally thought I would move my house down to the Bay Area while I continued at my job as a grant and project manager for the Coastal Conservancy, a state agency where I’ve been for the last 25 years. However, as I got deeper into the process of building, it jumpstarted a whole re-evaluation of where I was in my life and where I wanted to be. I was about to turn 50, I wanted out of the city and the constraints of my desk job, and I really wanted to get back to my native Oregon, closer to nature and family. While normally I wouldn’t be able to live off the tiny pension I would get with early retirement, the low expenses of the tiny house should make it possible for me to piece together an alternative lifestyle I hadn’t thought possible. I’ll still need to work some (I’m retiring from state service, not retiring altogether), but by having my basic needs covered, I have much more flexibility in what I choose to do and how I incorporate my work life with the rest of my life.
All of those life changes and transitions happened this summer. It’s been a crazy time: I was simultaneously making several 12-hour trips up to either build or move belongings, transferring major work projects to new staff, cleaning out and organizing work files, saying my goodbyes to the places I’ve lived and the dear friends I’ve worked and played with for the last 25 years, coming to grips with leaving and starting over in a familiar but new place and a much different lifestyle, learning the ropes of life on a blueberry farm, getting my head around the idea of “retiring” (and all the endless bureaucratic forms that entailed!), building new friendships and connections in my home-to-be, packing up and cleaning my apartment, and actually moving and getting settled in with all that requires. On top of this, I set myself a goal of finishing the exterior of my house so that by the end of August I could move it out to it’s initial parking spot behind the barn and spend my 50th birthday night in it.
These next three posts chronicle some of that experience, as seen primarily from a tiny house perspective. Looking over the photos, I realize that in some cases I was too busy living to get pics of key moments and friends so there are some missing events. I also noticed how much we tend to only photograph the good times (of which there were many in the midst of all the chaos). What you don’t see in these posts are the agonies of indecision about how to proceed with the next step, the many months of elevated cortisol levels from too much stress, the pouring sweat from climbing up and down ladders in 100 degree weather, the few times I broke down in tears of frustration when things broke or didn’t go together as planned or deadlines passed unmet, the sore muscles, late nights, and utter exhaustion. But then, really, who wants to look at those photos? Just know that those untaken pics really should be part of this to balance what appears to be a perfectly graceful handling of major life changes. Lesson: social media never really tells the full story.
PAD comes to the Bay Area
June, however, did get off to a fun start with Dee and Joan coming down to teach the first PAD (Portland Alternative Dwellings) tiny house workshop in the Bay Area. They brought Dee’s new vardo down and parked it in my driveway, to the delight of the neighbors. It was nice to be able to share some of my California life with them, going on walks and taking in music. The workshop was a big success.
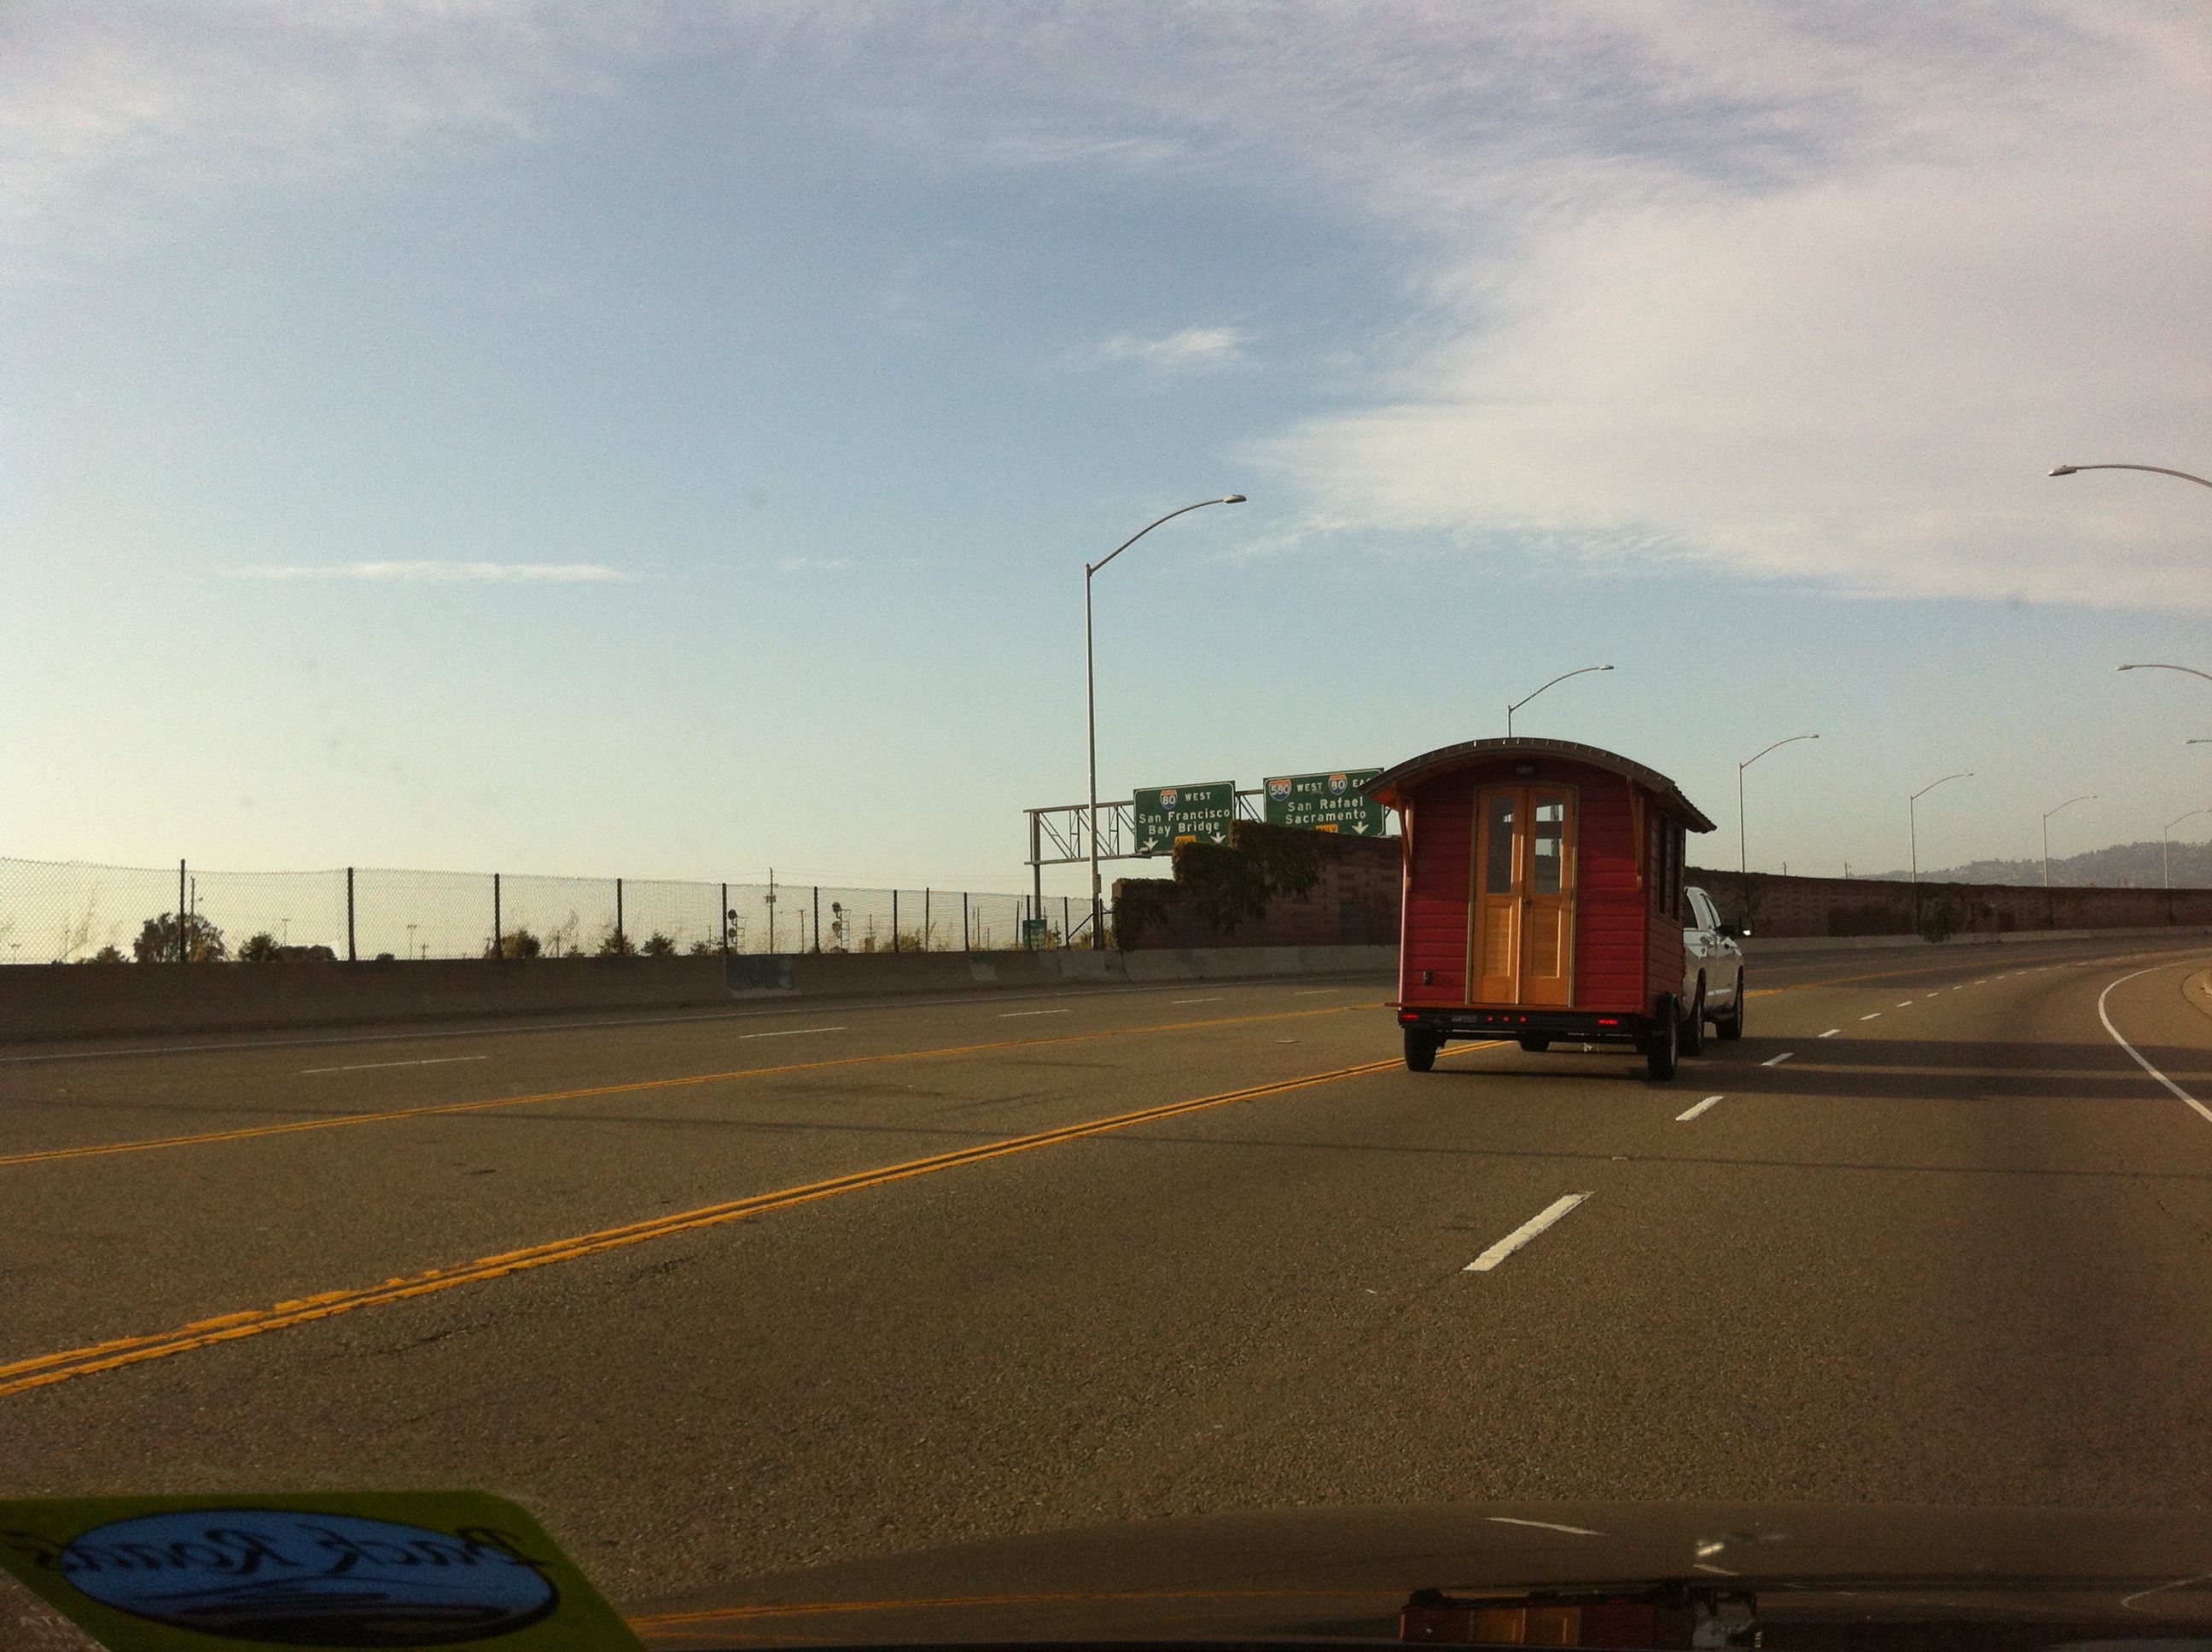
Dee’s vardo hits the highway after the Oakland workshop.
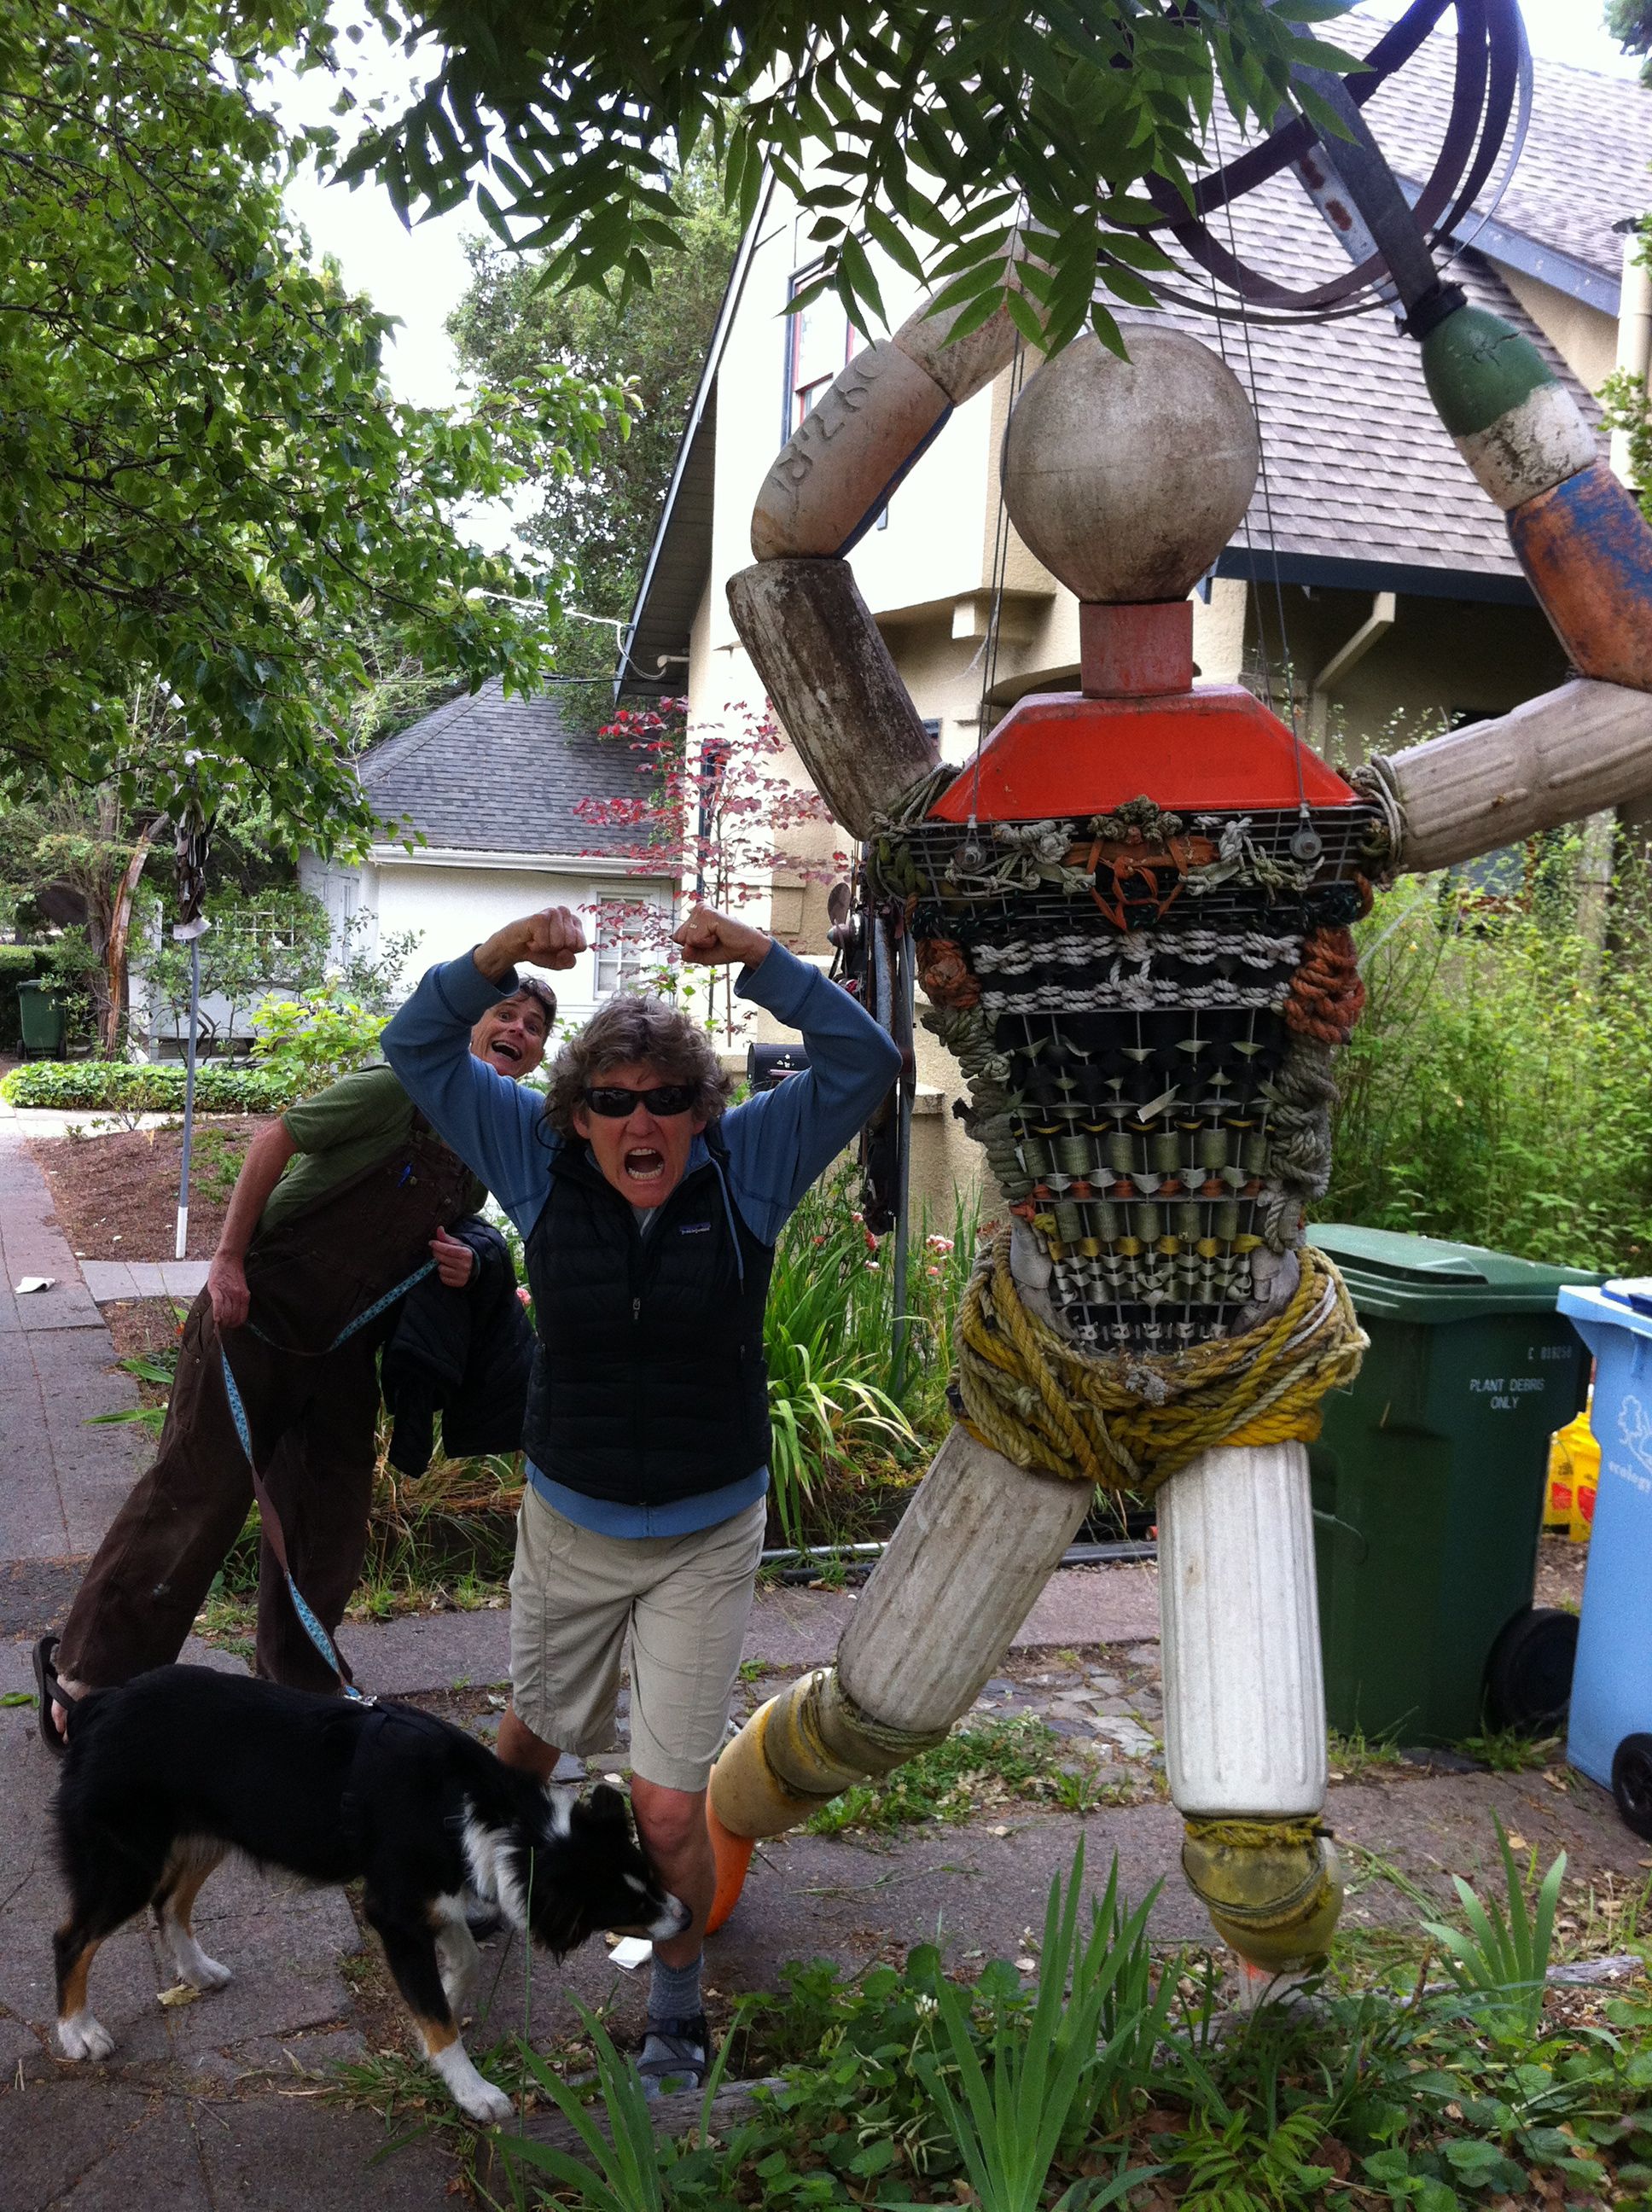
Dee, Joan and Oly clowning around outside a local artist’s home who makes sculptures from trash he finds on the beach.
Oregon in June
Soon after I went back up to Oregon for some more building. I should have learned from last year just how crazy June and July are on the blueberry farm. And this year was an extreme bumper crop so though we hire workers to do most of the actual picking, all hands were on deck trying to stay on top of the harvest. Many a late night was spent in the blueberry barn, culling, boxing and preparing for market.
On top of this, there was a major landscaping project going on involving weeks of earthmovers beeping non-stop as they backed up, and the nerve-jangling scrape and grind of gravel being shoved about. This somehow always happened just when I had put newly stained trim boards out to dry so I was constantly trying to protect them from the dust and flying debris. We also had a constant stream of visitors, including my dear friend Lisa and her family. Knowing what I know now (see upcoming August post), I wish I had just kicked back and enjoyed the visits, but at the time I was feeling under the gun to make significant progress on the house so it was a constant juggle trying to handle everything. What was to be one of the hottest summers on record was also getting into full swing, with temps in the 90s and 100s. Despite all of this, Oregon is pretty spectacular in the summer.

Mt. Hood early evening on the summer solstice.

We celebrated the solstice with another firedancing display from Instruments of the Now.

The first blueberries of the season.
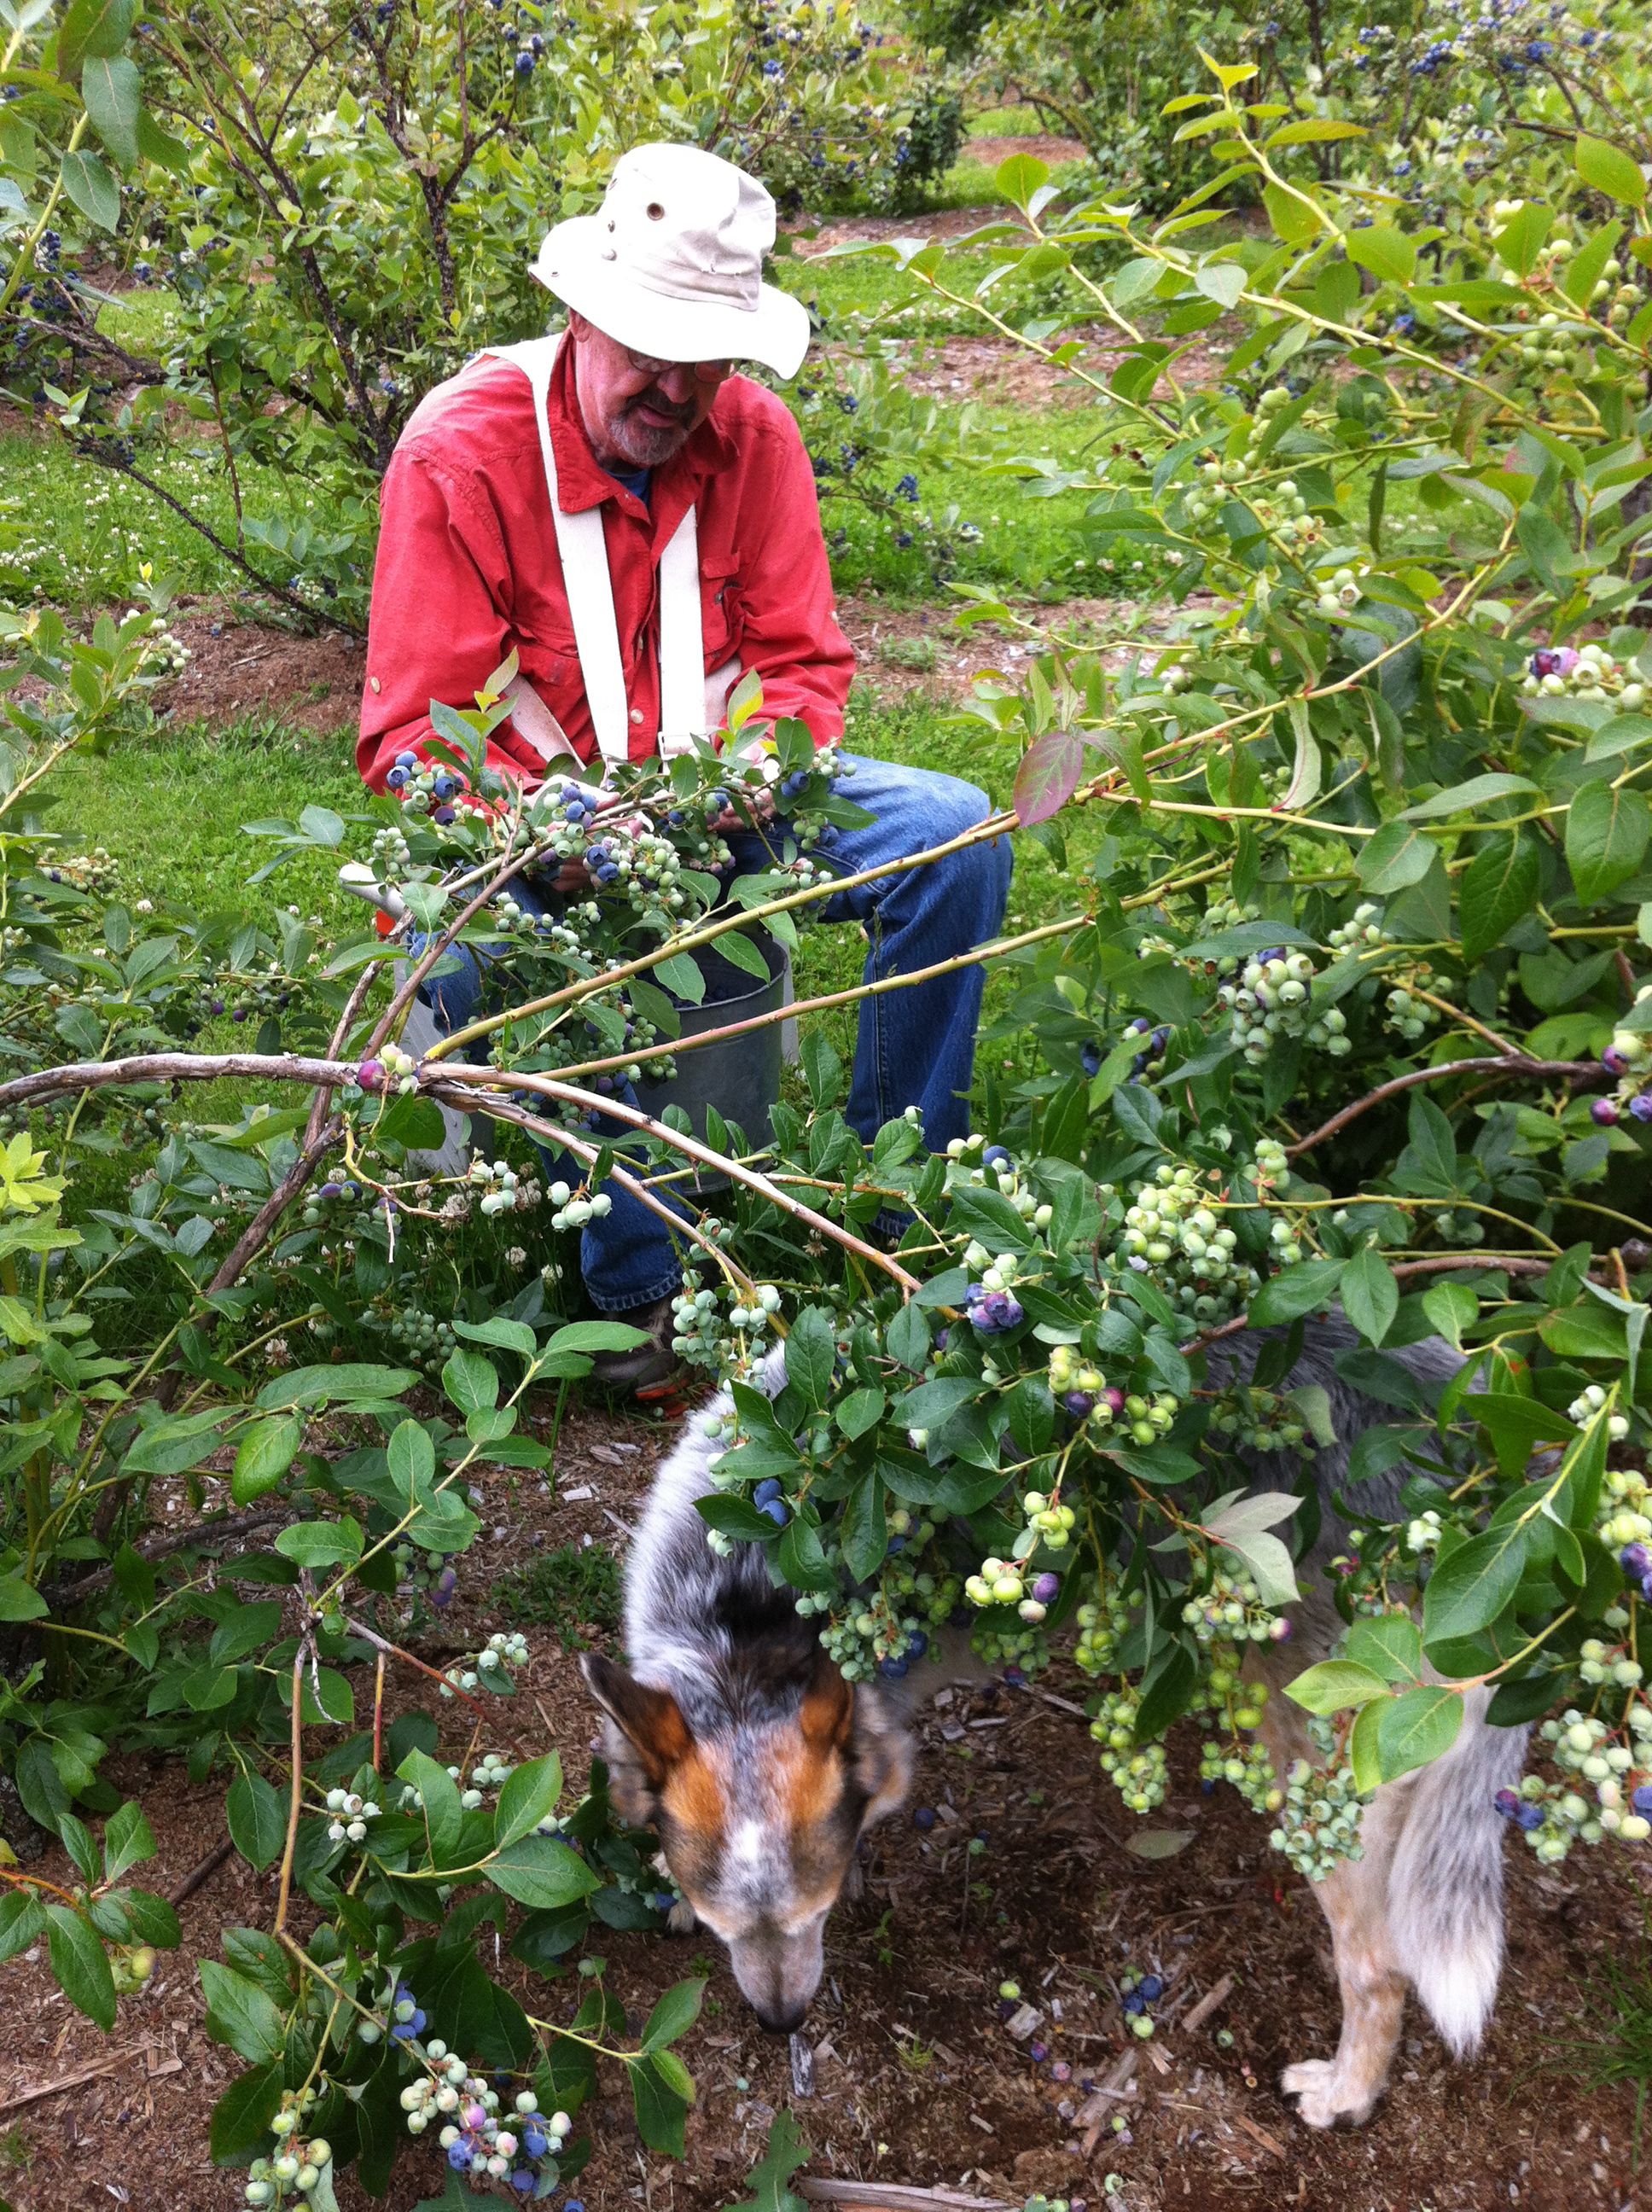
Pop and Lucy picking blueberries.
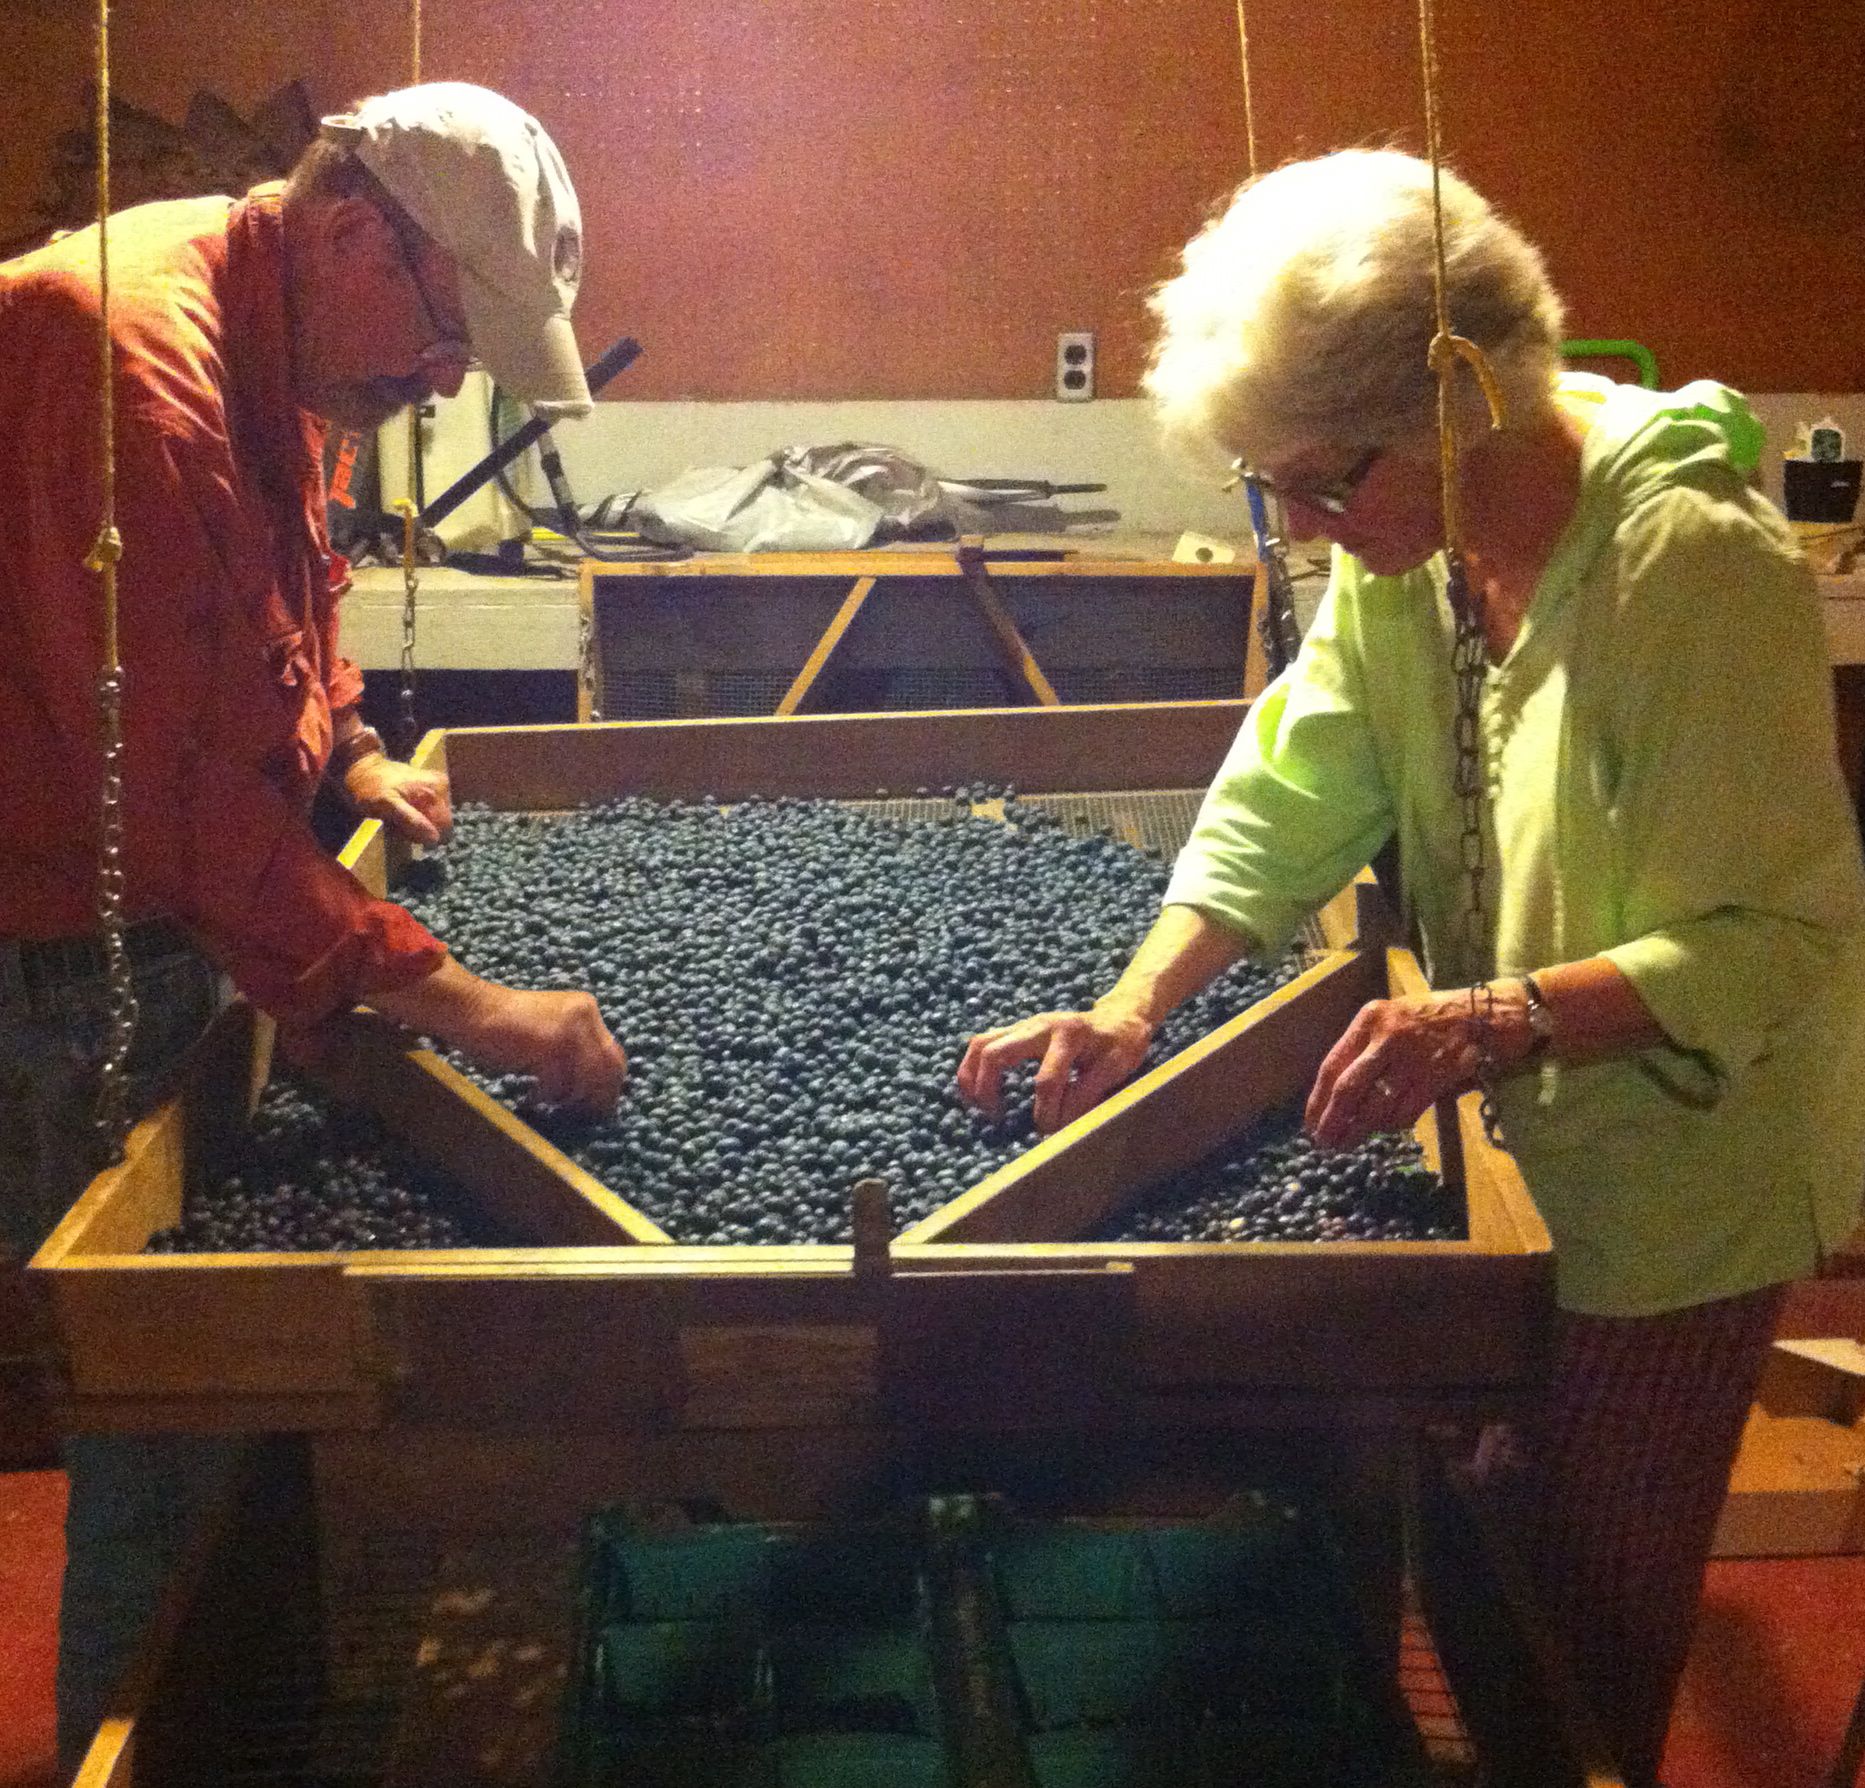
My parents culling and boxing the berries late into the evening before taking them to farmers markets throughout the area.
Flashing and trim – key transitions
Rain seeks out those vulnerable points – the seams where two materials come together – and works its way in to create rotting havoc. Metal and flexible flashing help seal and/or cover these seams between wood and trailer, around vents and windows. Trim serves to push the ends of siding, which have lots of potential gaps, further away from the edge of your window and door, keeping them more protected. Given the way my summer was unfolding, it’s particularly fitting that my last long-distance build stint focused on these types of transitions.
My roof was on, the house was wrapped, and I had started to put the rainscreen wall in place. I thought there would be nothing to getting the trim up on this stint in preparation for siding in August. But I had been studiously ignoring the fact that I had to deal with adding metal flashing to critical parts of the house. While I’ve developed a love of metal from my jewelry-making experiences, I was a little intimidated by flashing on a construction project. I wasn’t sure what to use and how to install it. I was particularly uncertain how to cover the gap between the sheathing and the wheel well properly (see photo at top). I’d gotten different advice and ultimately ended up combining several different approaches. Below is a quick overview; I’m working on much more detailed technical posts on building the rainscreen wall and flashing the windows and lower edges.
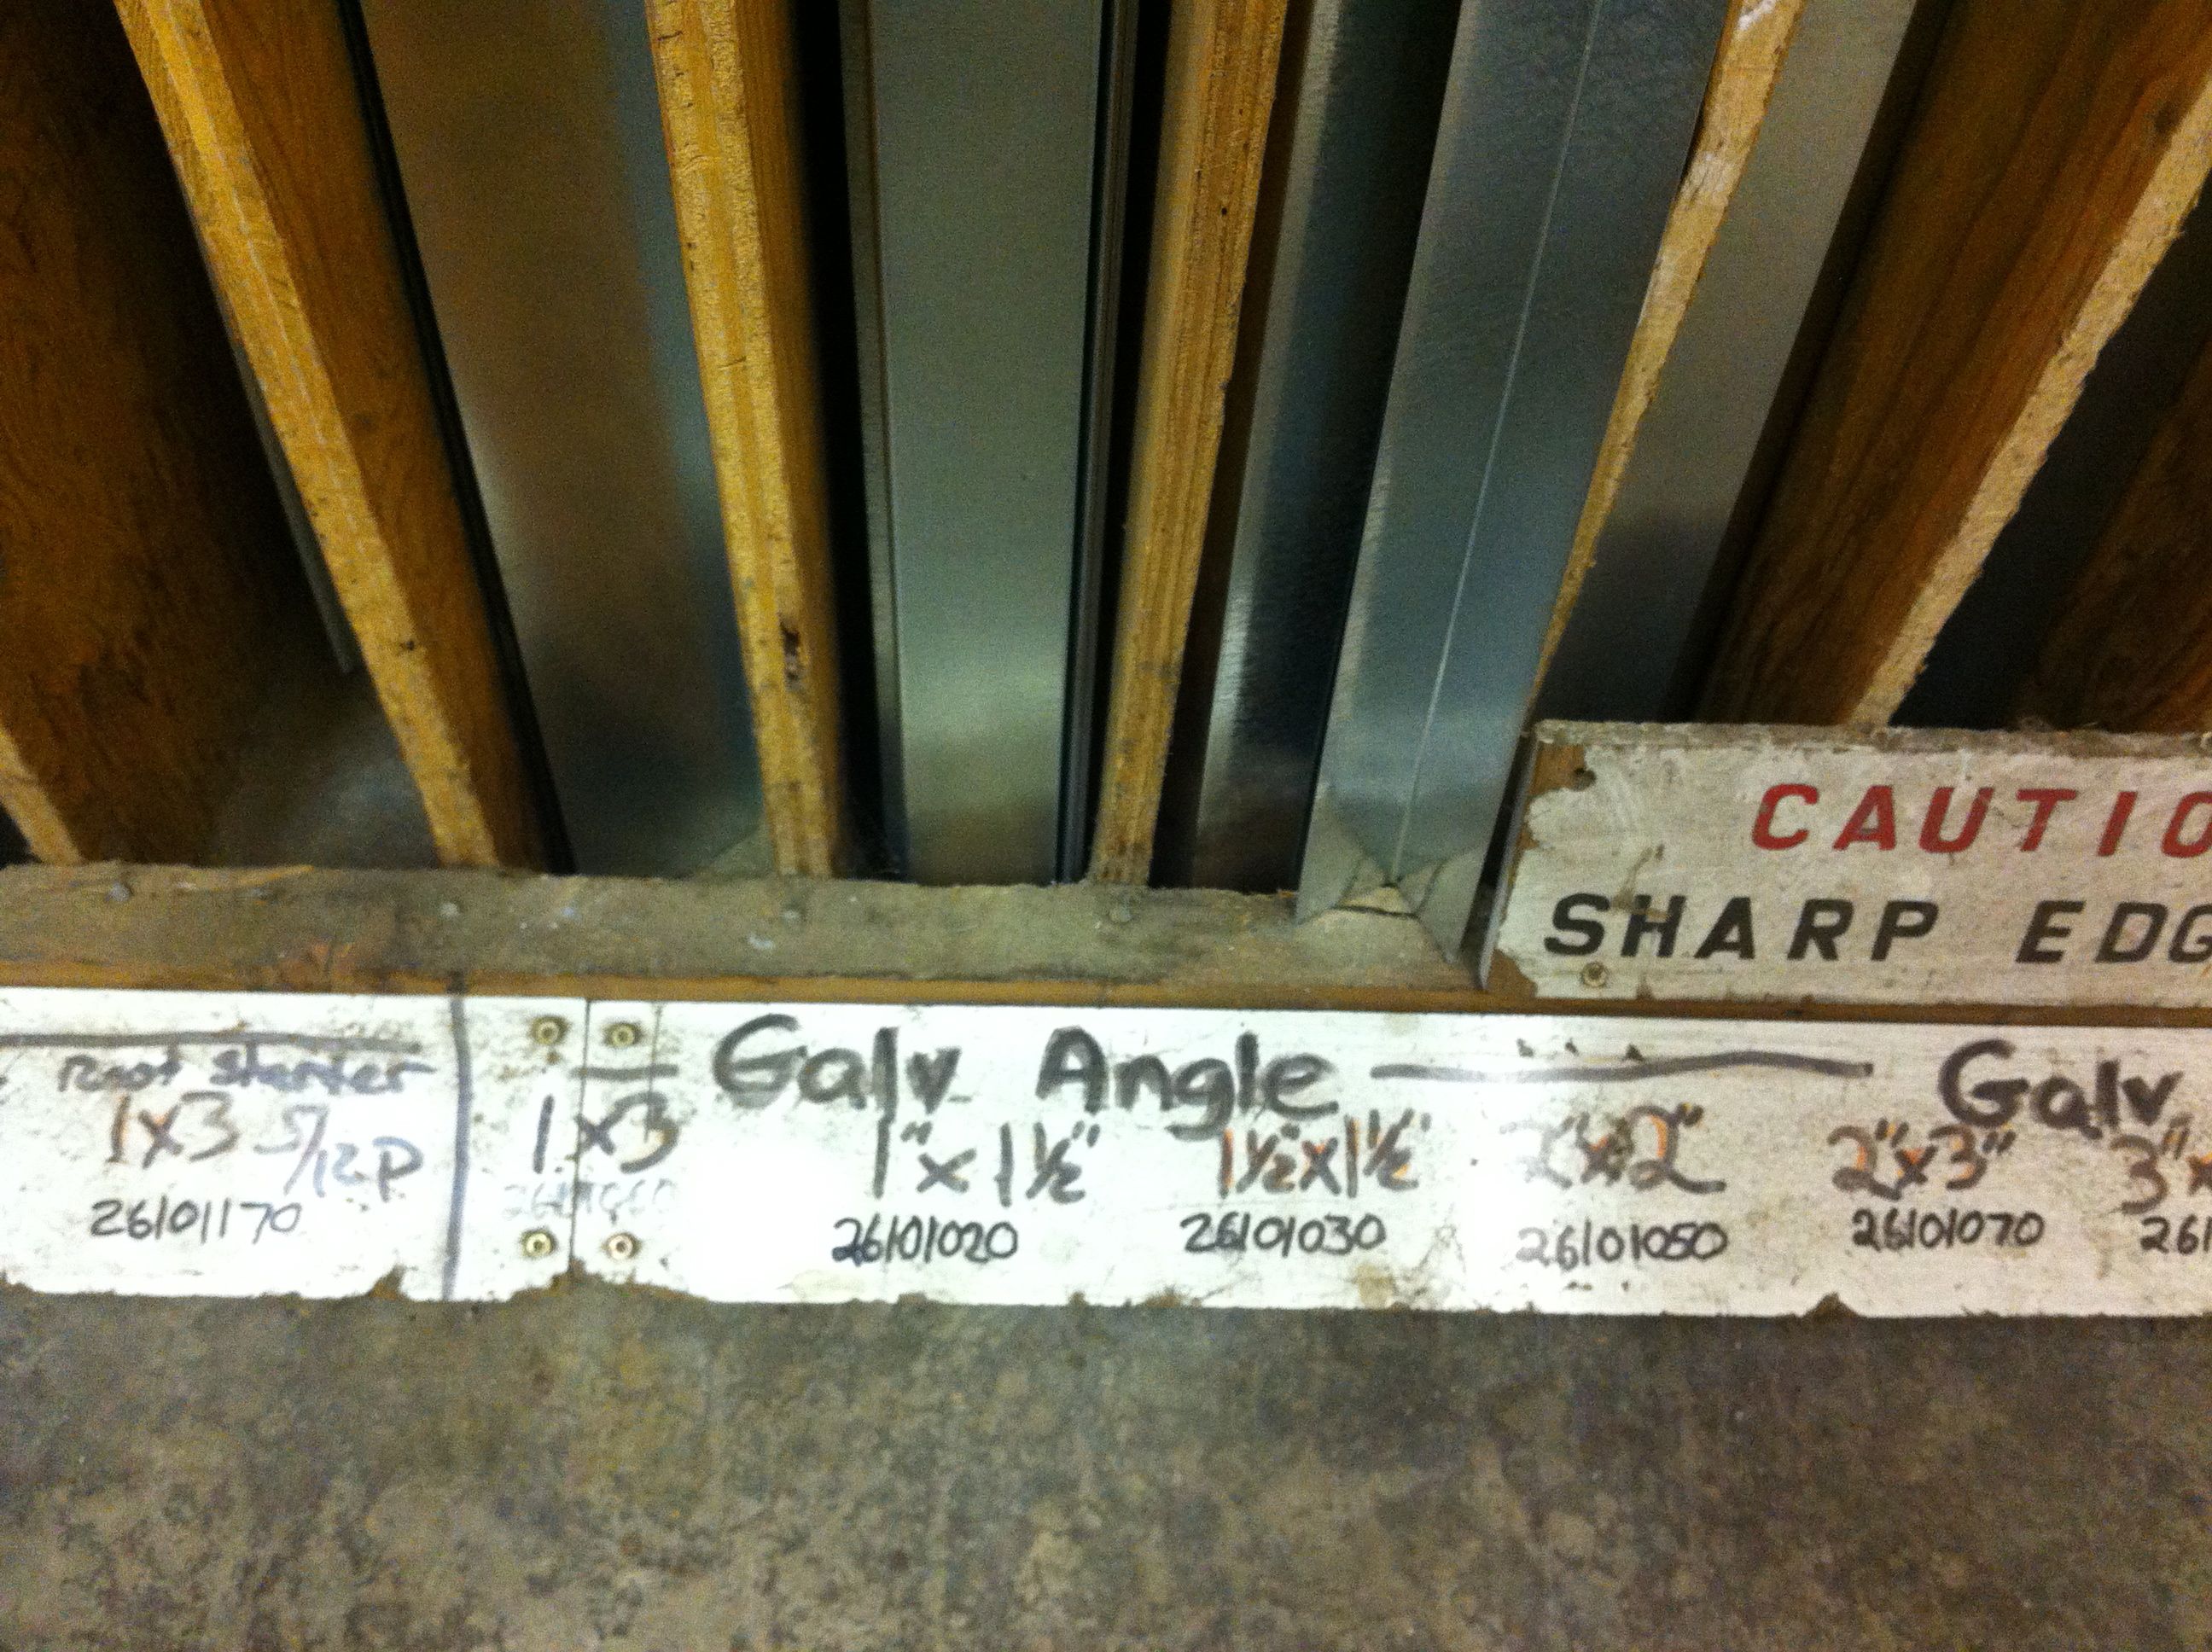
Went to several hardware stores to get familiar with what sort of metal flashing came ready-made. There are multiple angle types and sizes, though in my area colors are limited to silver galvanized and painted brown.

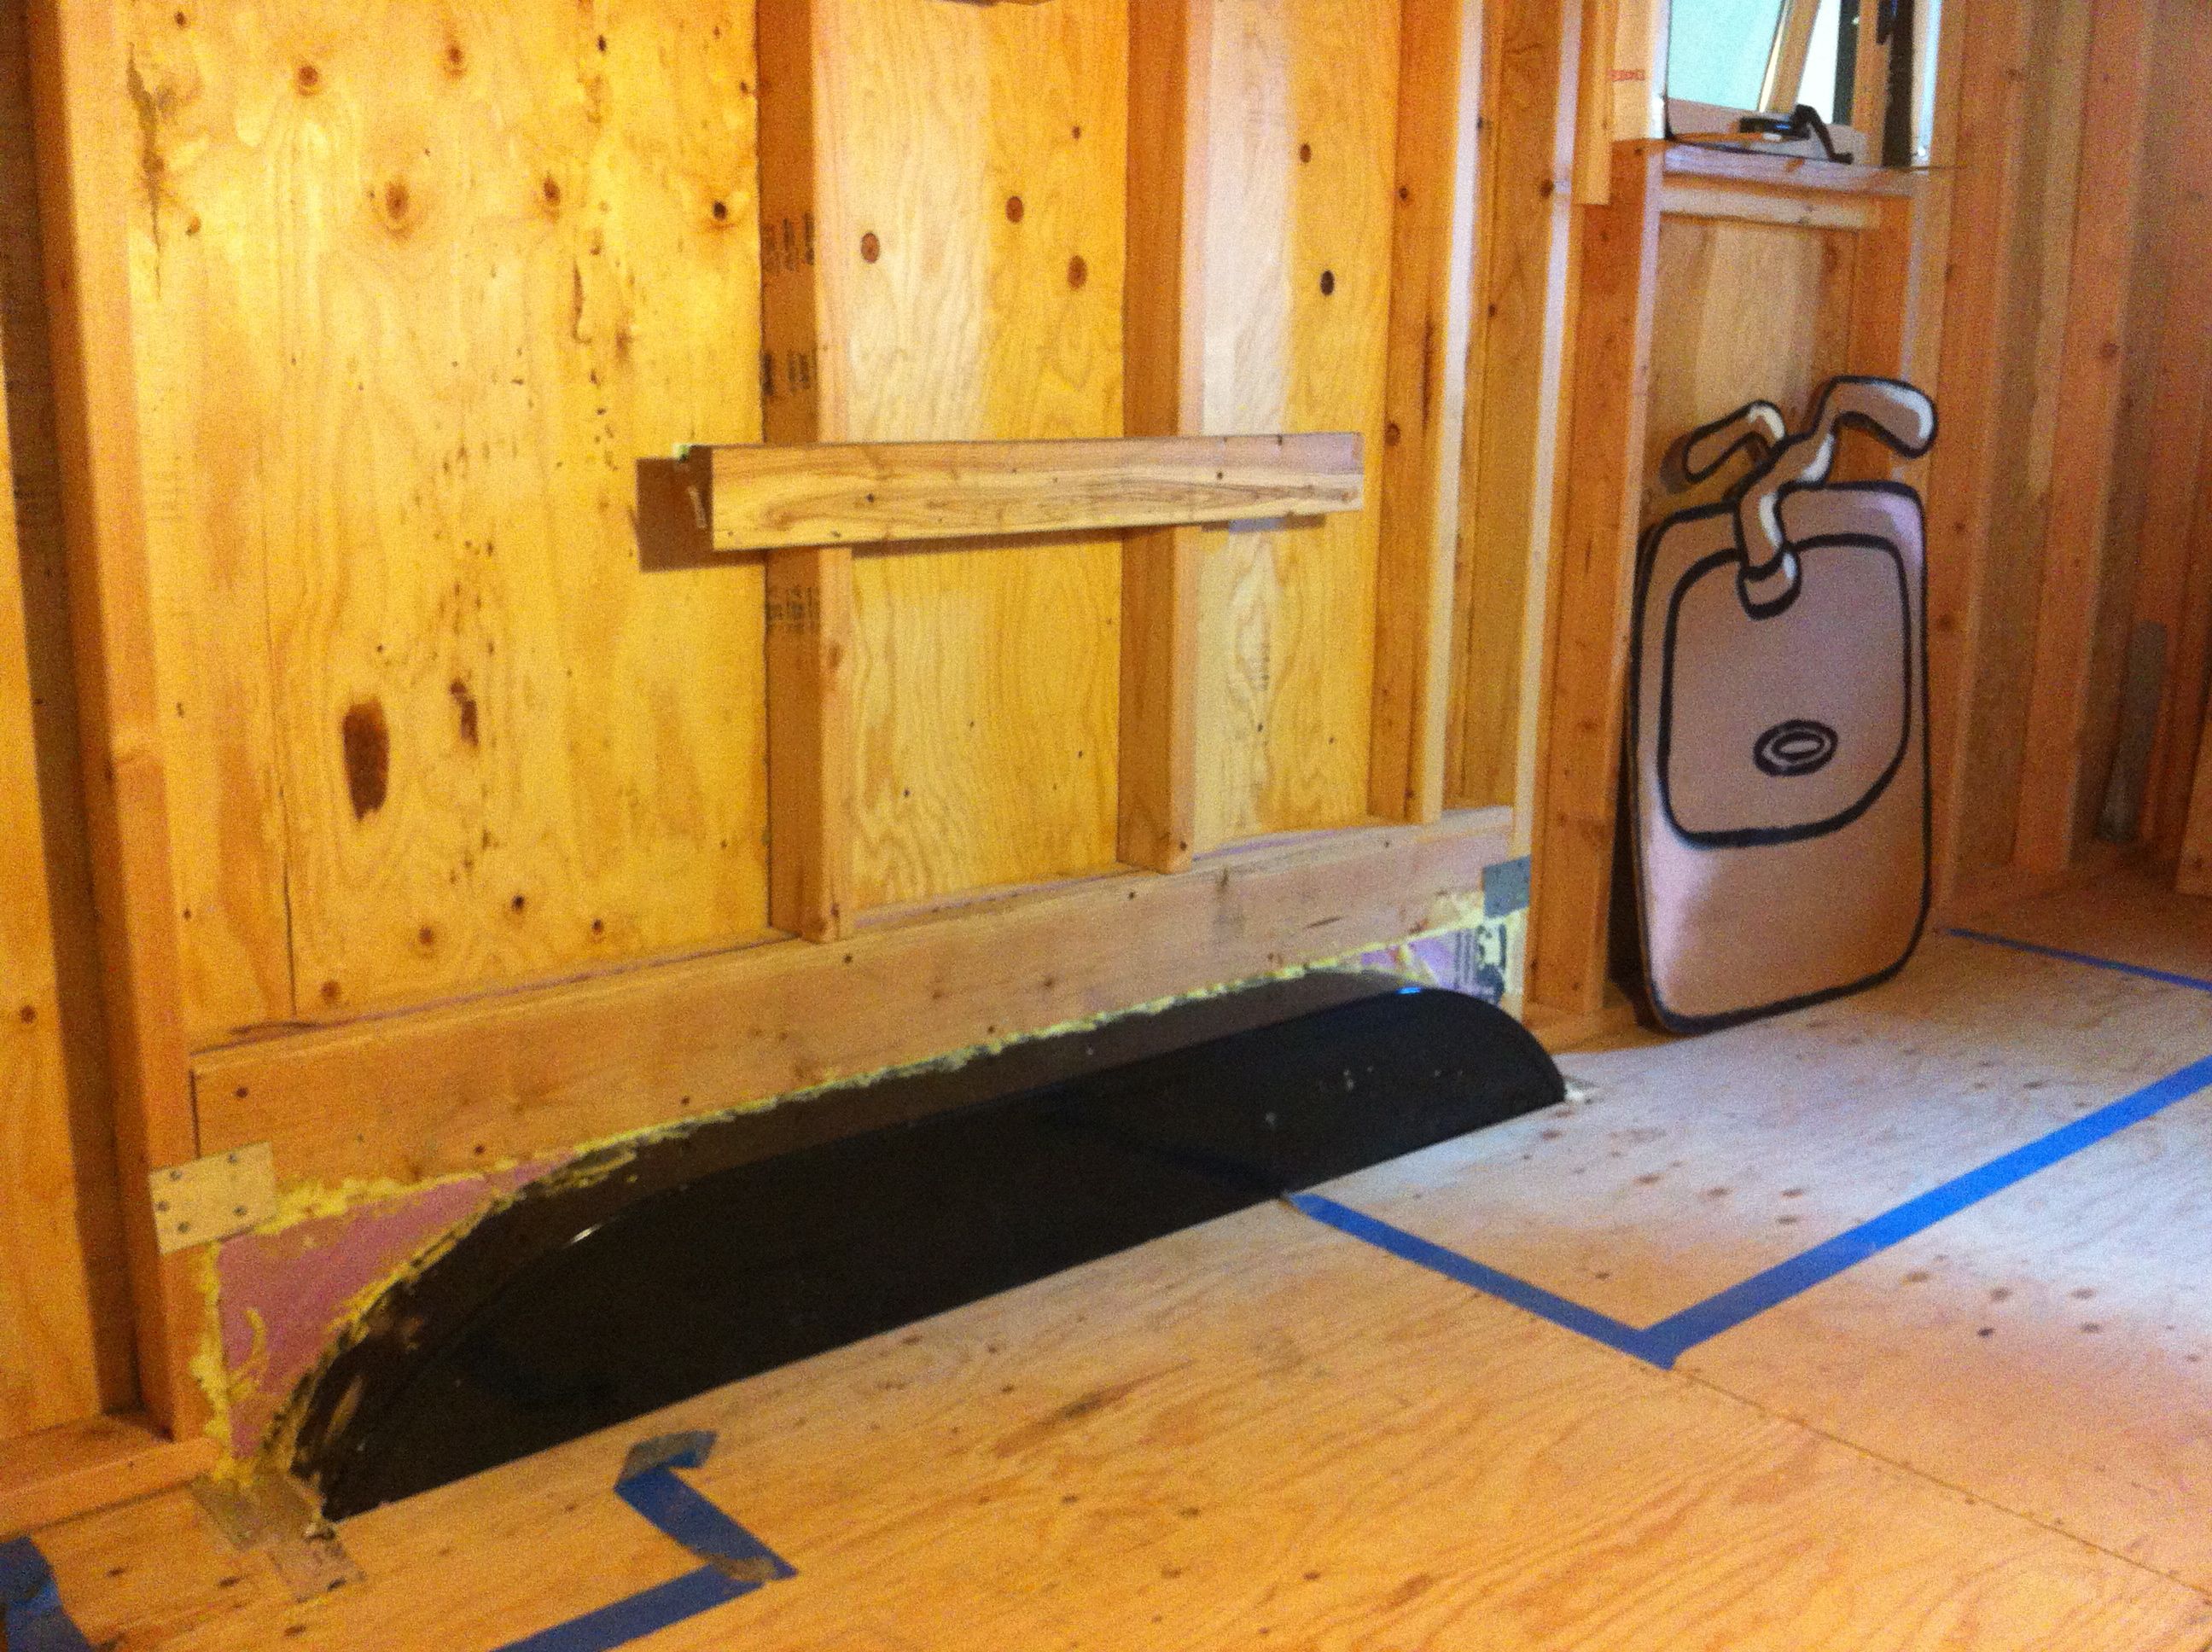
Lifting her skirts.
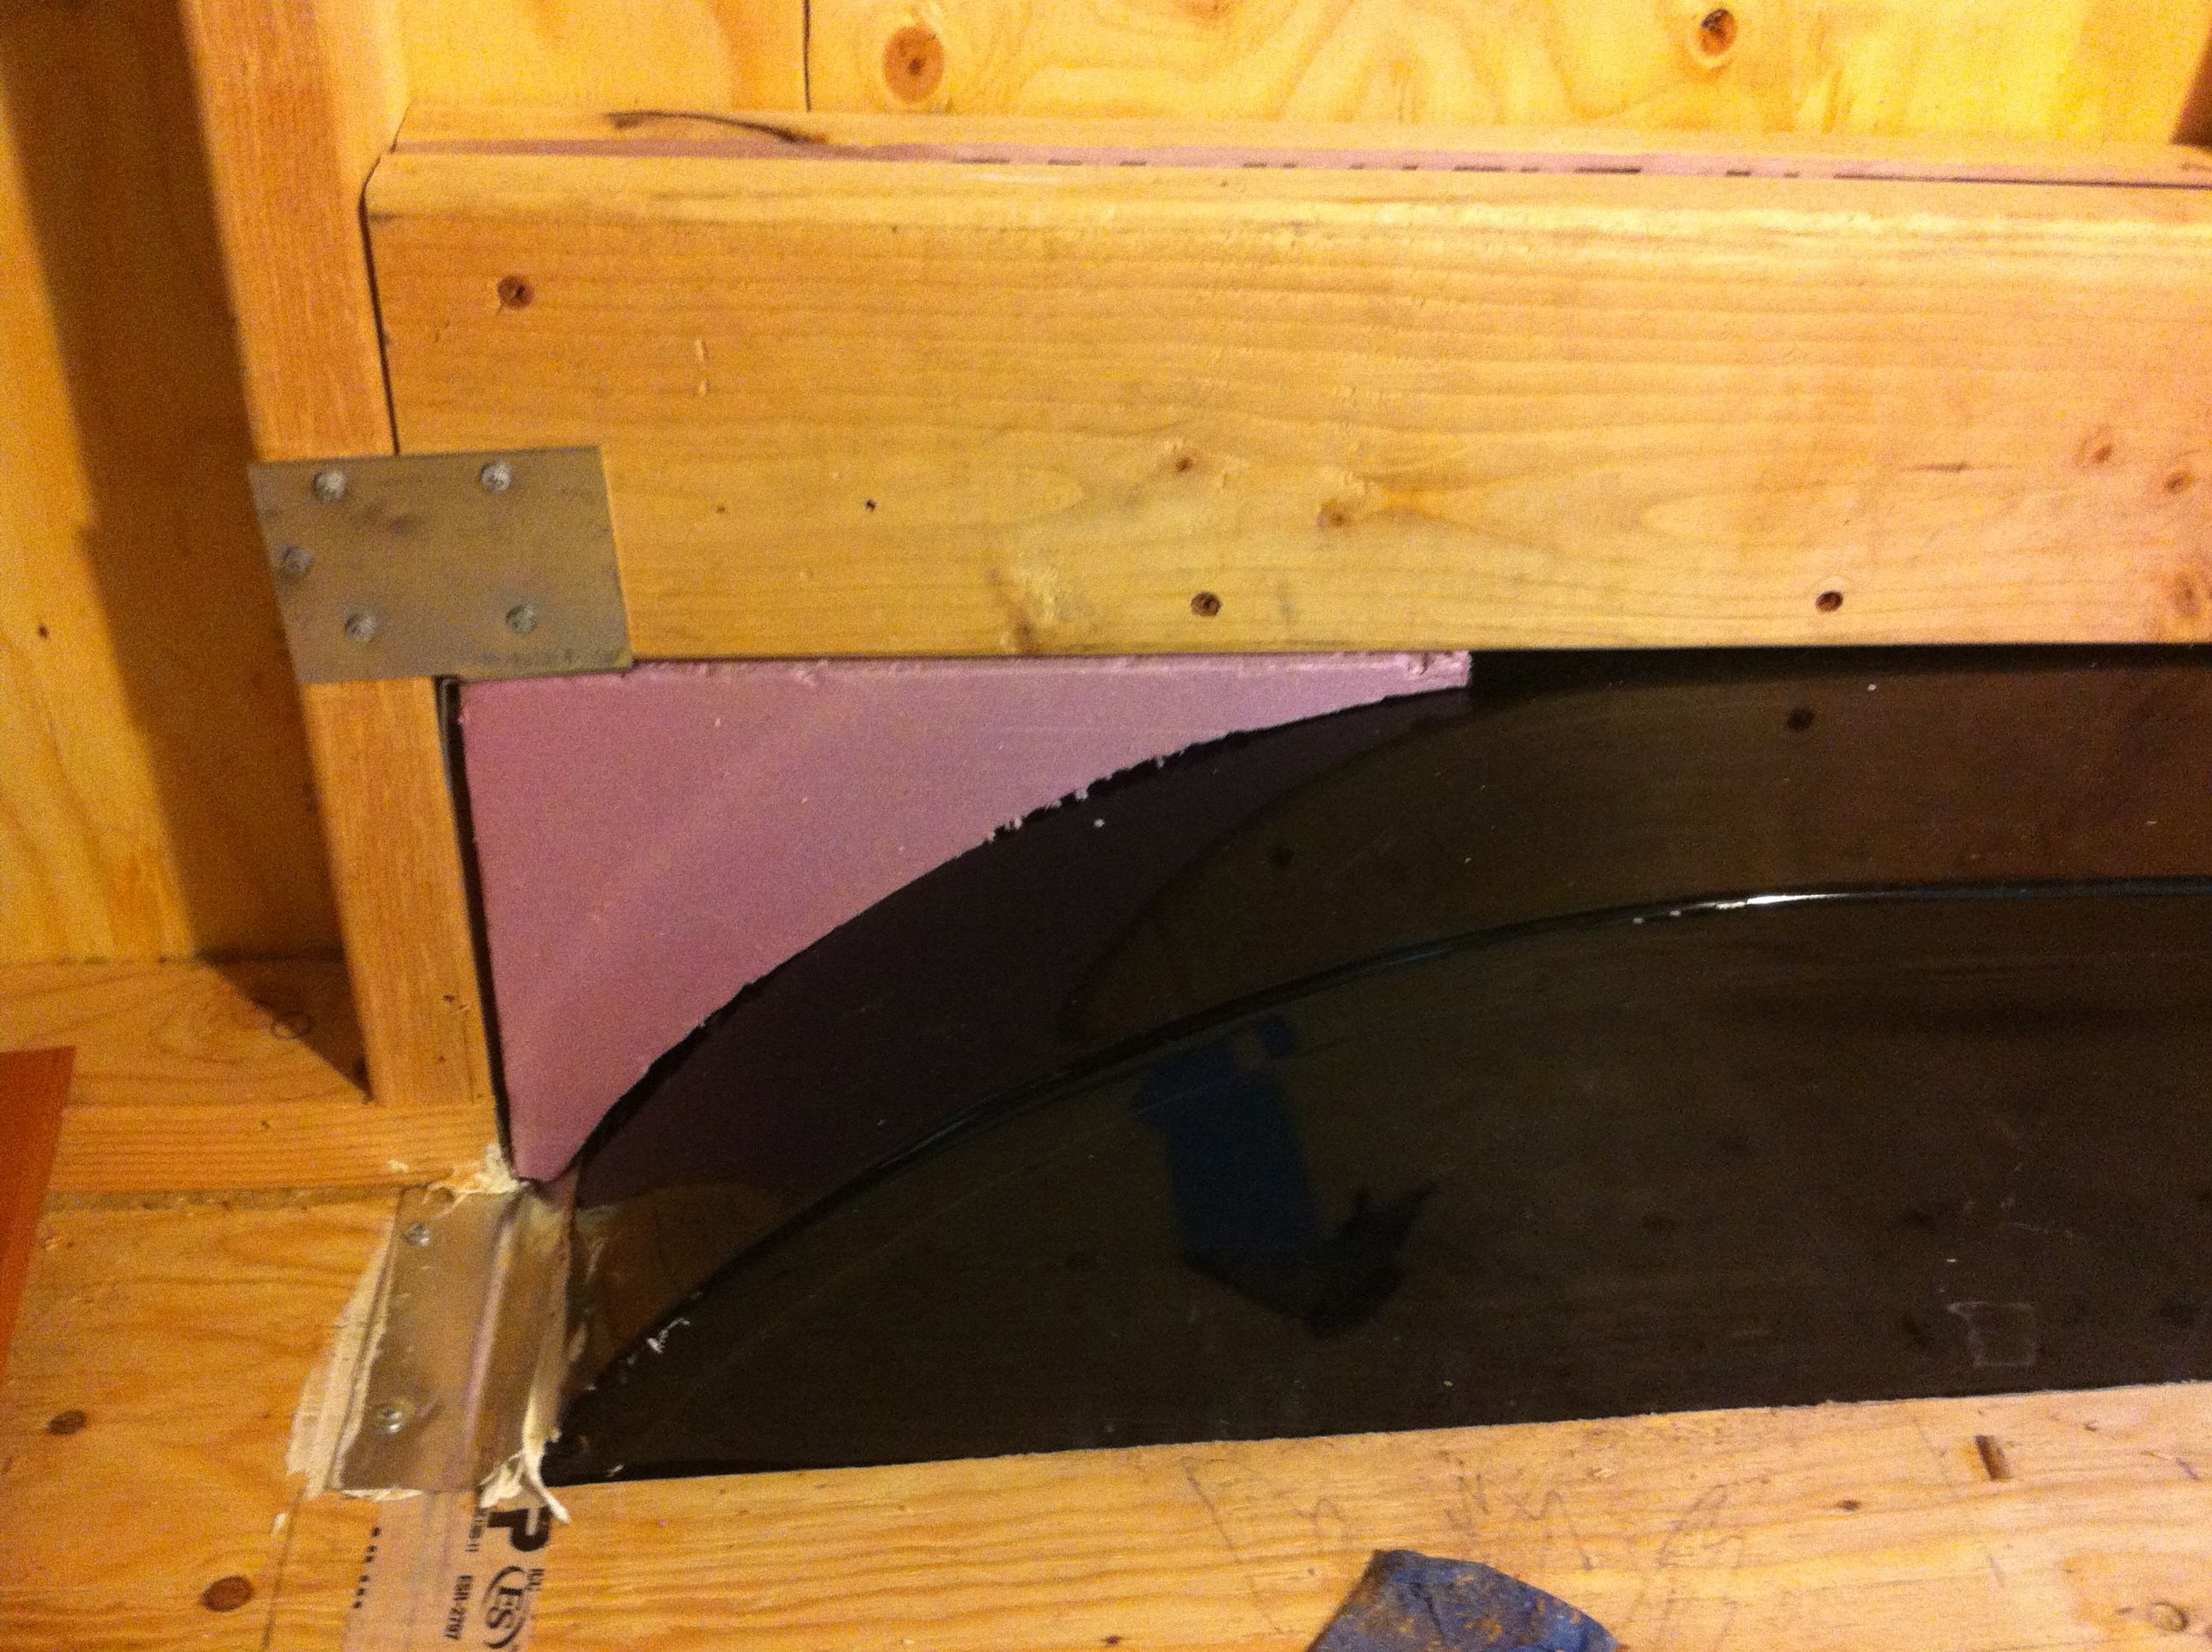
I cut pieces of rigid foam board and inserted them above the wheel wells on the interior to fill the gap under the header. I also screwed and caulked some metal flashing at the base of the wheel well to block the gap exposing the ground beneath.
I then sprayed Great Stuff foam insulation in all the gaps.

I added metal flashing on the exterior of the wheel well and reversed z-flashing around the bottom of all the sheathing to protect the exposed cut edges (along with caulk).

Then came Grace Vycor flashing around the bottom of the house to cover where the metal flashing meets the sheathing and as part of the larger rainscreen wall (more about all of this in future posts).

Also as part of the rainscreen wall, I wanted to put metal flashing on the tops of my windows and trim. Since this would be visible, I wanted it to be black to go with my color scheme. Since I couldn’t find it locally, I took some black flashing left over from my roof to a metal fabricator who bent it to my specifications.
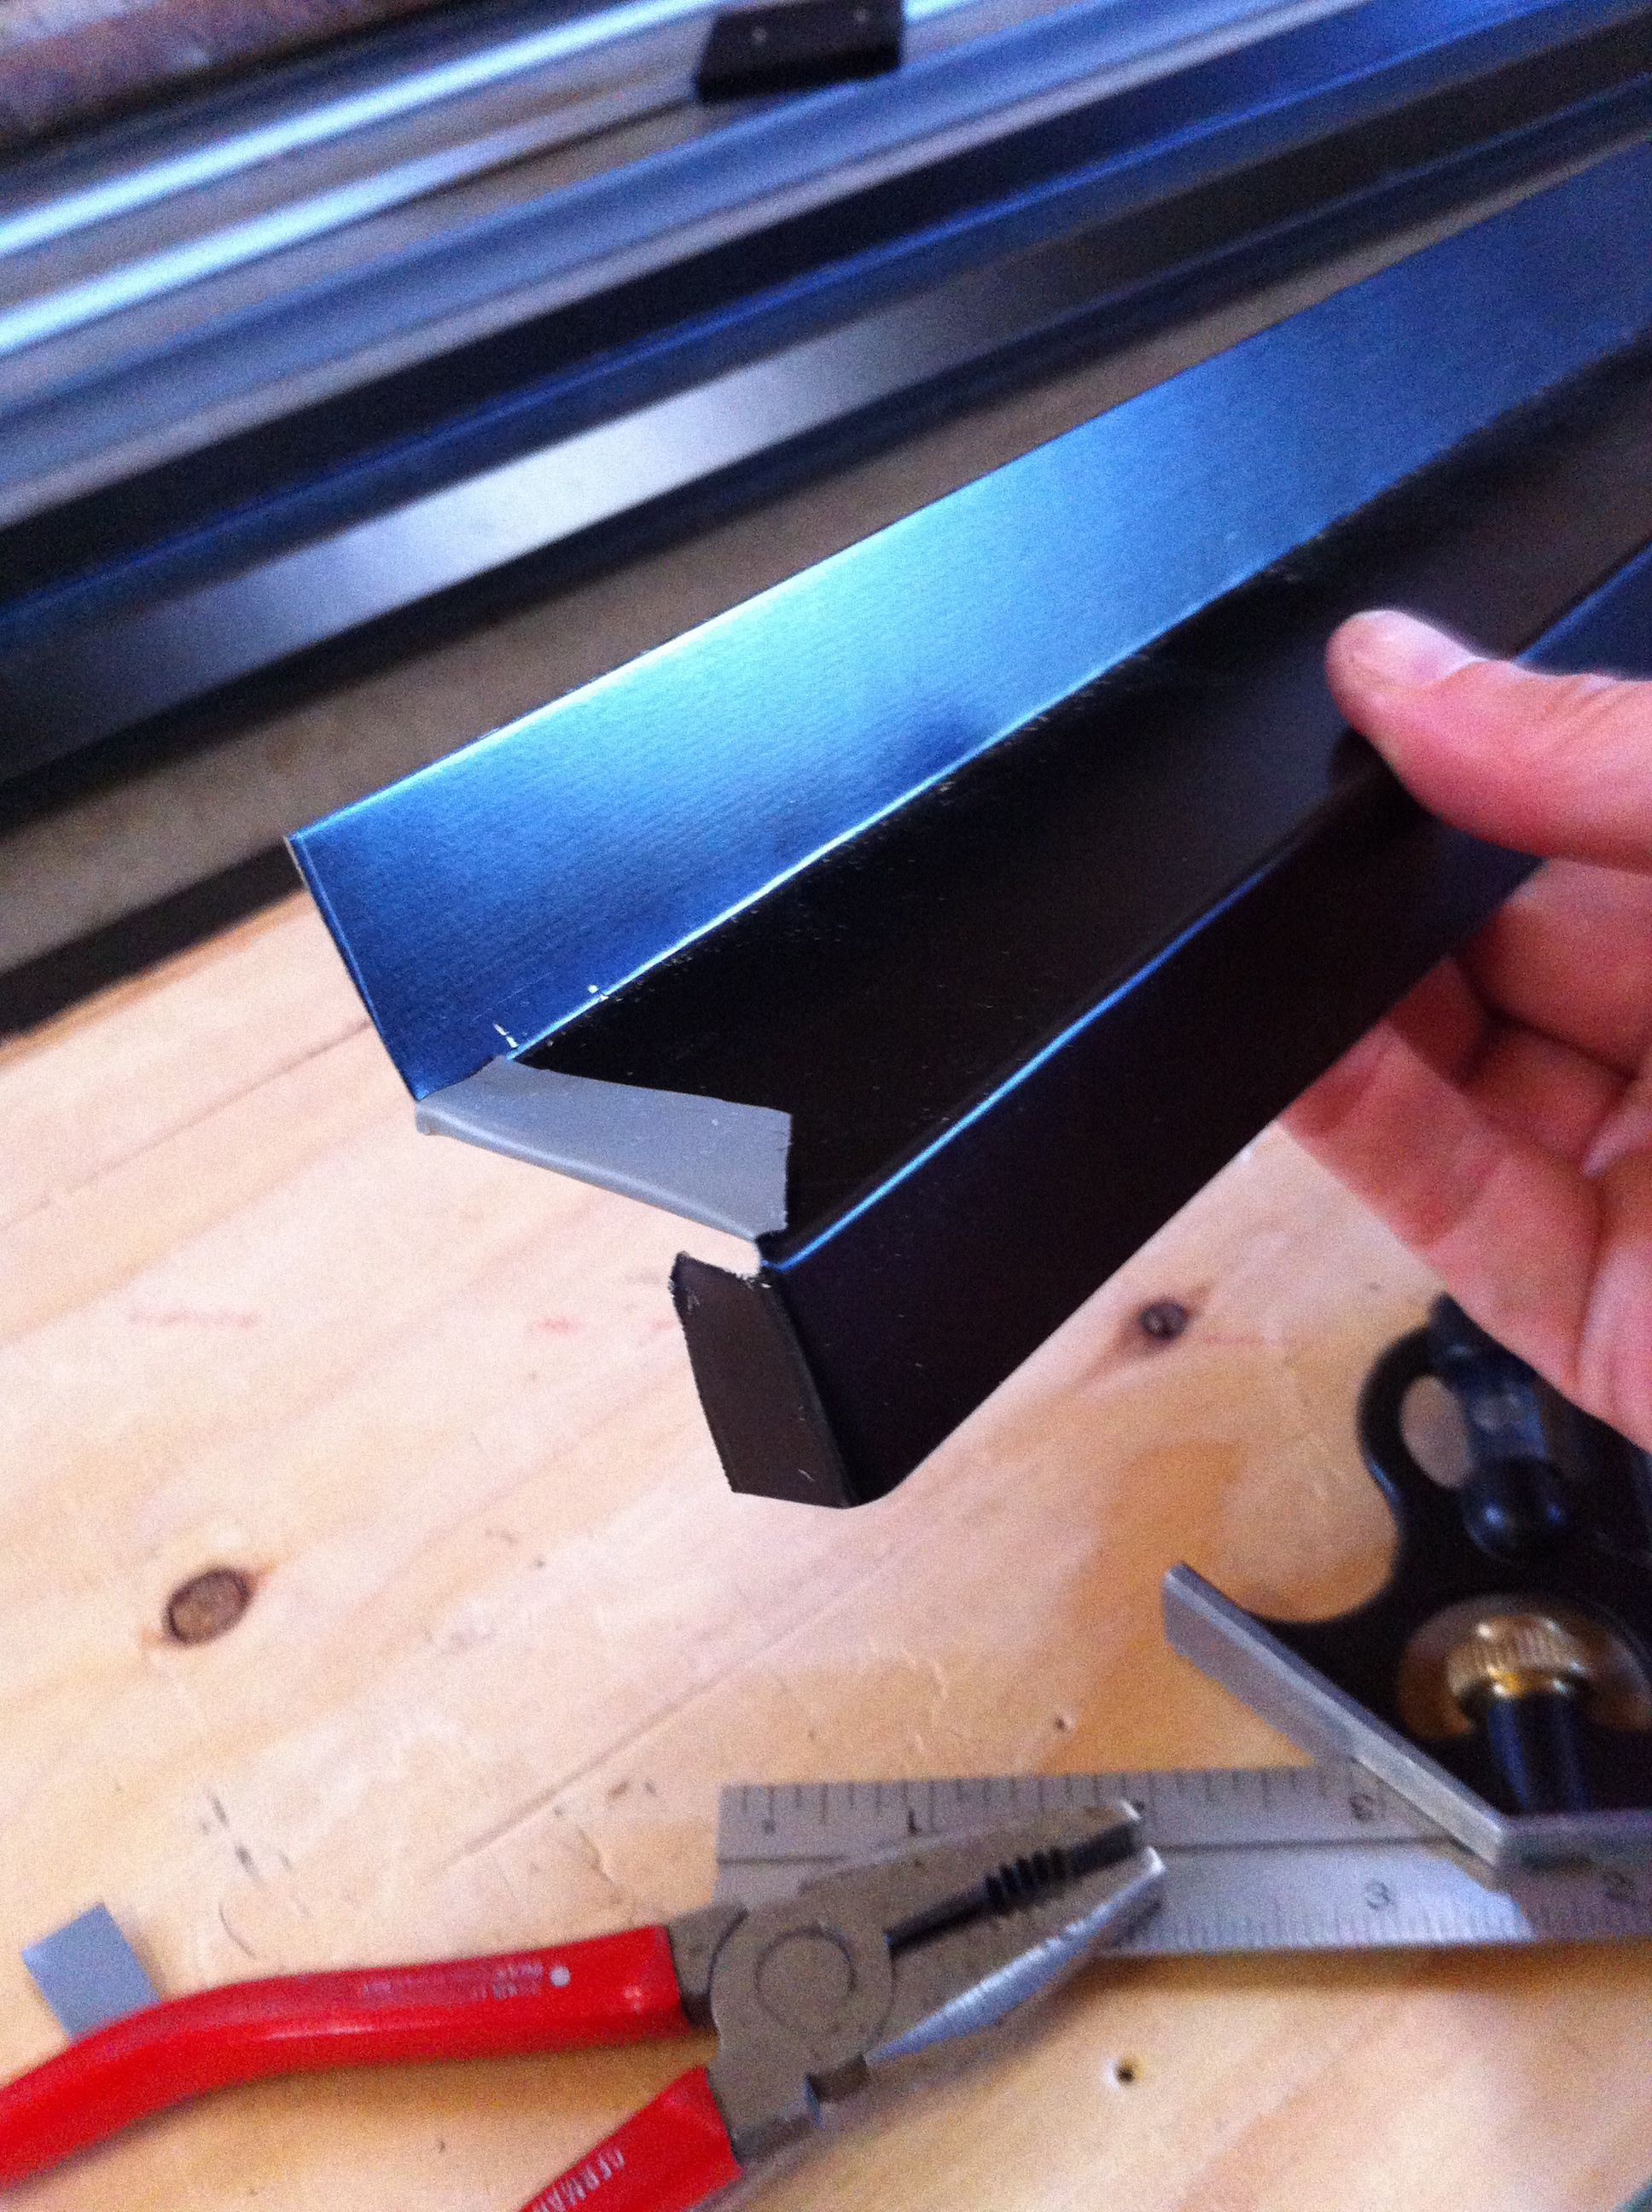
My jewelry-making came in handy with figuring out how to cut and fold the flashing to fit on the windows (thanks Joe and Anat!).
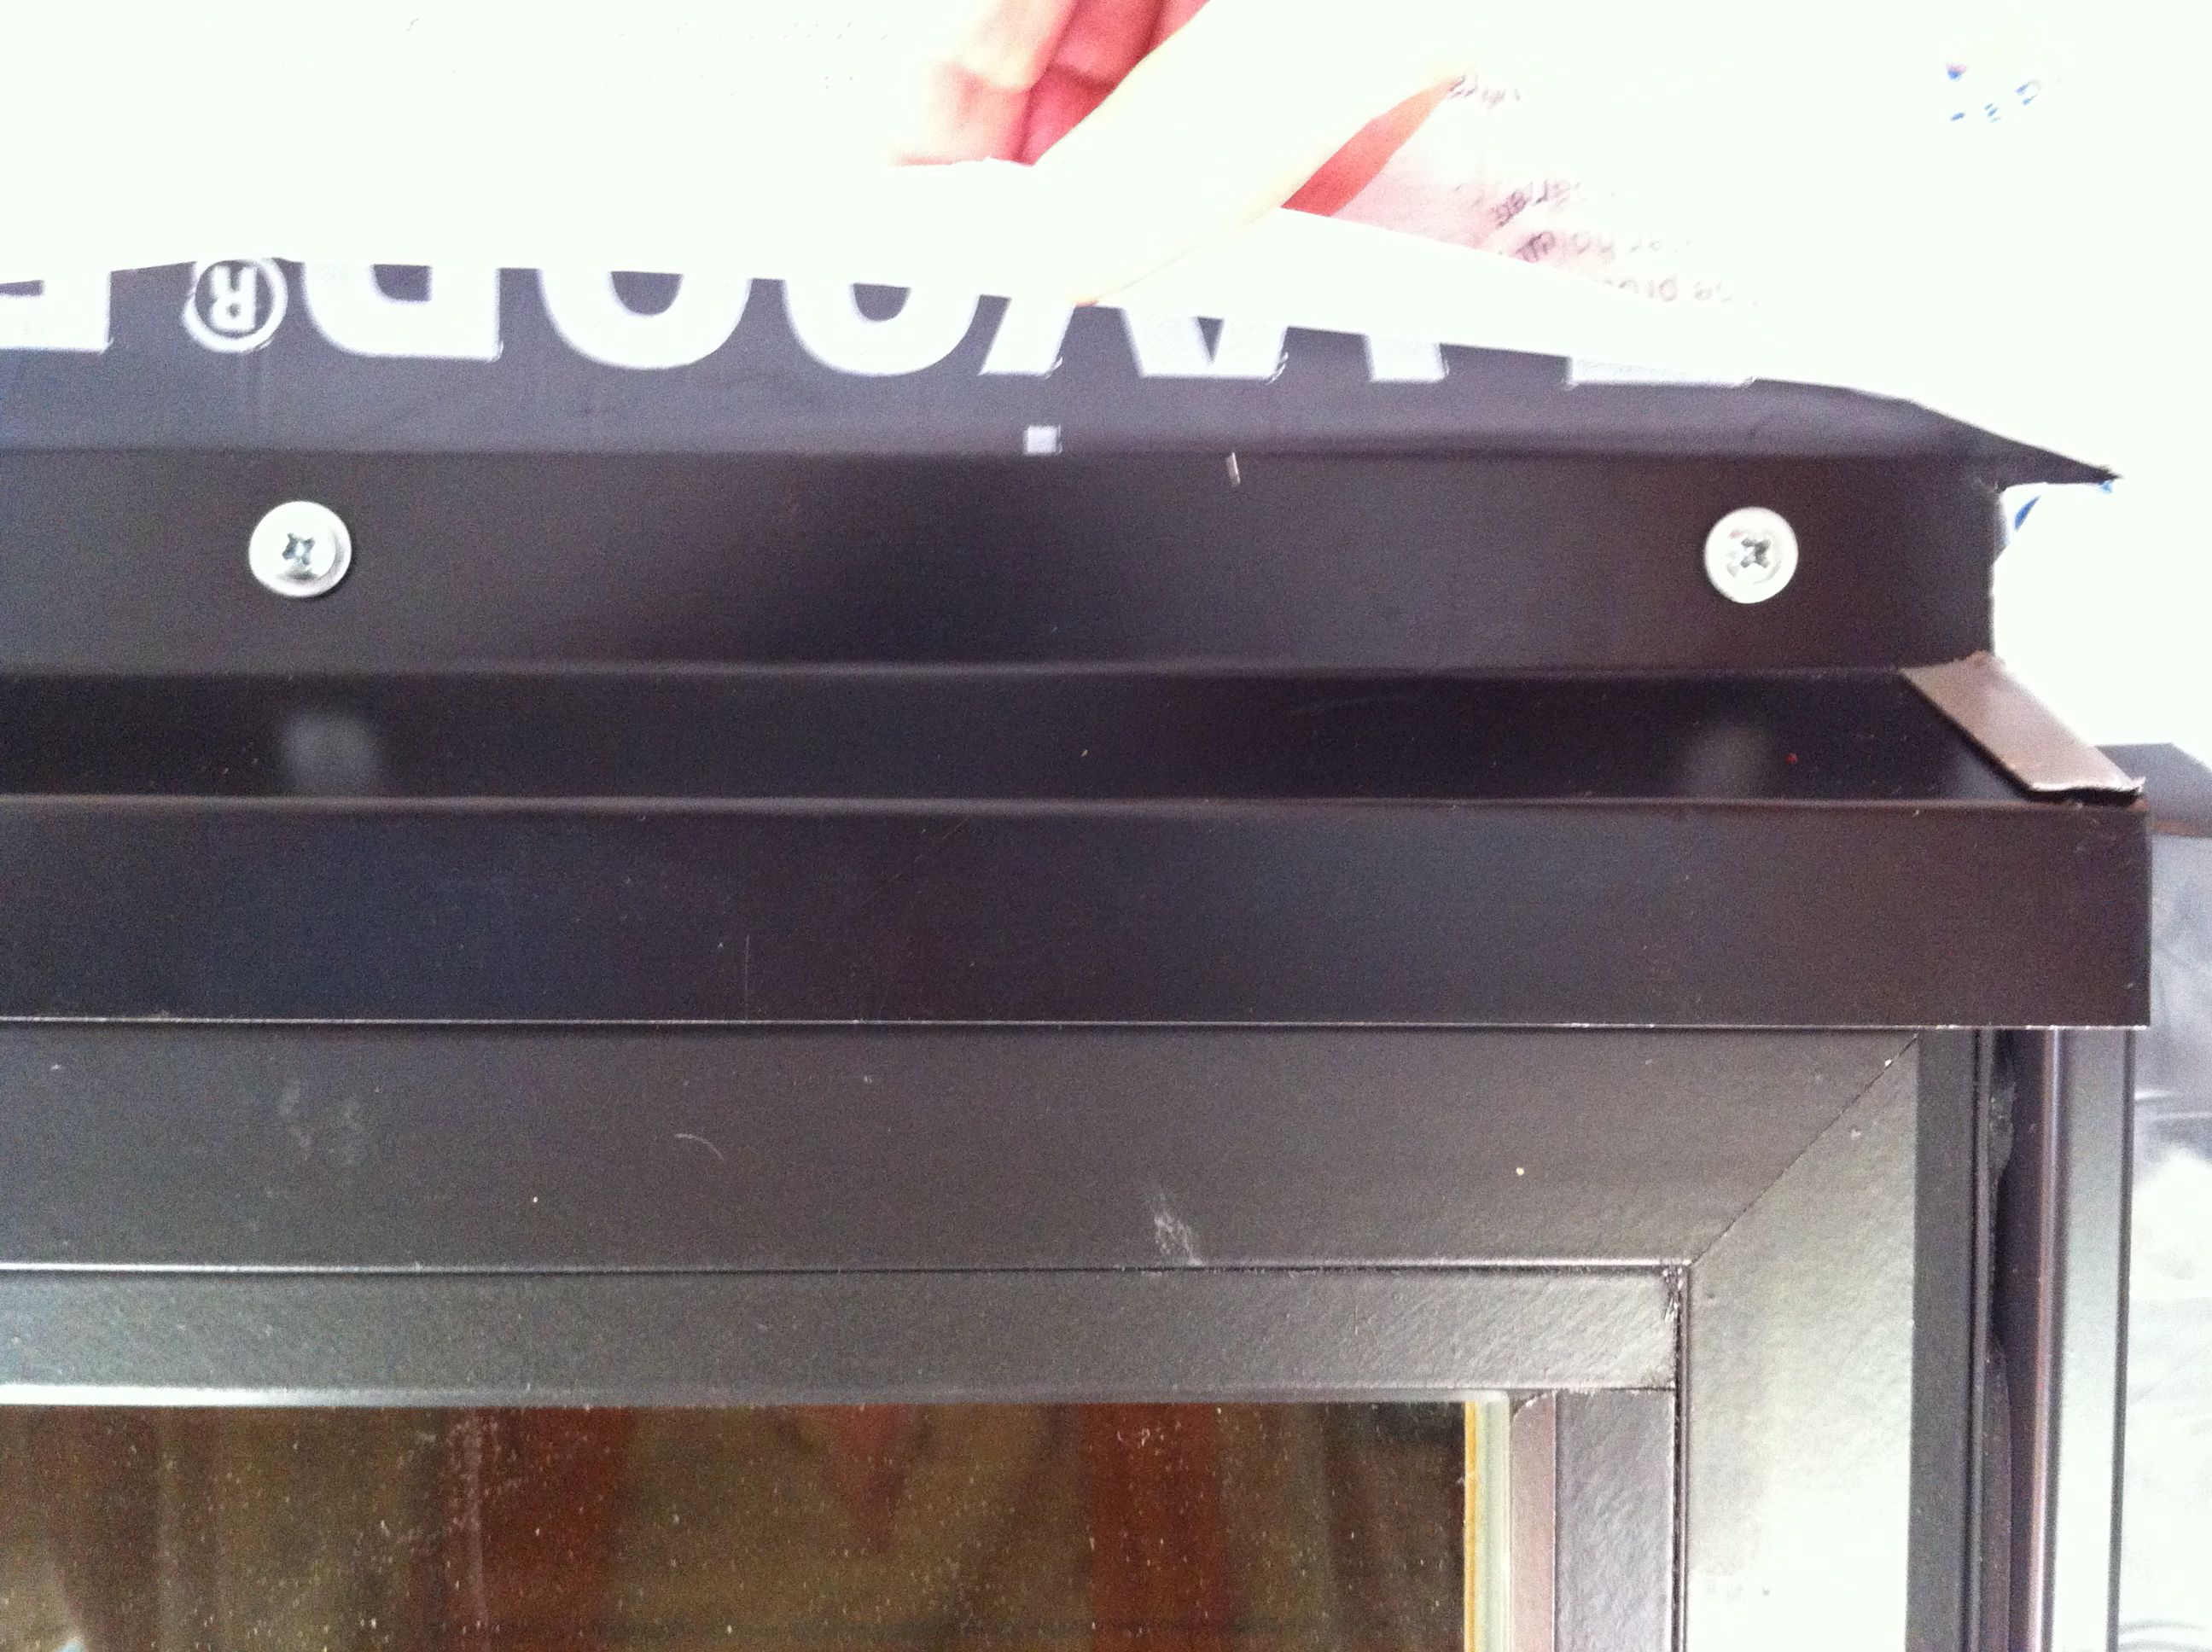
Flashing installed at top of window.

Of course all this tiny detail work took way longer than I thought. It’s super critical for protecting one’s house from rain damage but does not result in very impressive visual progress for all the time invested. Working solo, I was reduced to taking selfies high-fiving myself after small accomplishments to keep my spirits up. 🙂
Trim
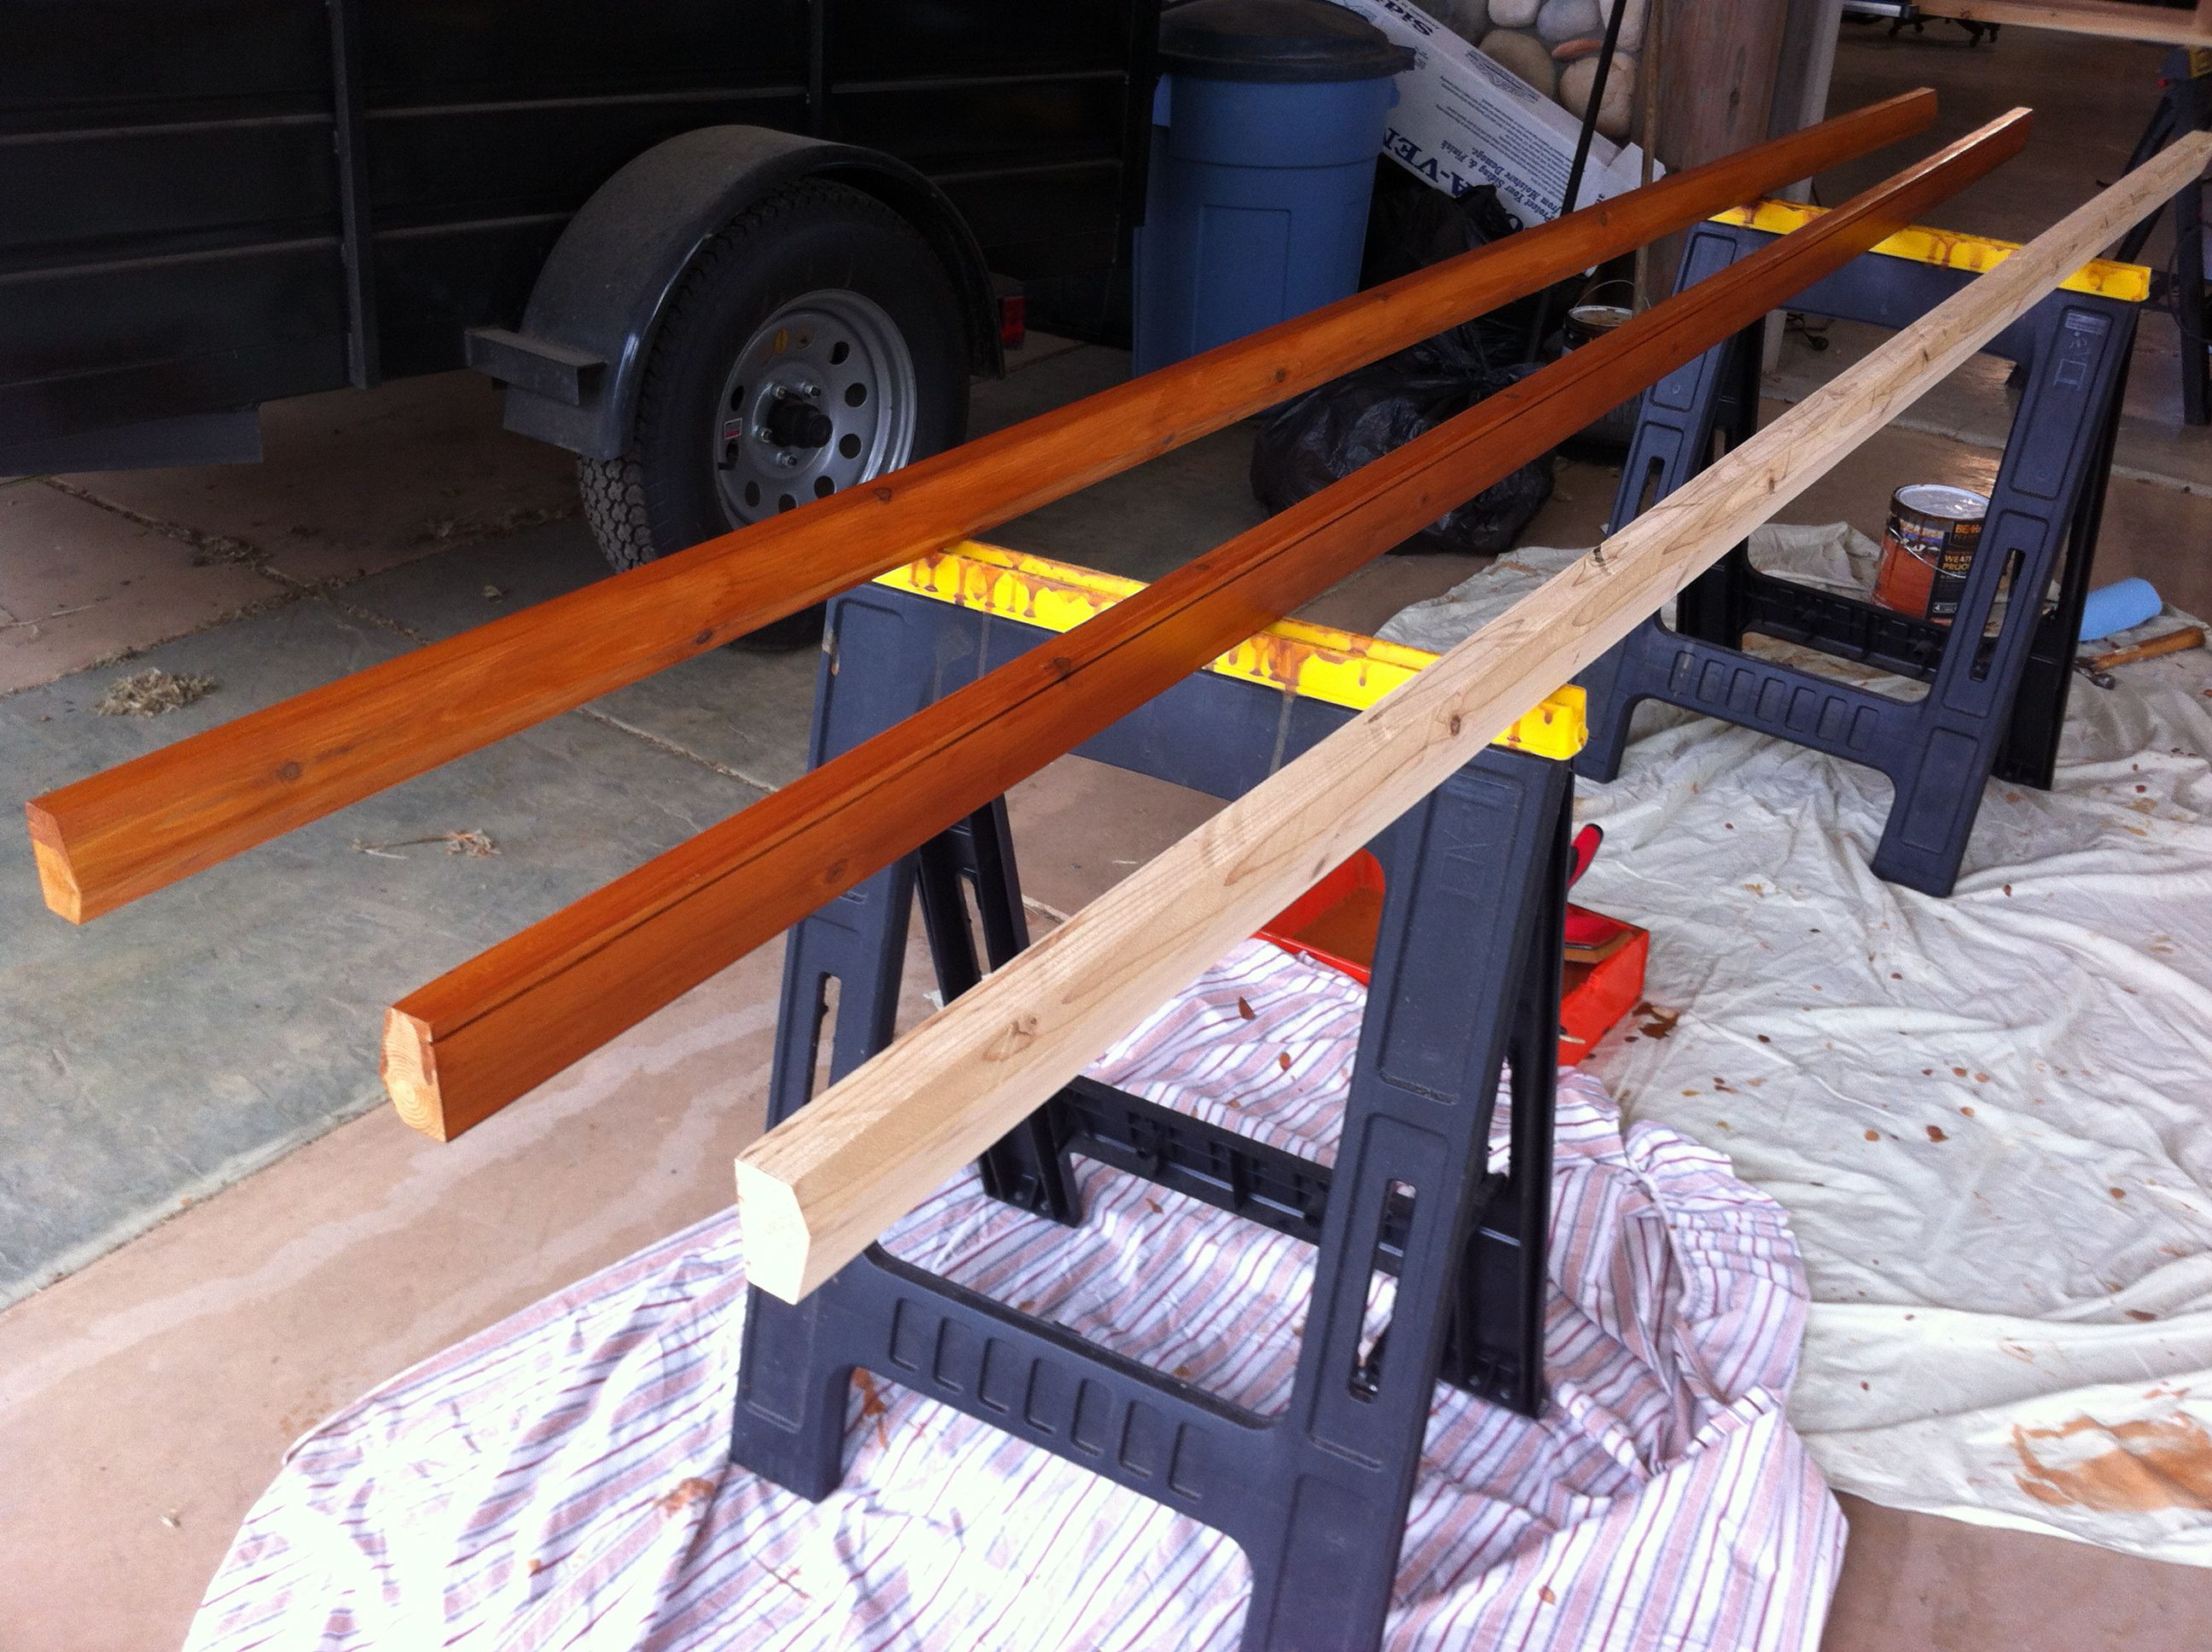
On my last trip up, I’d driven an hour and a half to my source for cedar to pick up the 5/4″ x 4″ trim boards. Got all the way home and realized as I was unloading them that they were soaking wet. Lesson learned to check before you leave the site. I had propped them up to dry and, when I returned this trip, a significant number were bowed and dog-legged. Another lesson learned: store wood flat. Hoping I could still work with what I had, I began the sanding and staining process.
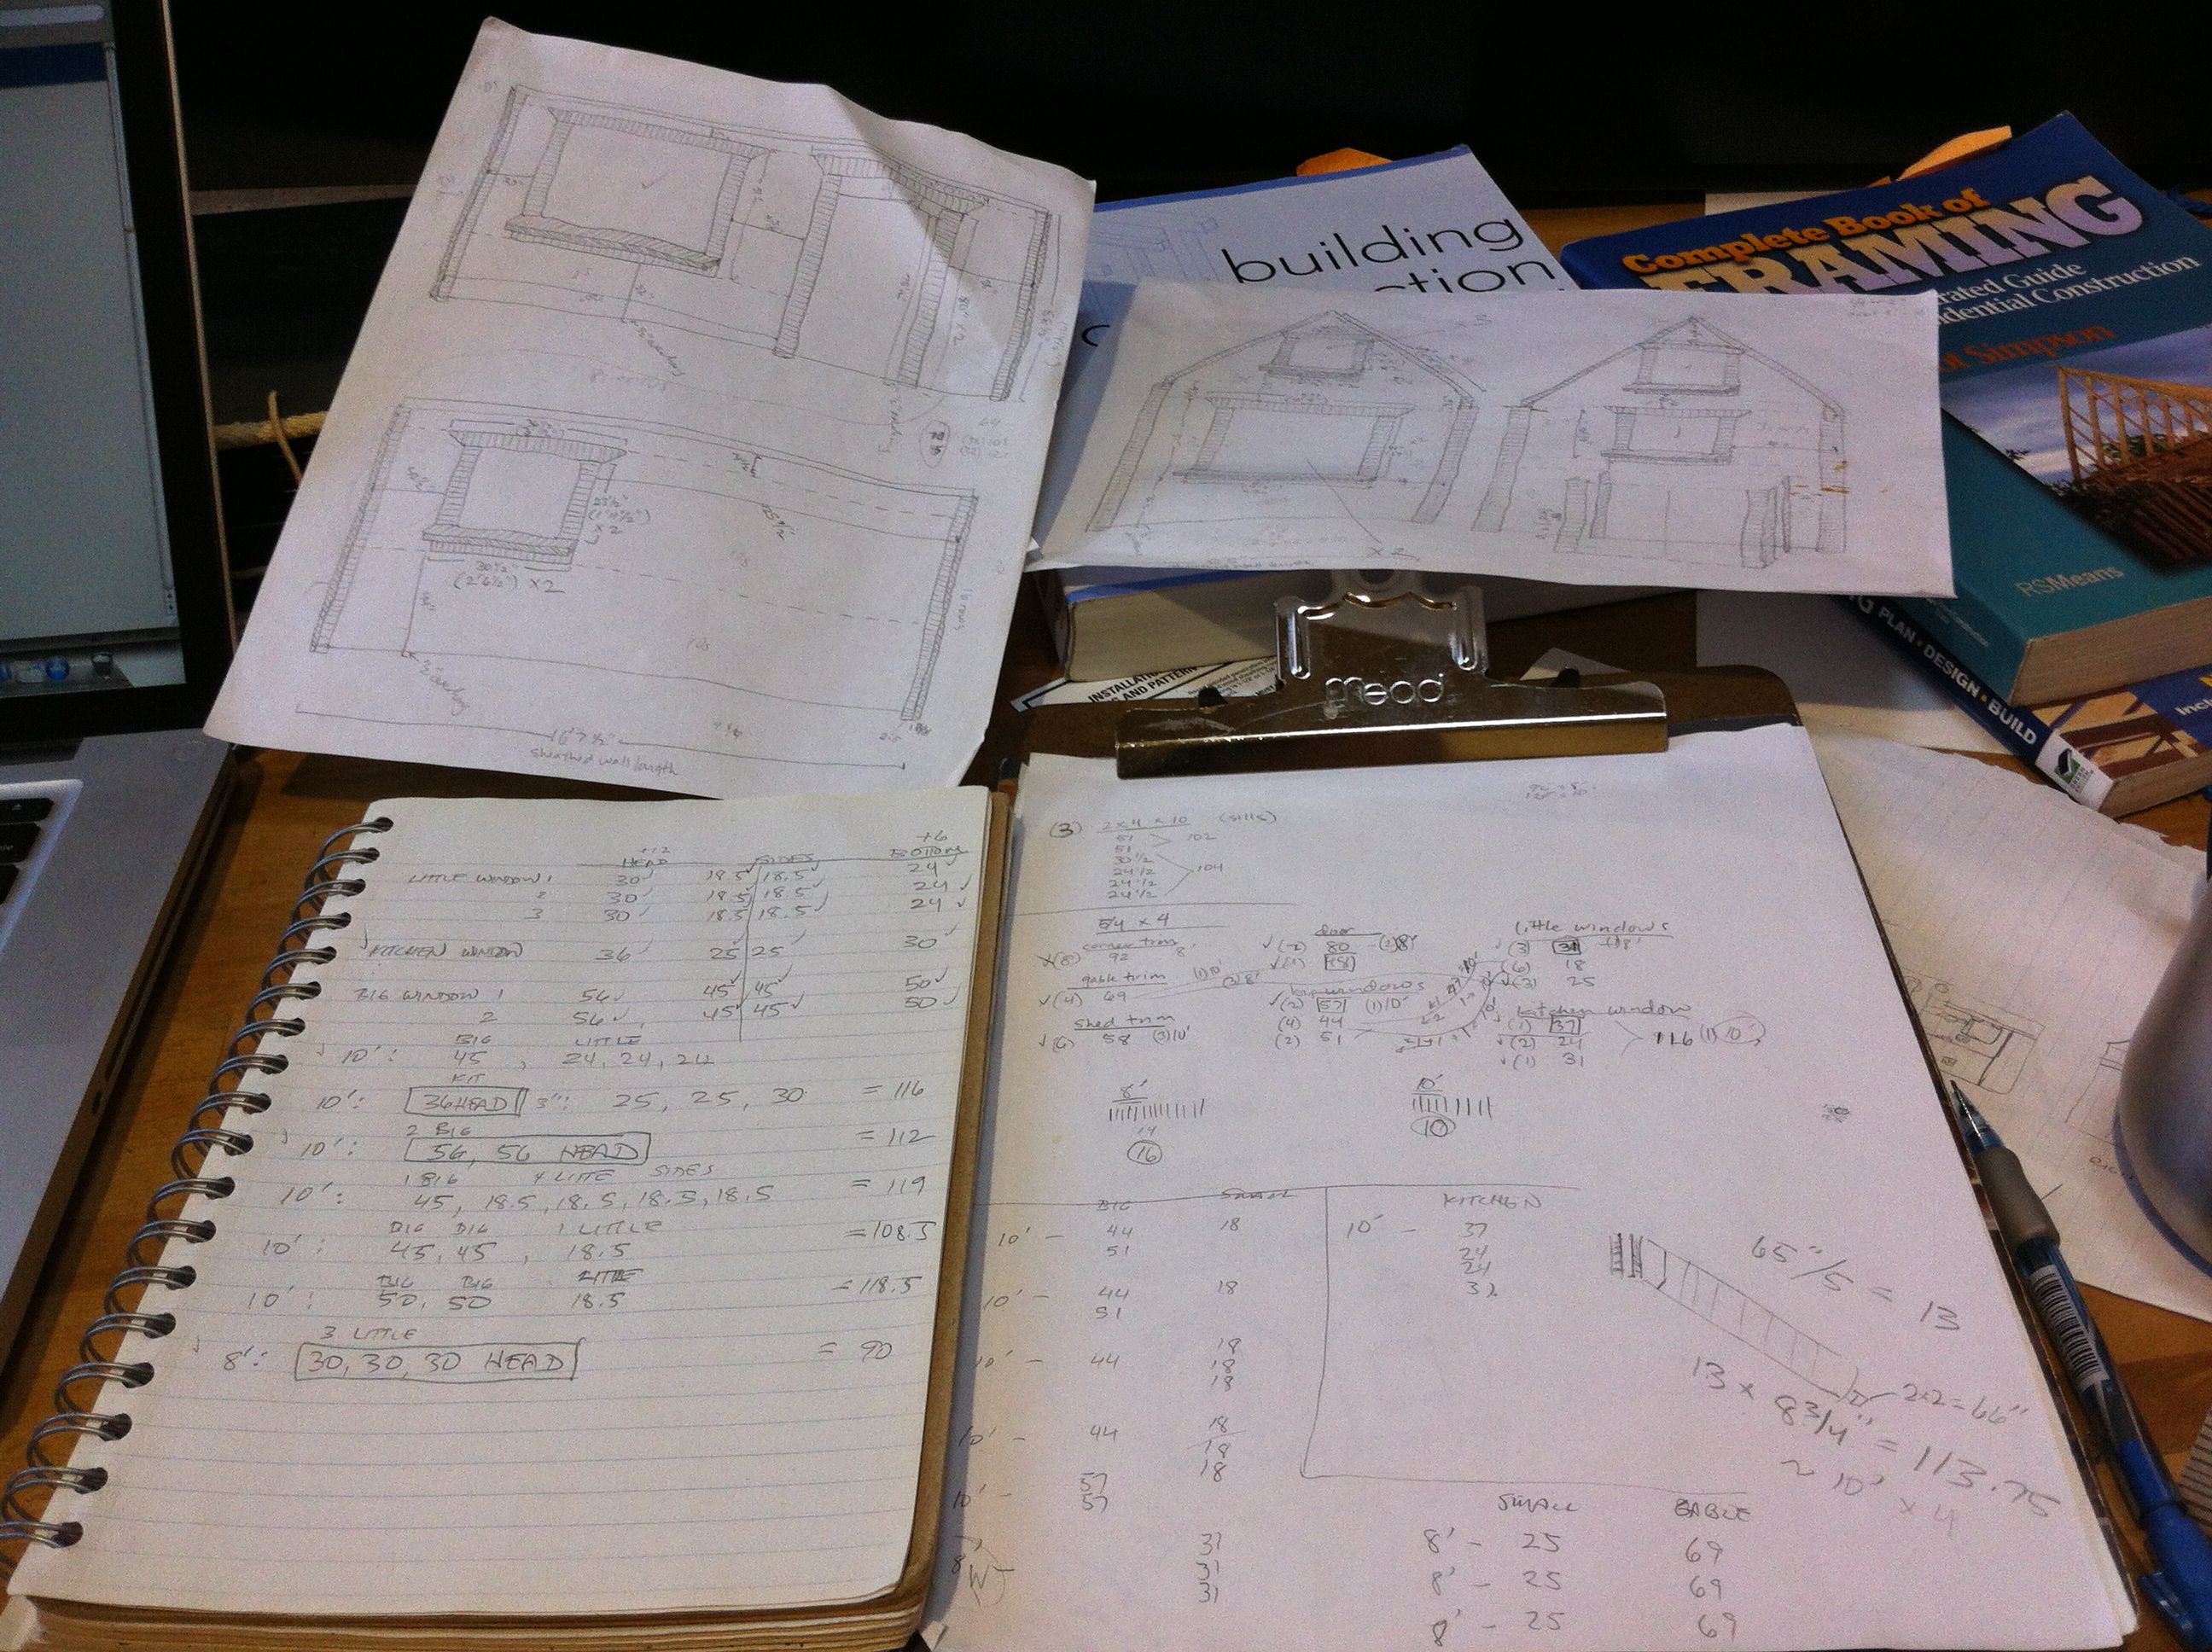
Calculating what I needed for trim and how to combine the individual pieces into specific board lengths to be most efficient. Not as easy as it sounds.

Trying to keep track of what piece was coming from what board resulted in some strange labels.
I could have gone with simple flat, square trim around the windows and made my life easy but of course I wanted to make it as big a challenge as I could. I wanted sills which required learning how to do fancy things on the table saw (angle cuts to slope the sill and to work around the beads of glue left on the bottom of the windows, kerfing out a drip edge beneath the sill, all while leaving enough vertical faces front and back to sit squarely against the wall and to allow enough room to drive screws in.) I was pretty happy it actually worked out without too much hassle.
This was as far as I got on the trim. I was hung up on some design issues regarding how wide it should be. So much for having it all installed this trip. The flashing work I got done was necessary but I have to admit it was not particularly impressive showing folks back in California what I’d done over the last three weeks. Ah well.
By this time I was starting to make the mental transition of moving to Oregon, but I still had to drive back to wrap up my life and work and apartment in California.
To be continued… (JULY)
