

Loft in progress.
This post is sort of a photographic essay on how I constructed my loft, as well as brief update on the last few months. Time she flies (except on the gray, gloomy days, then she drags). There were the holidays, of course, and a couple short trips, a fantastic hike near Mount Rainier, housesitting/dog-sitting, getting on top of some health stuff, and now it’s blueberry pruning time, so helping out with that.
In terms of the house, a trip to IKEA to get my sink – and the subsequent discovery that it and the fridge wouldn’t play nicely in the space I had allotted for them – led to a drastic redesign of the area under my loft. Now that the interior work was getting real, I had to knuckle down and update my plans with the actual built dimensions and stud placement. Planning my anticipated electrical usage, fixture layout, and wiring also led to considerable time researching ventilation strategies. Met with Todd Clay, of Gorge Electric, who has been wonderful about guiding me through all things electrical. Hopefully I’ll start work on that next week. I also sourced some lights, and the wood and wool I’ll need to finish the walls. Here are some pics of the last few months, followed by a detailed look at the loft construction:

Dog-sitting sweetness

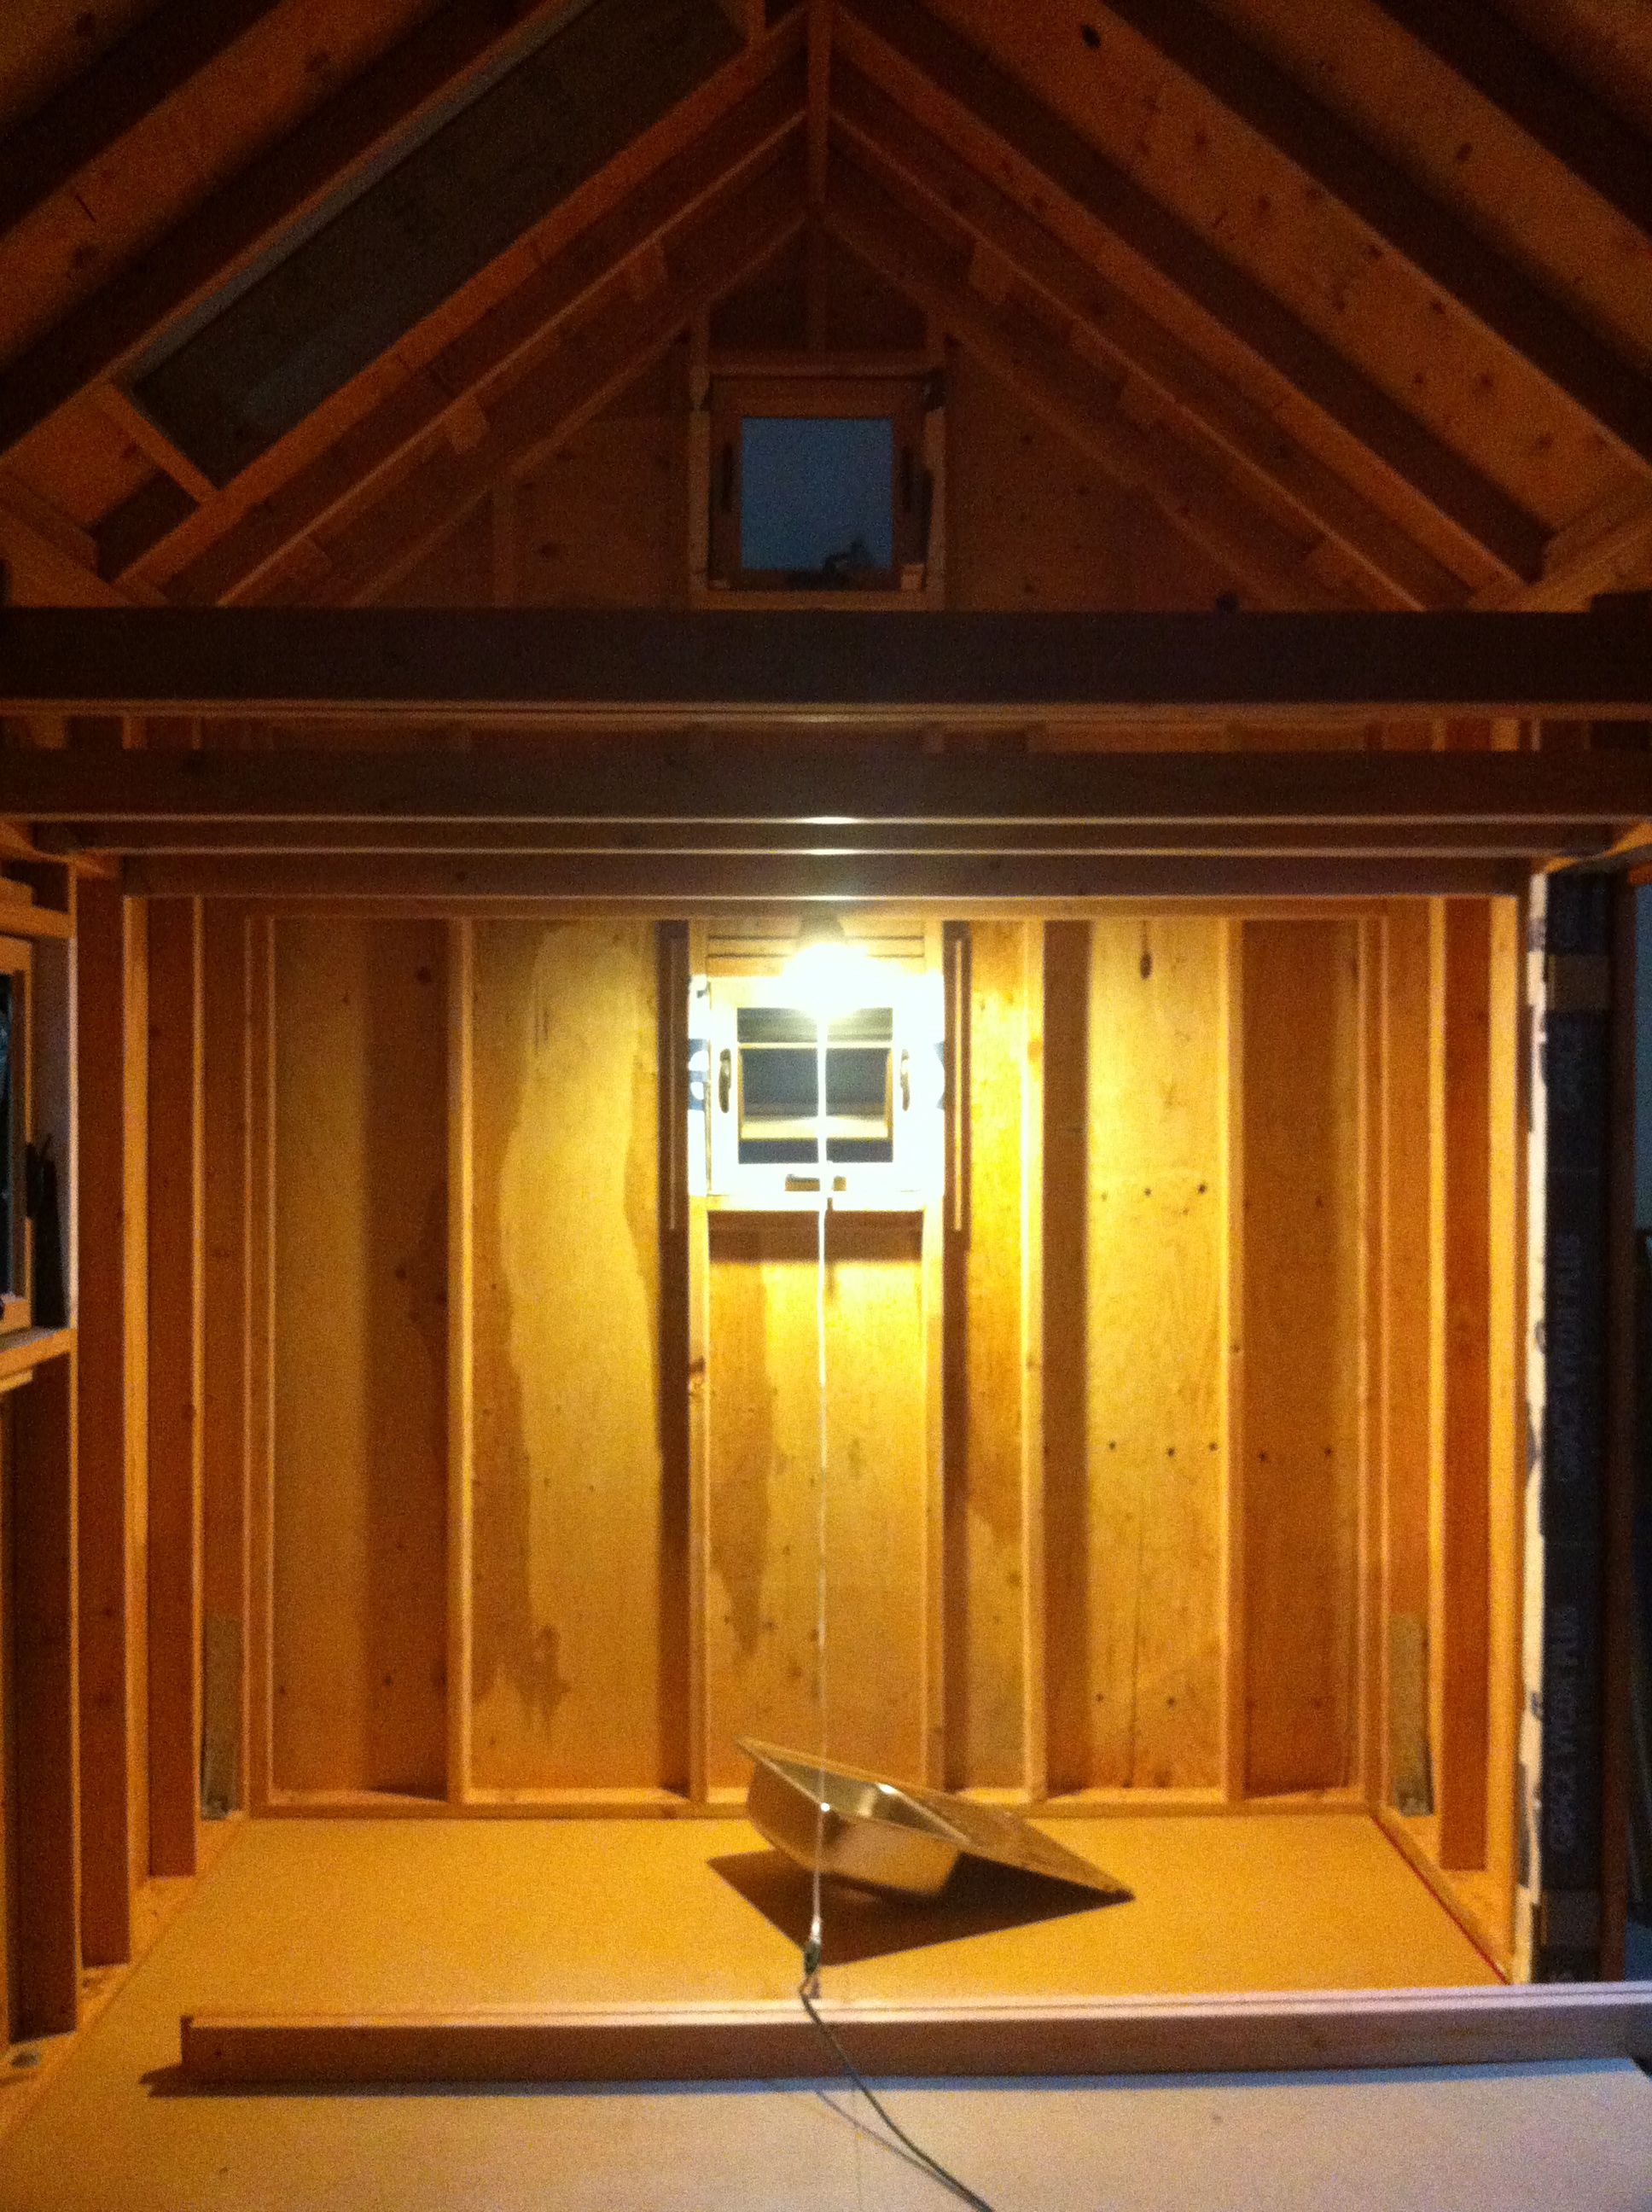
Decided I should get a feel of what it will be like to work in my house.
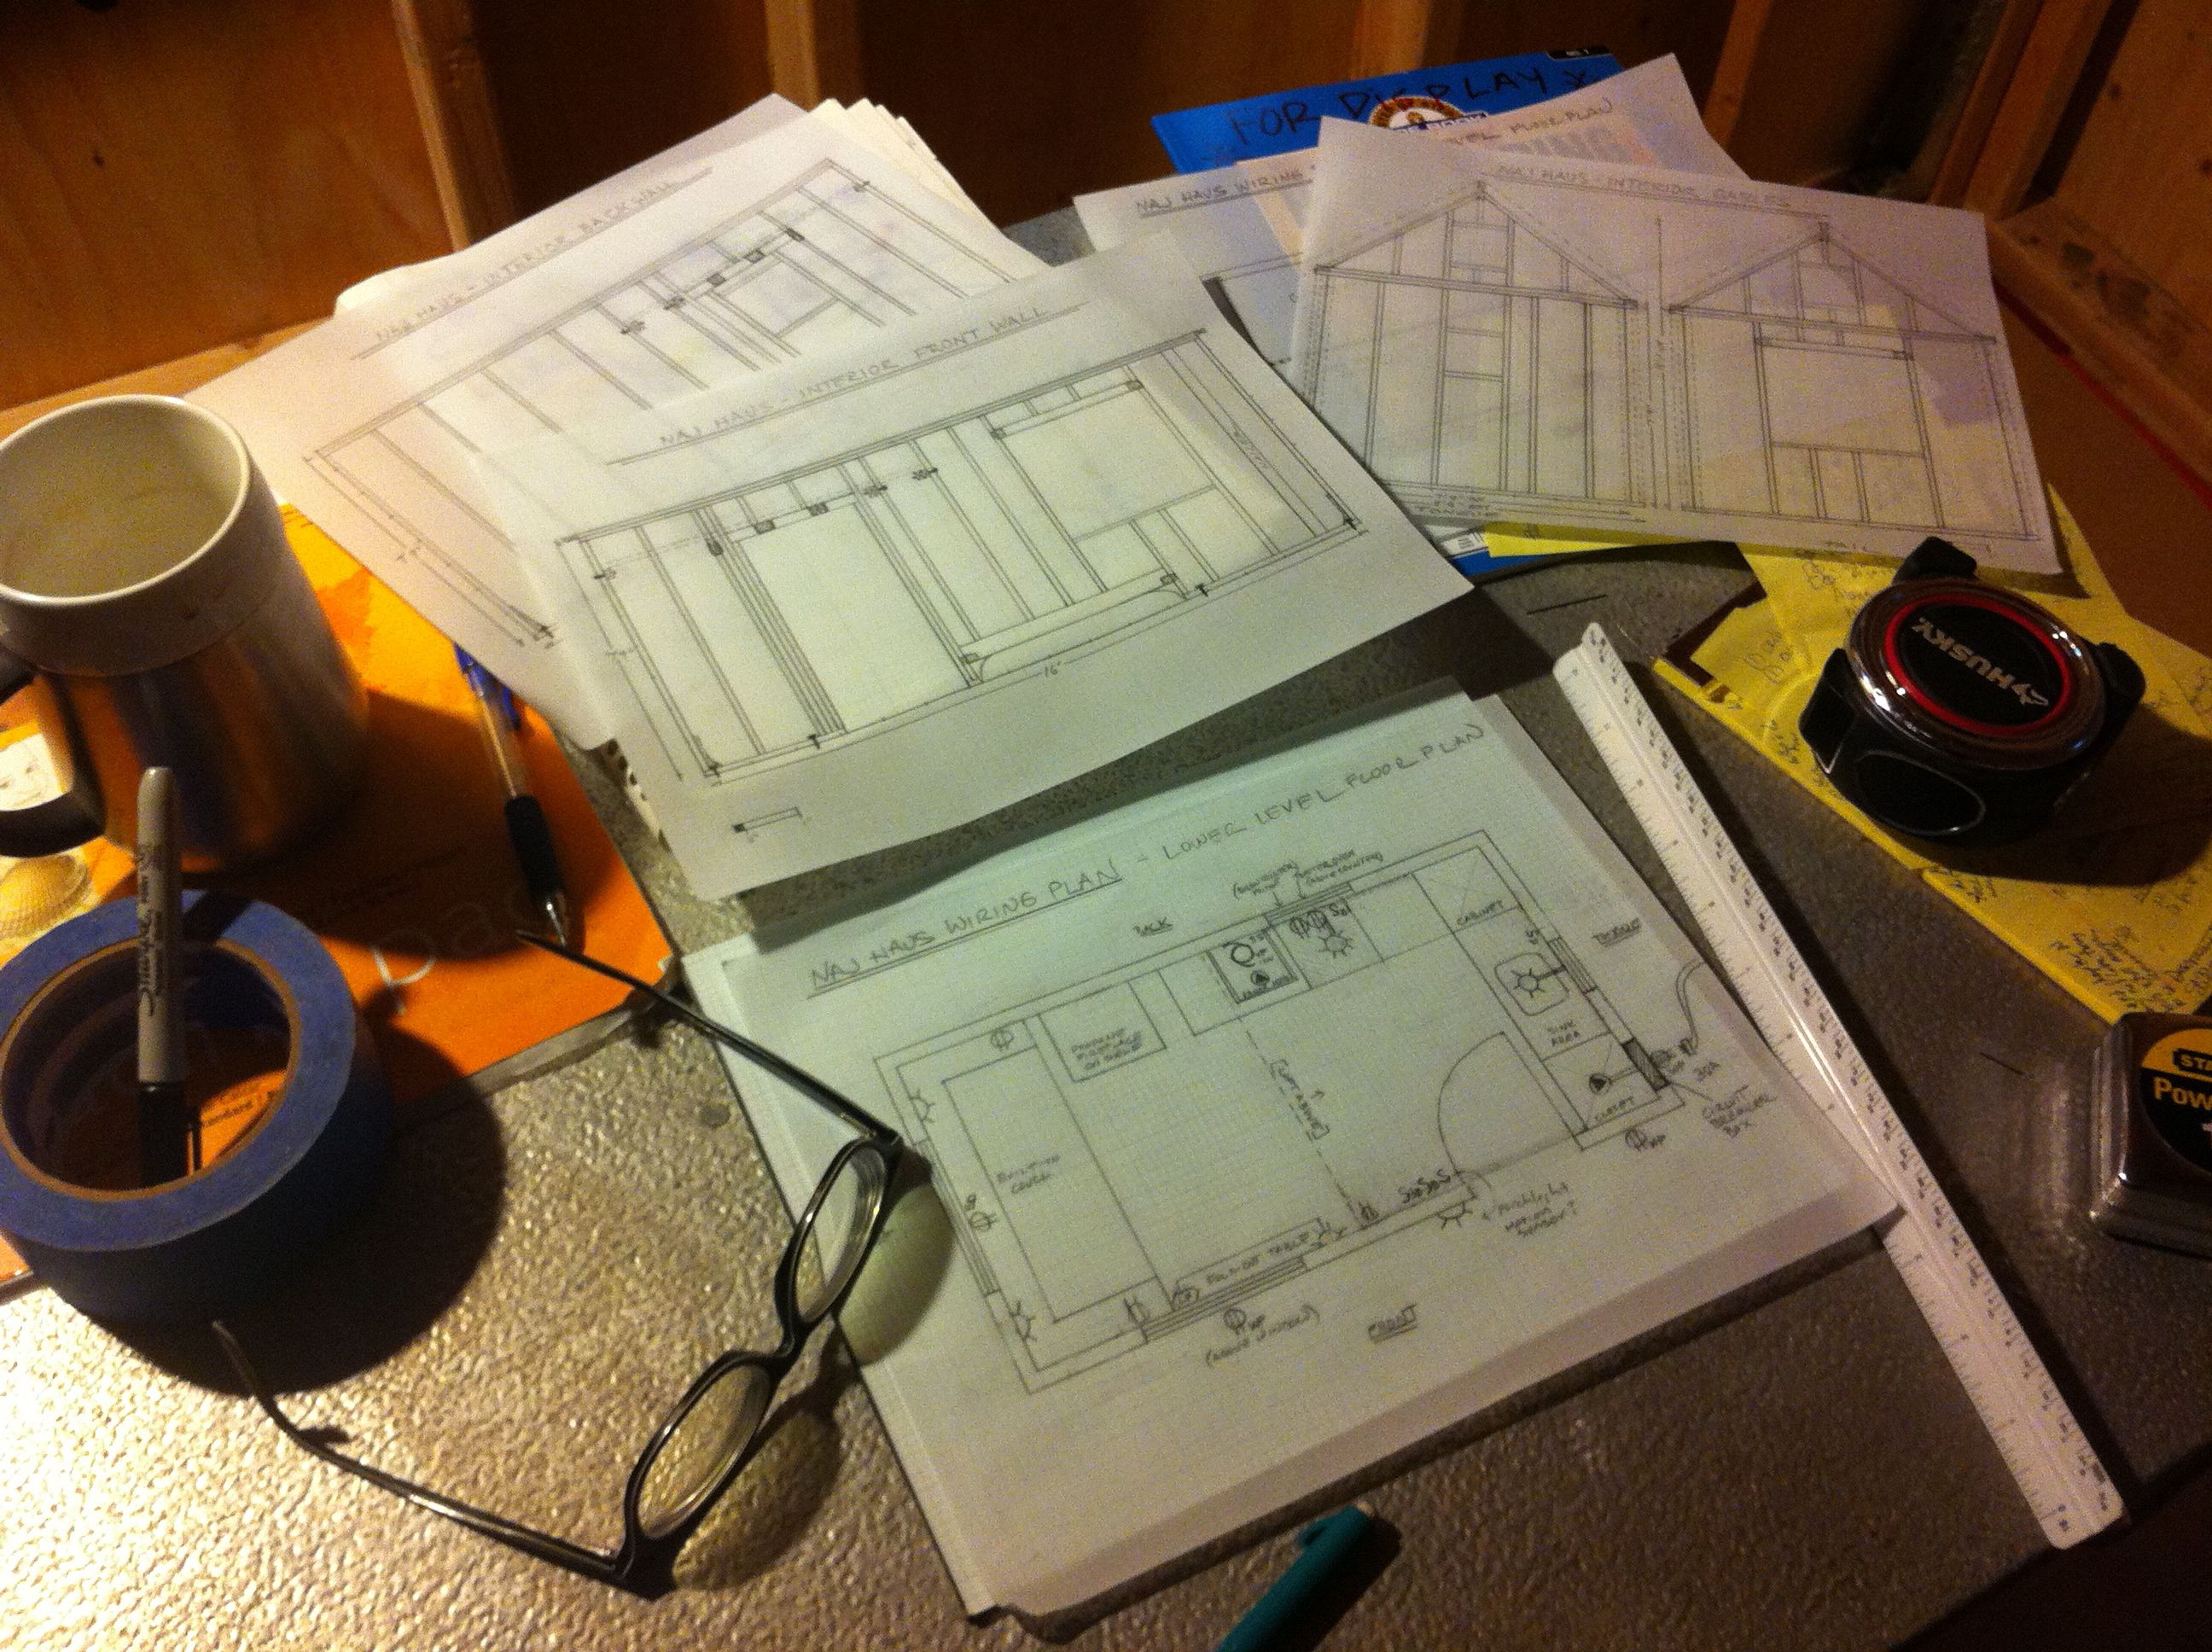
Updating my designs and working on my wiring plan. Went back to old-school graph paper for this.

A very early stab at planning circuits.
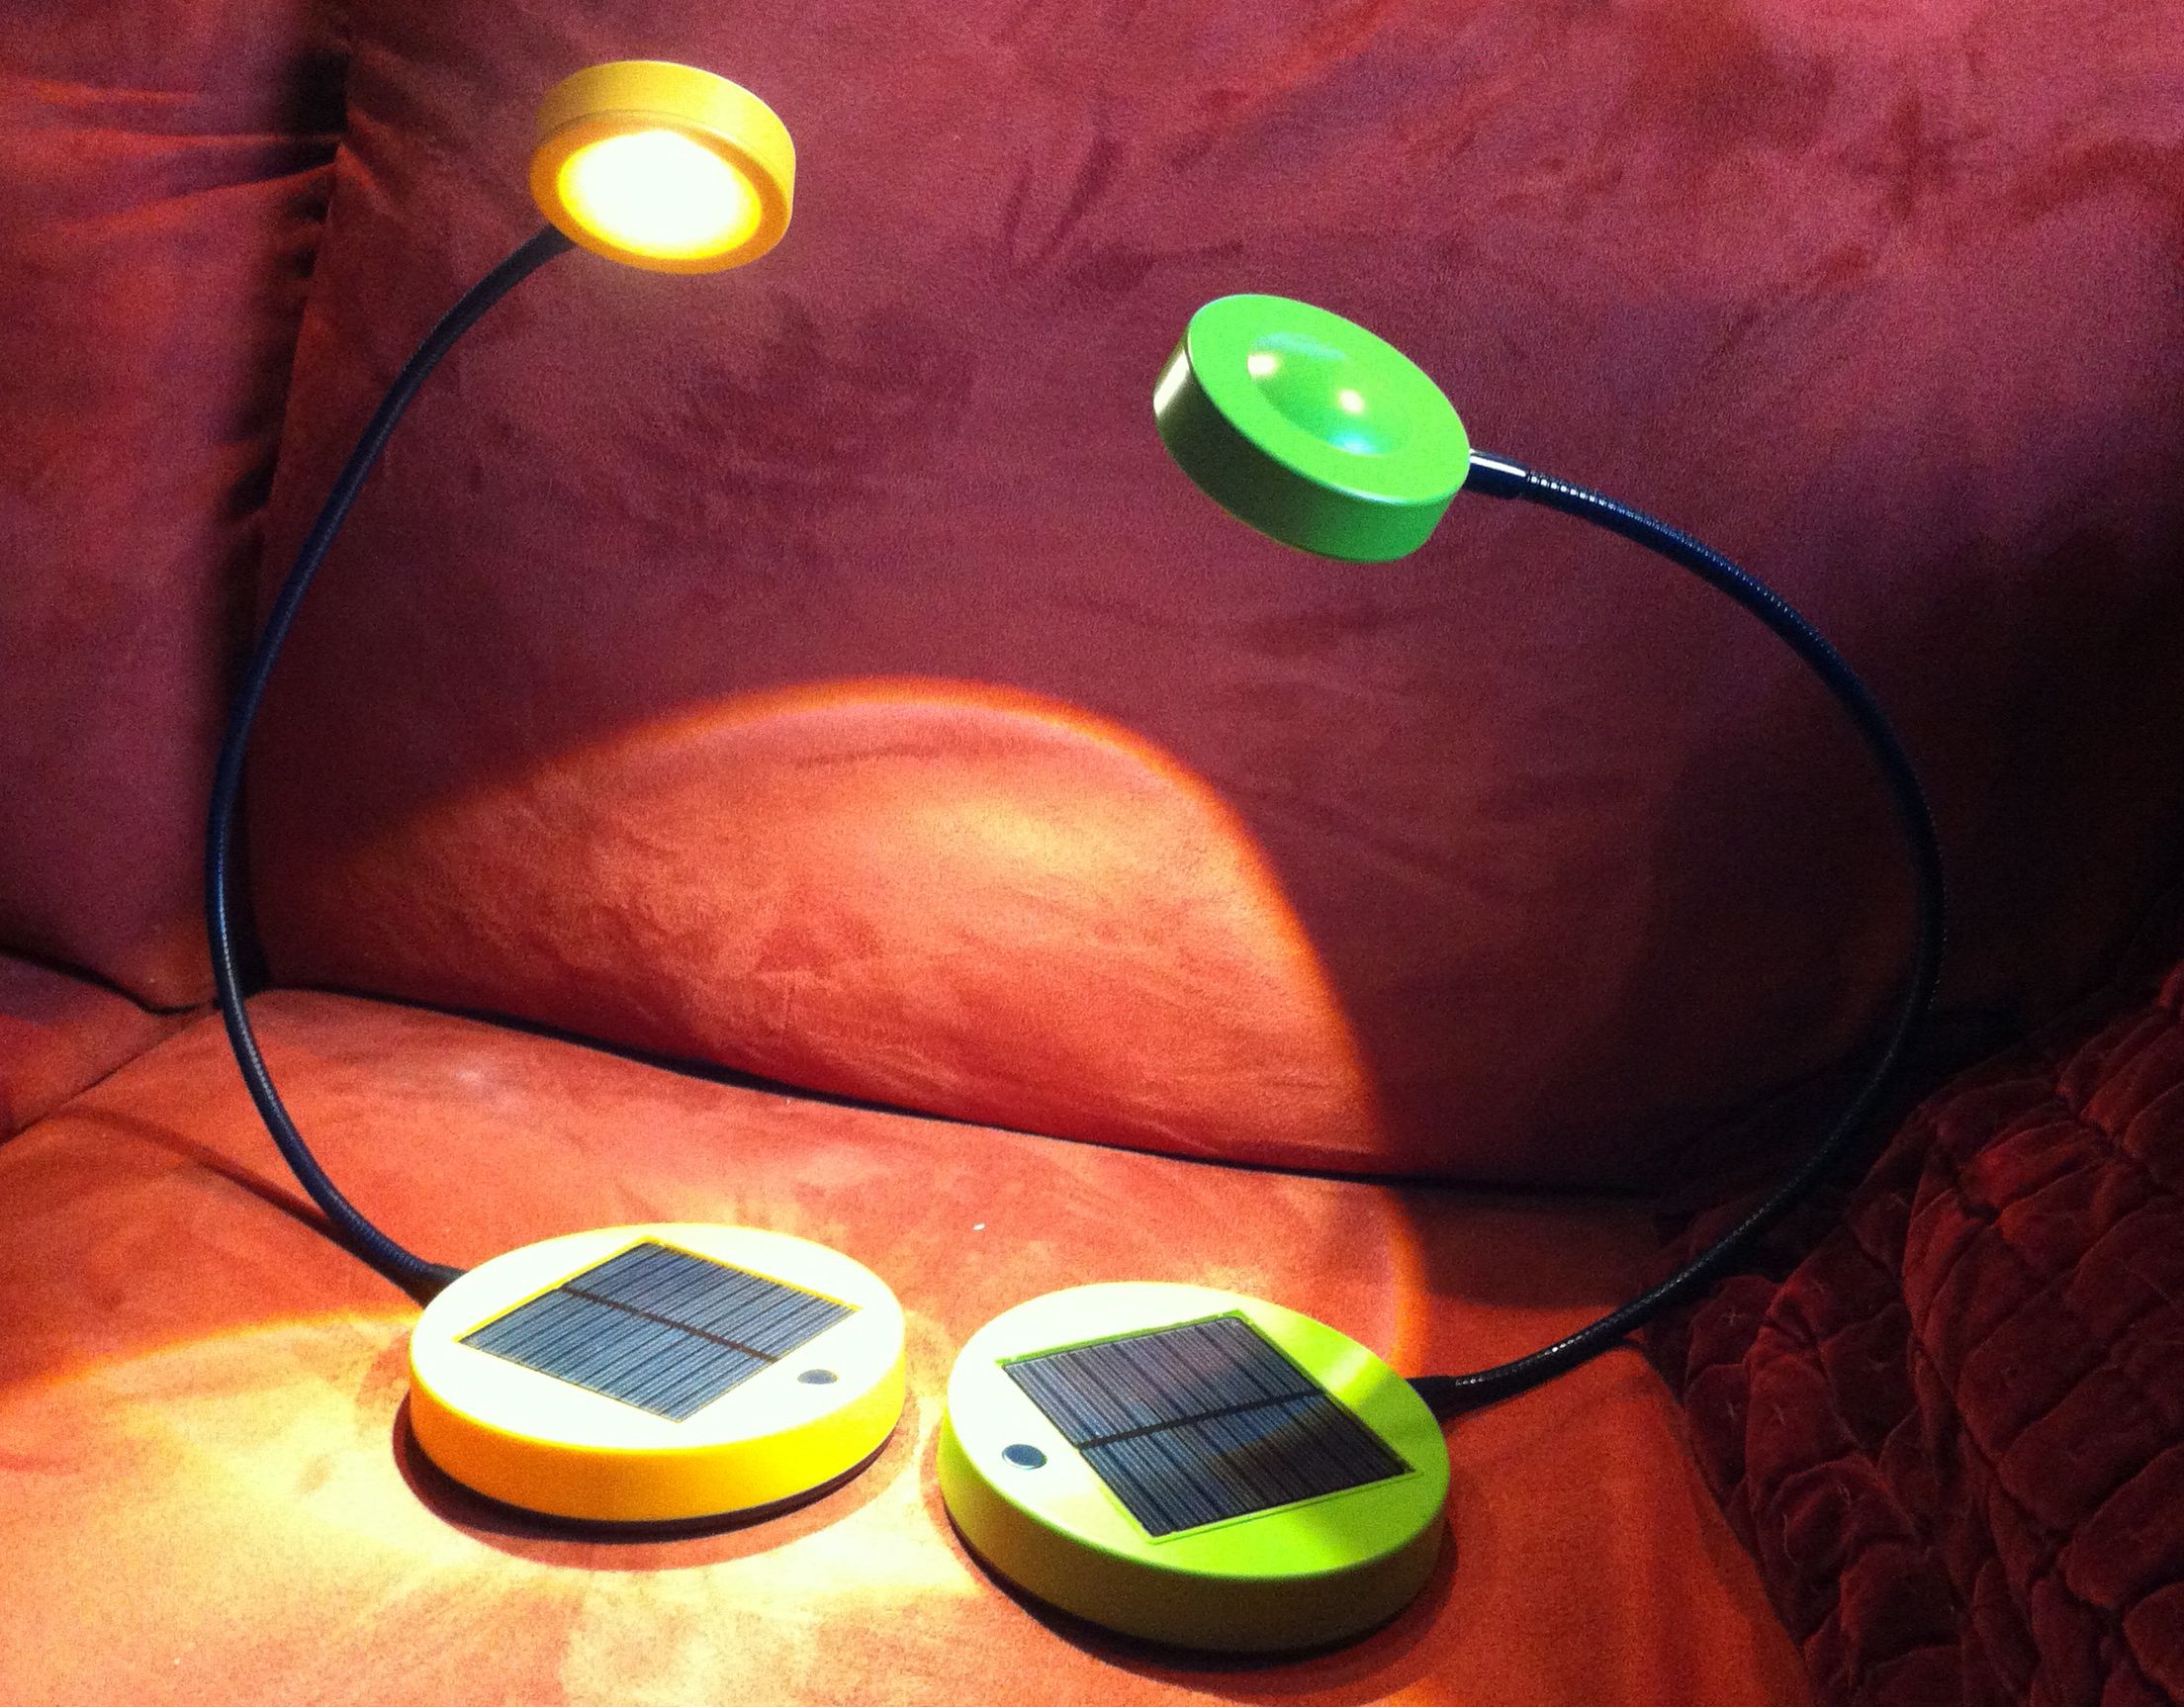
My IKEA sink trip also resulted in these two solar lights I wrote about in this post. I was horrified to see they had stopped selling them online, but found some still left in the store so I got two!

Also found some sconces from Morocco.

Did some case study presentations at some of the PAD workshops (and also wrote about my workshop experiences as a new tiny houser). Here is Dee in front of one of Rebecca Green’s wonderful paintings, talking about tiny house tomfoolery.
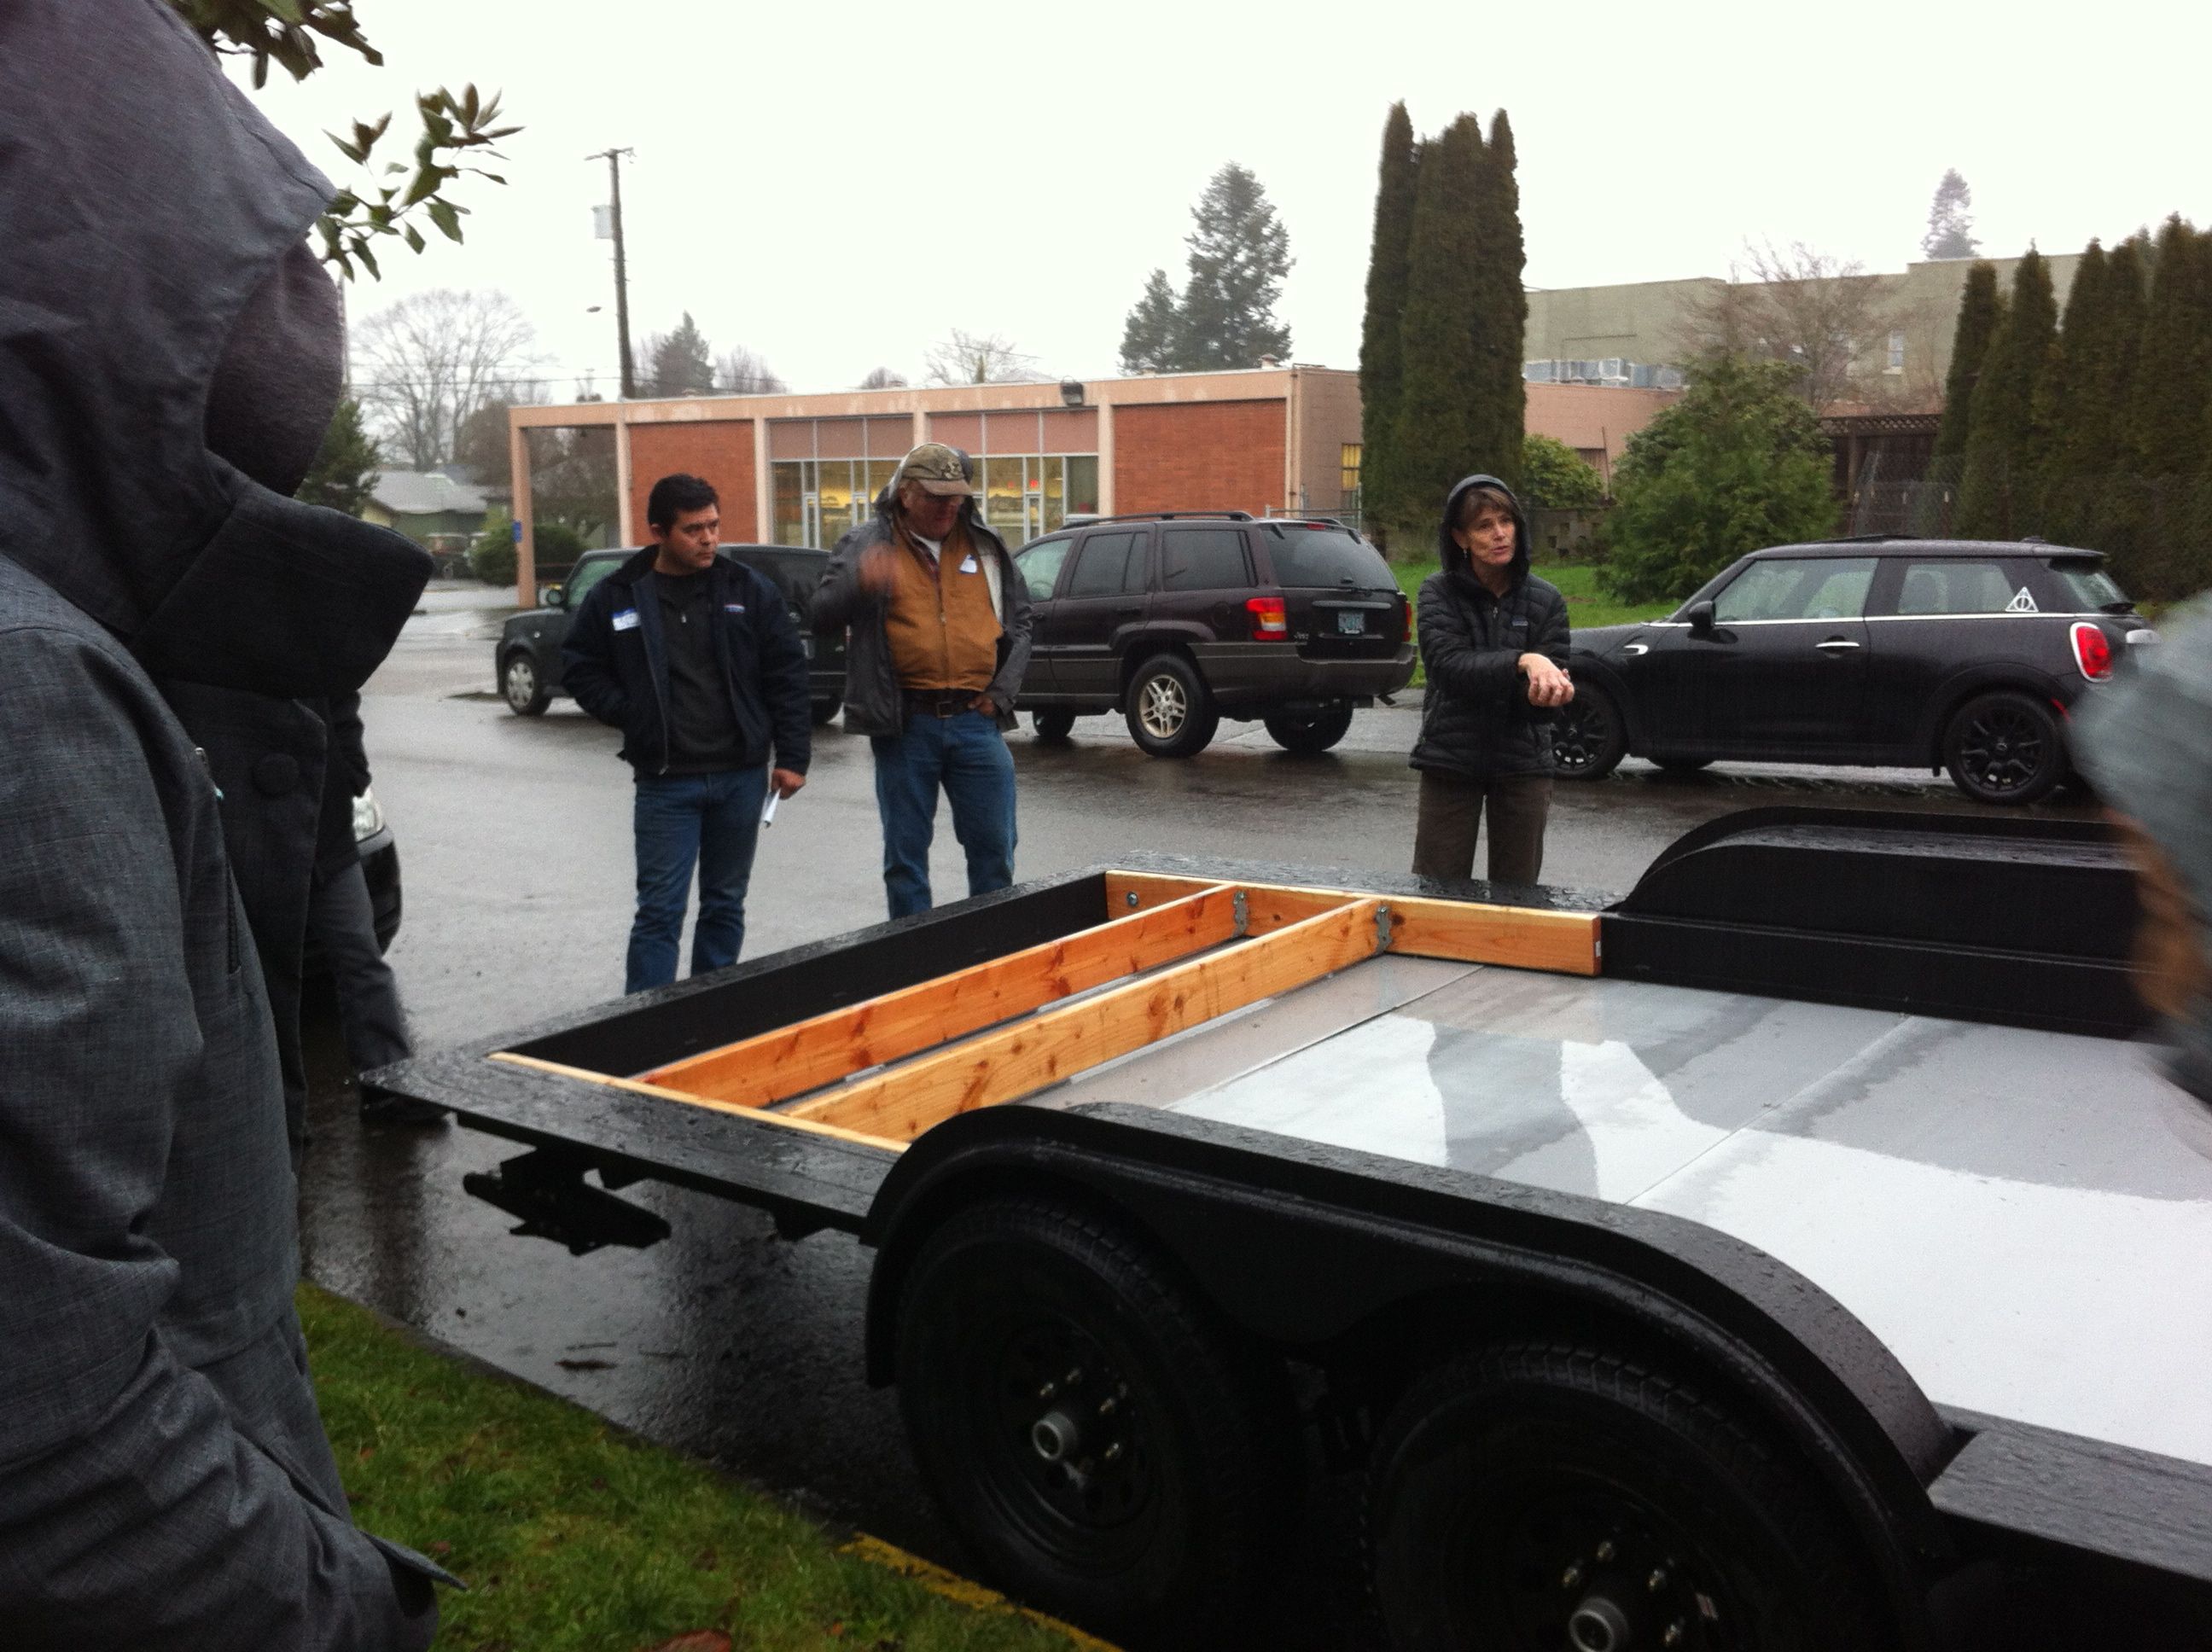
Dee and Rob Mandzij of Iron Eagle Trailers talking about the custom PAD tiny house trailer they designed with Shelter Wise, and how to safely secure it to the house. It was a good ol’ Oregon rainy day.
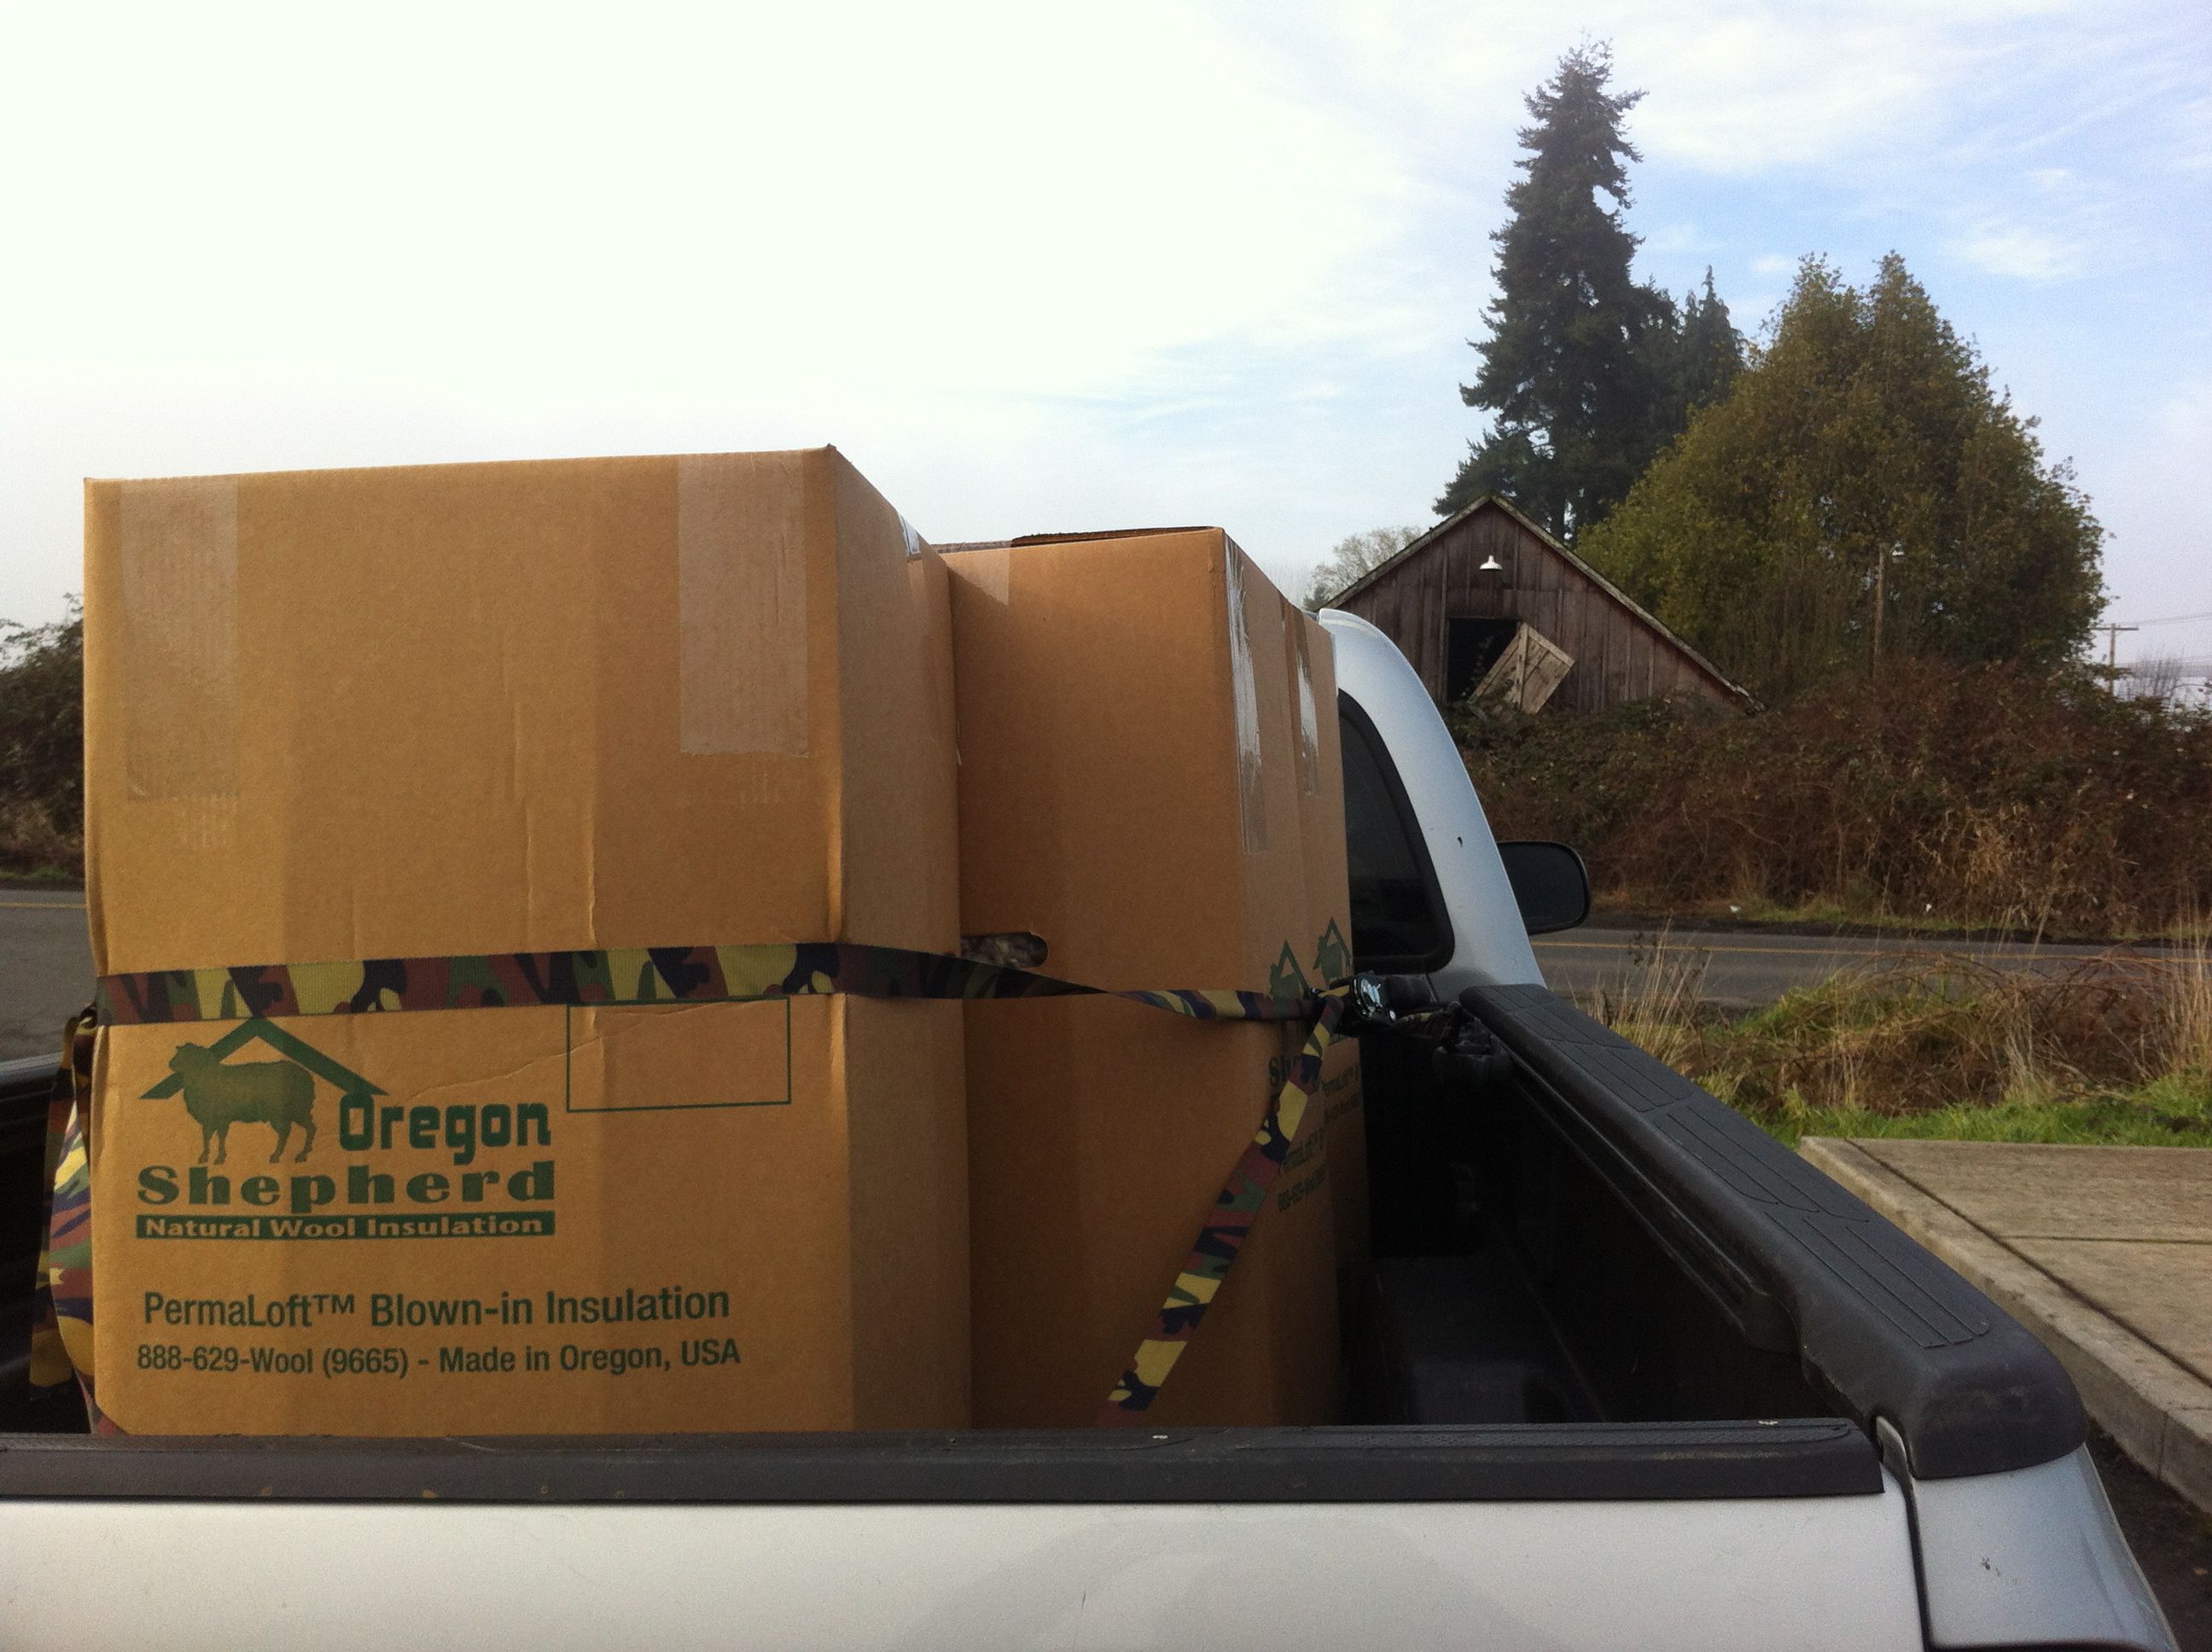
During a break in the rain, I drove out to Oregon Shepherd to get my wool insulation. Hoping six boxes will be the right amount (not including what’s already in the floor).
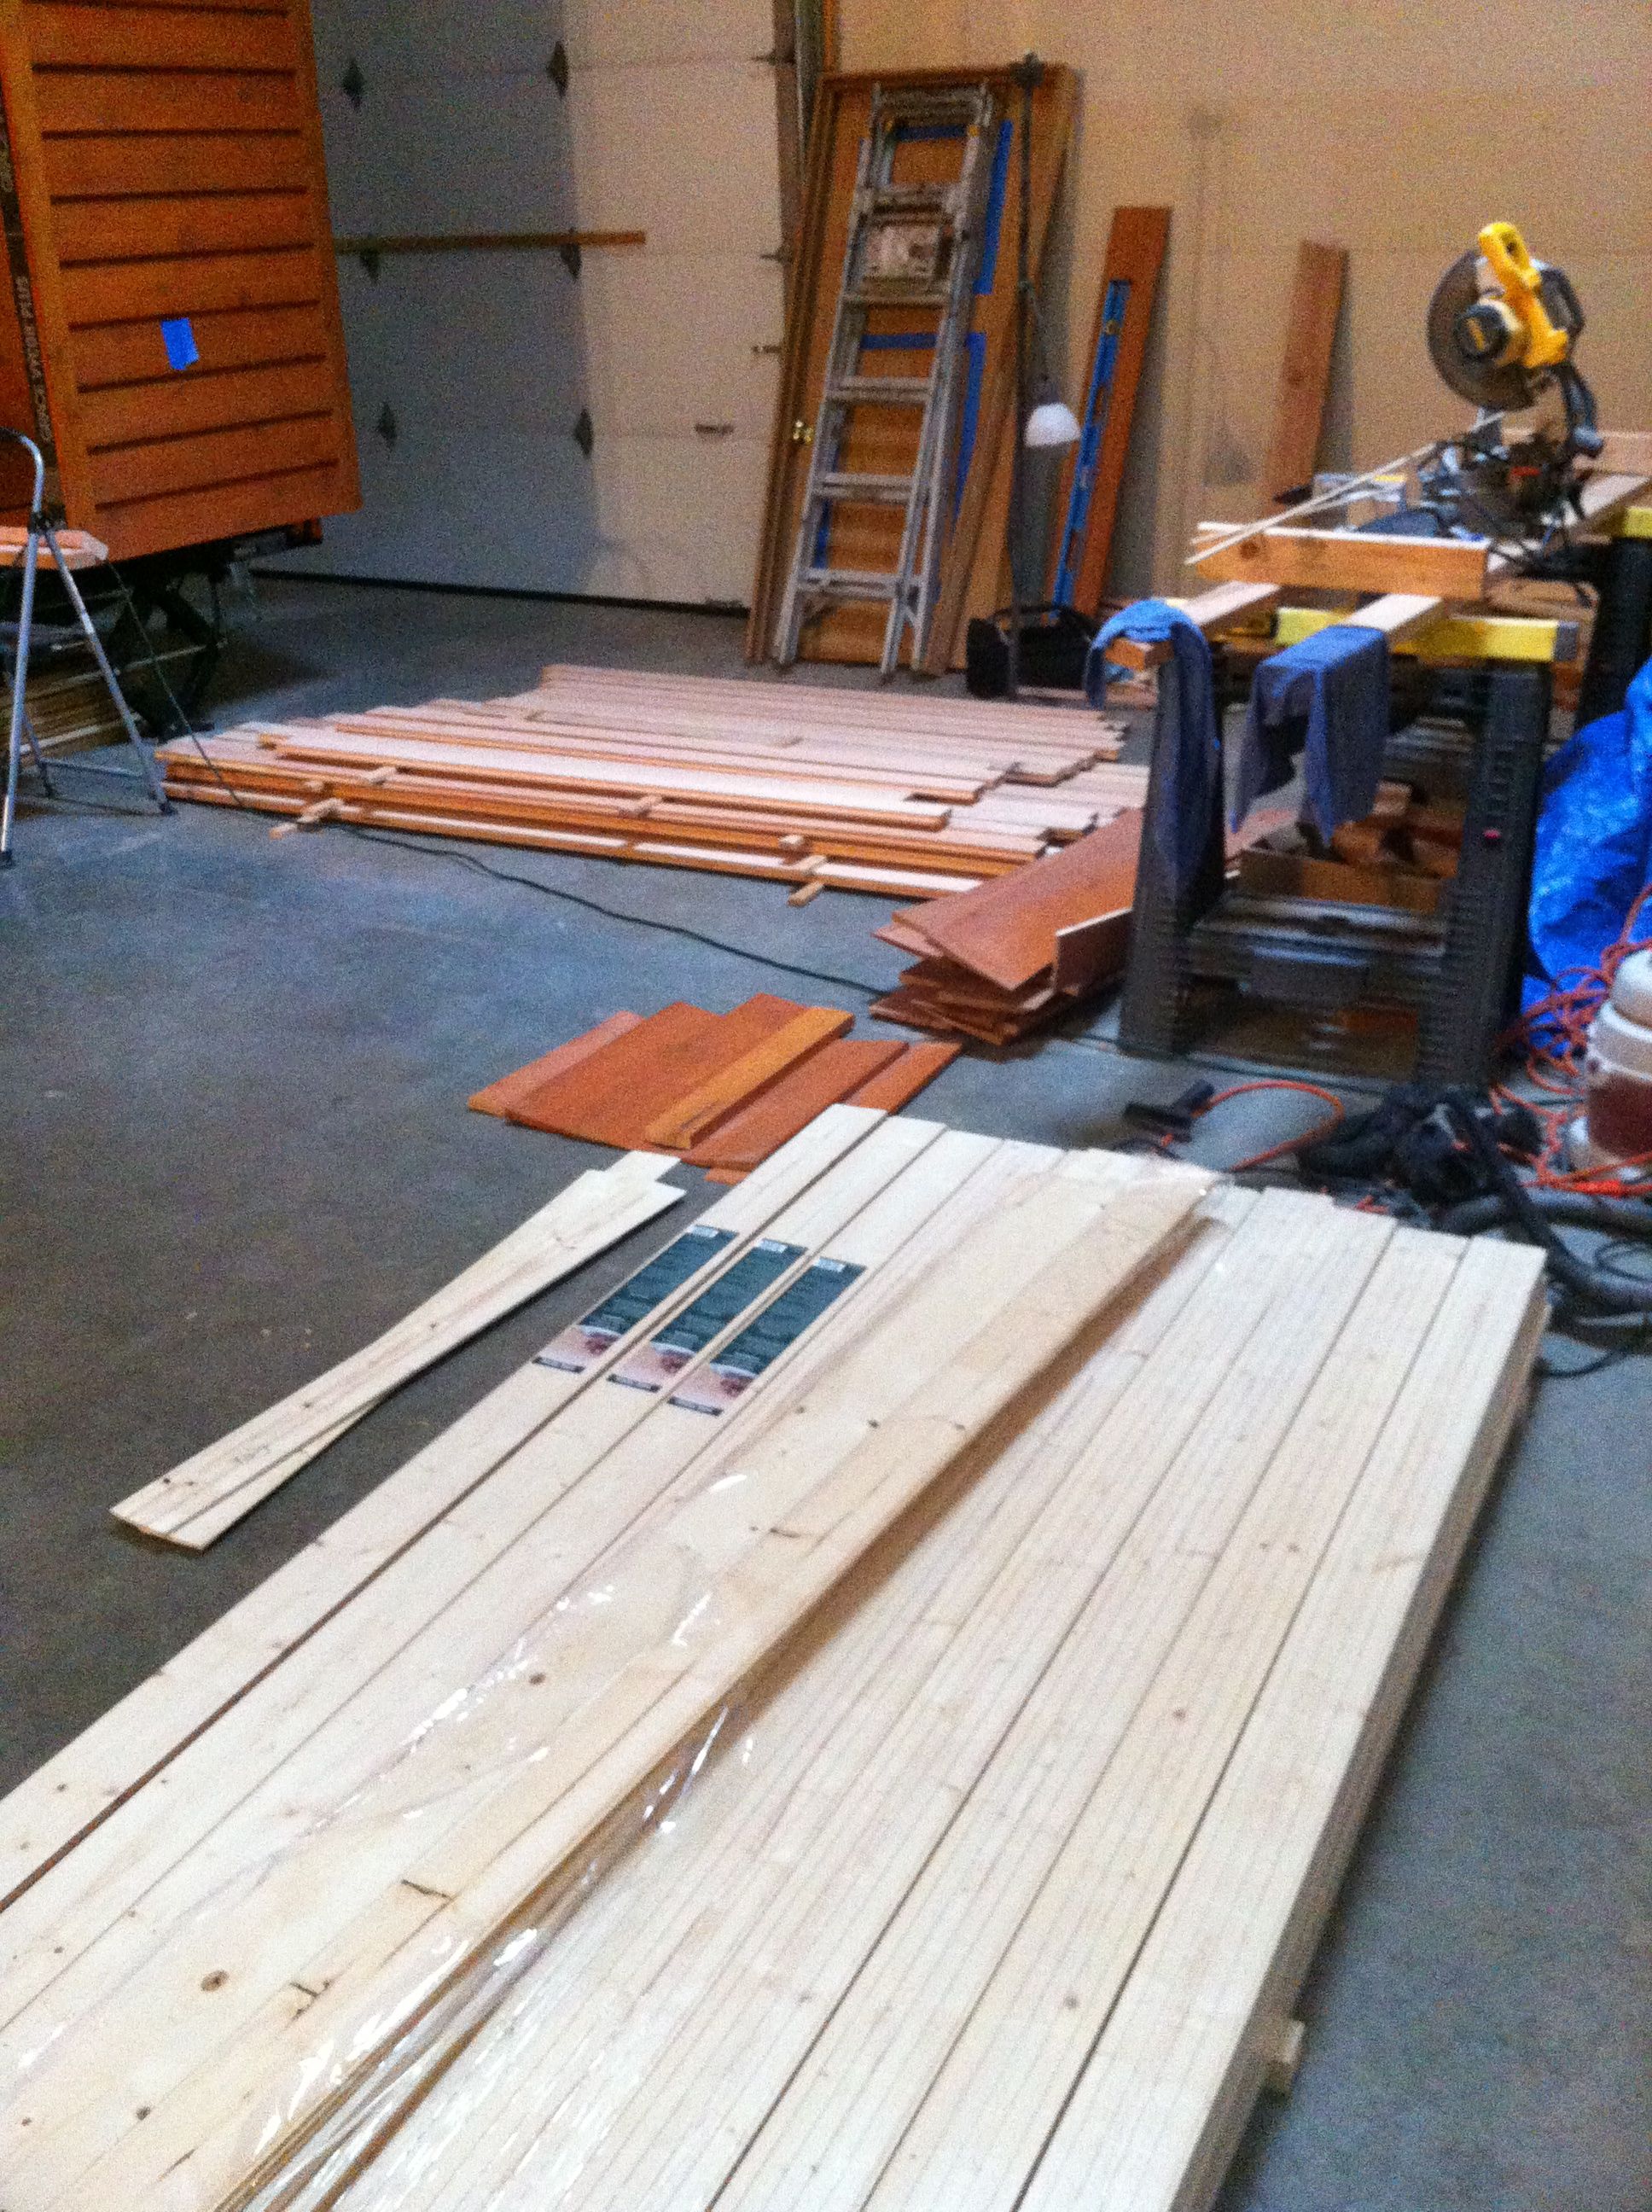
Also got the wood for my walls (foreground) and my loft.
Loft construction
My intent here is to pass on the tips and tricks I either learned from my builder friends or discovered on my own. I’m sure there are other ways to lay down a loft, but this seemed to work. I included lots of photos because a) when I’m trying to research something, I always wish I could find more visuals, so hopefully these will help others, and b) like any parent, I found my loft to be incredibly photogenic. 😉 If you’re not interested in the details, you can just skim to the end to see the finished loft.
First I tore down the temporary plywood loft and finished sanding the joists.
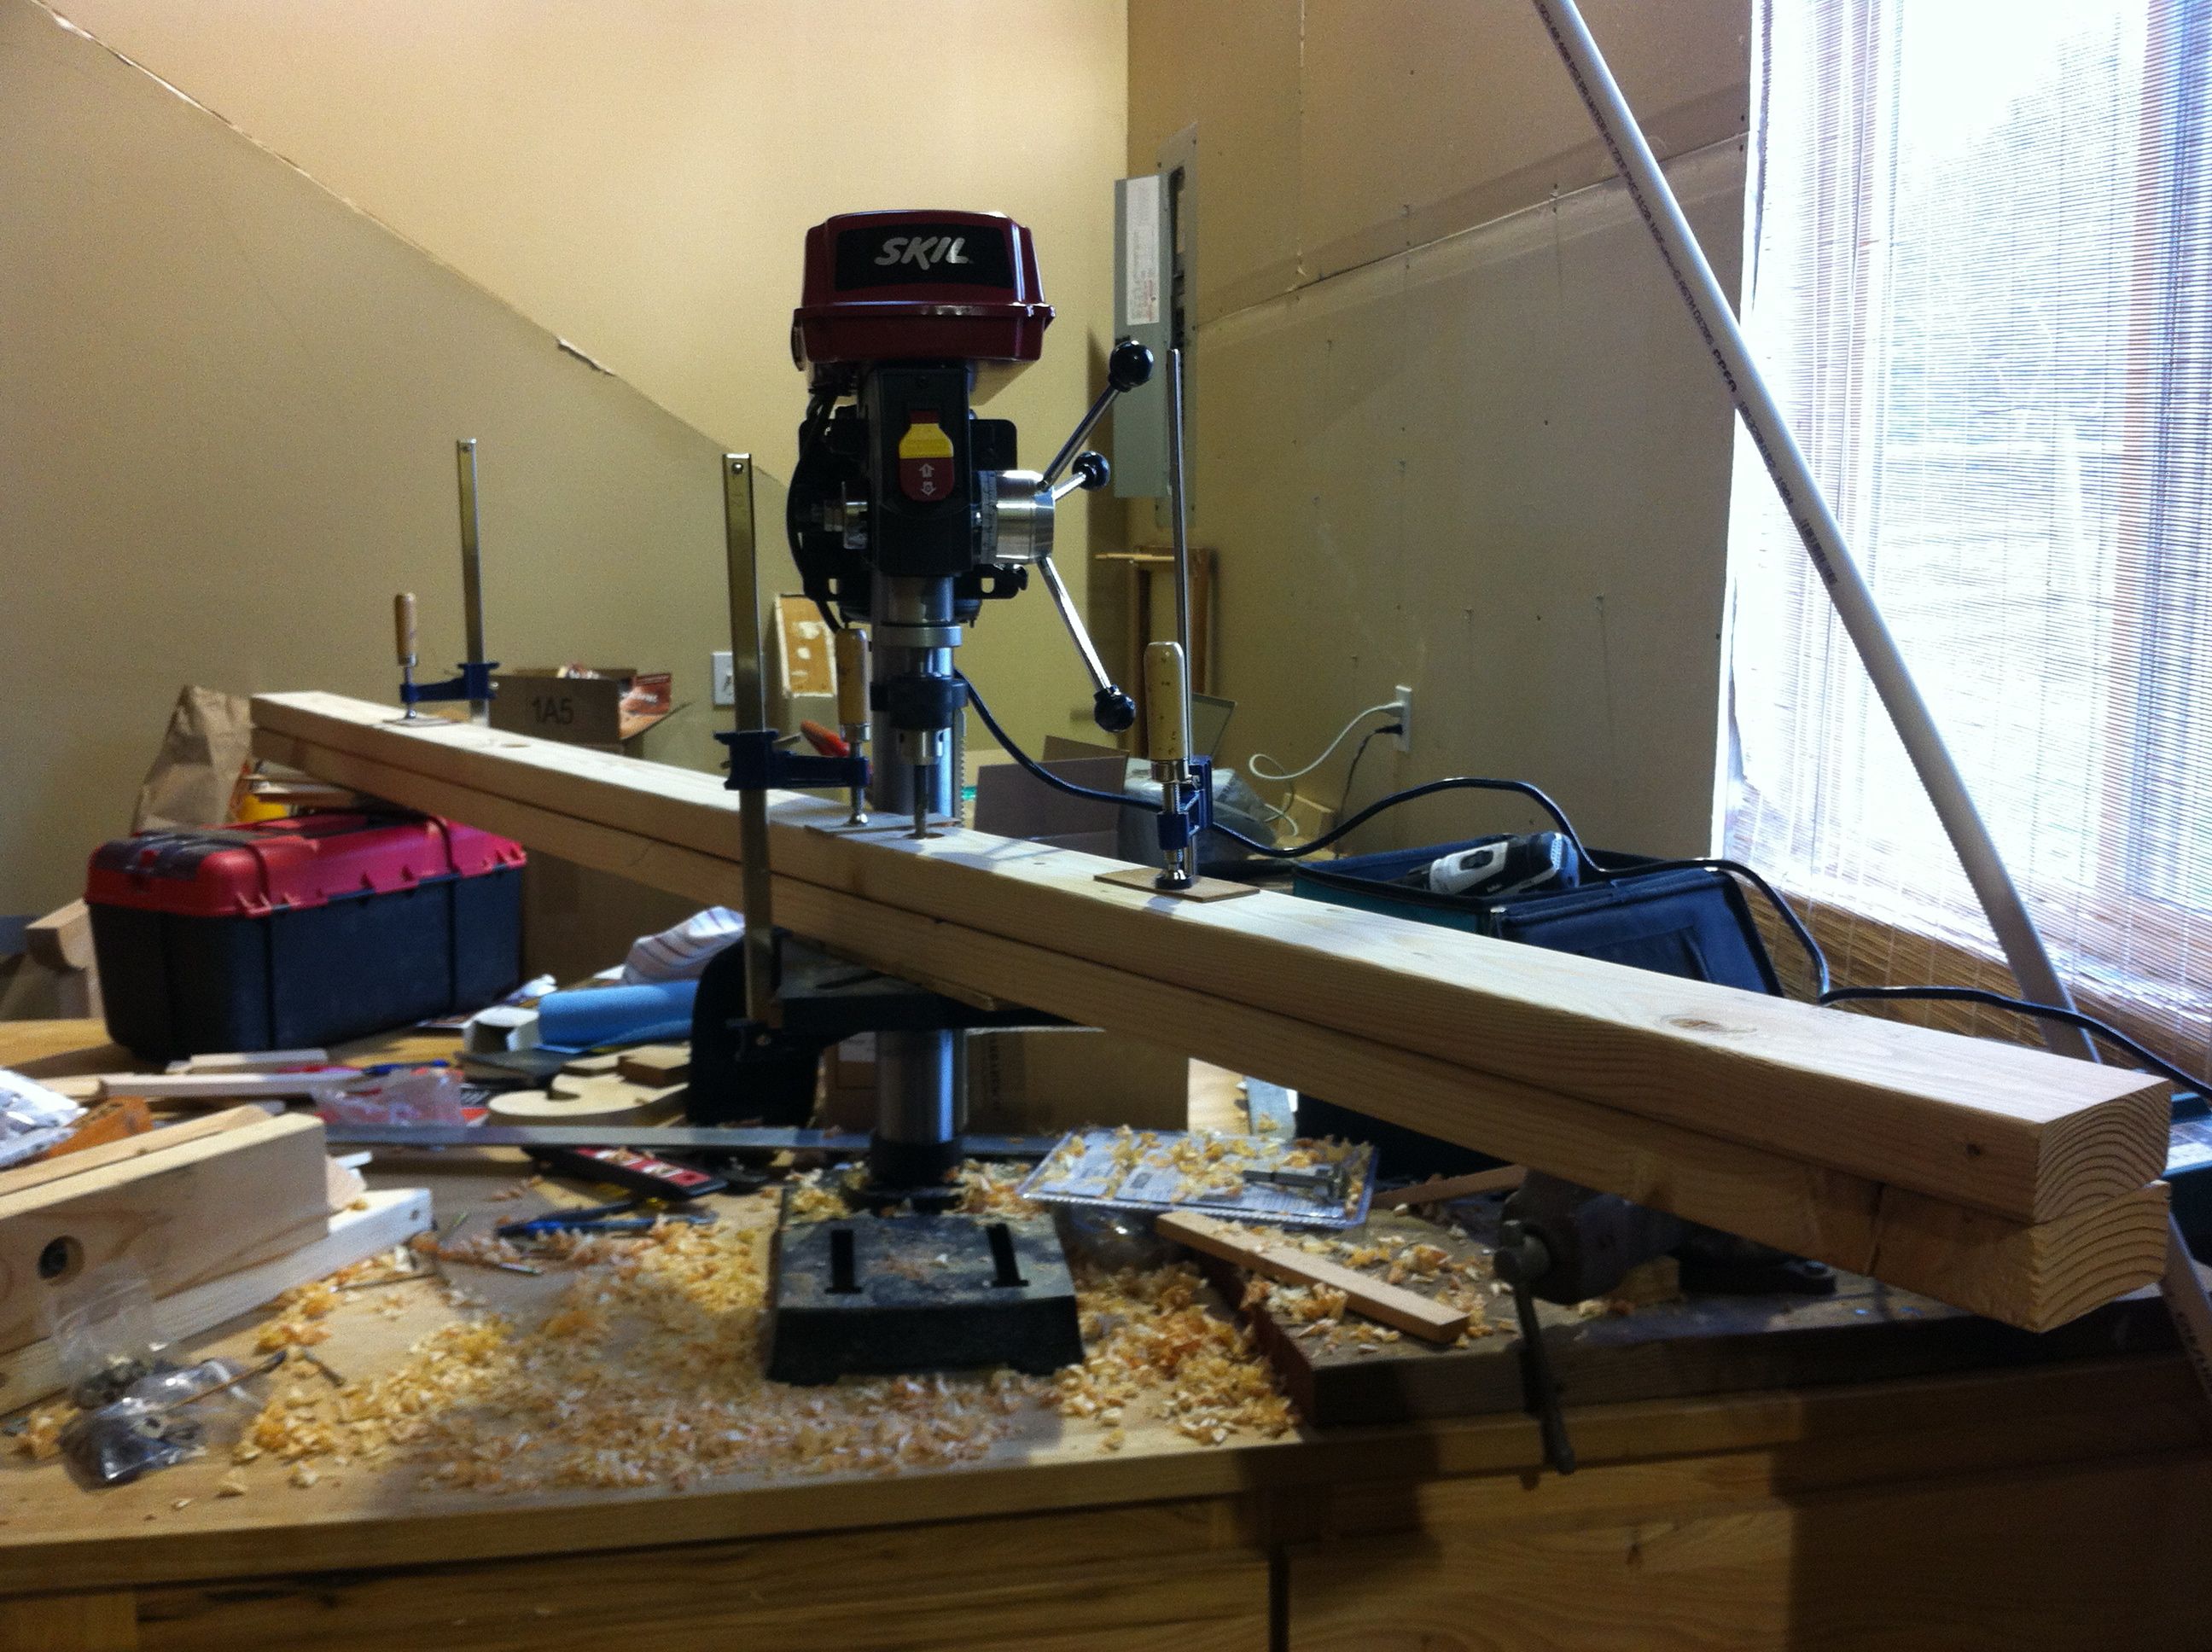
The span was too wide for single 2x4s to work so (for reasons too complicated to explain) I did a combination of 2x6s and doubled up 2x4s. For added strength, I bolted the 2x4s together after drilling with a drill press.
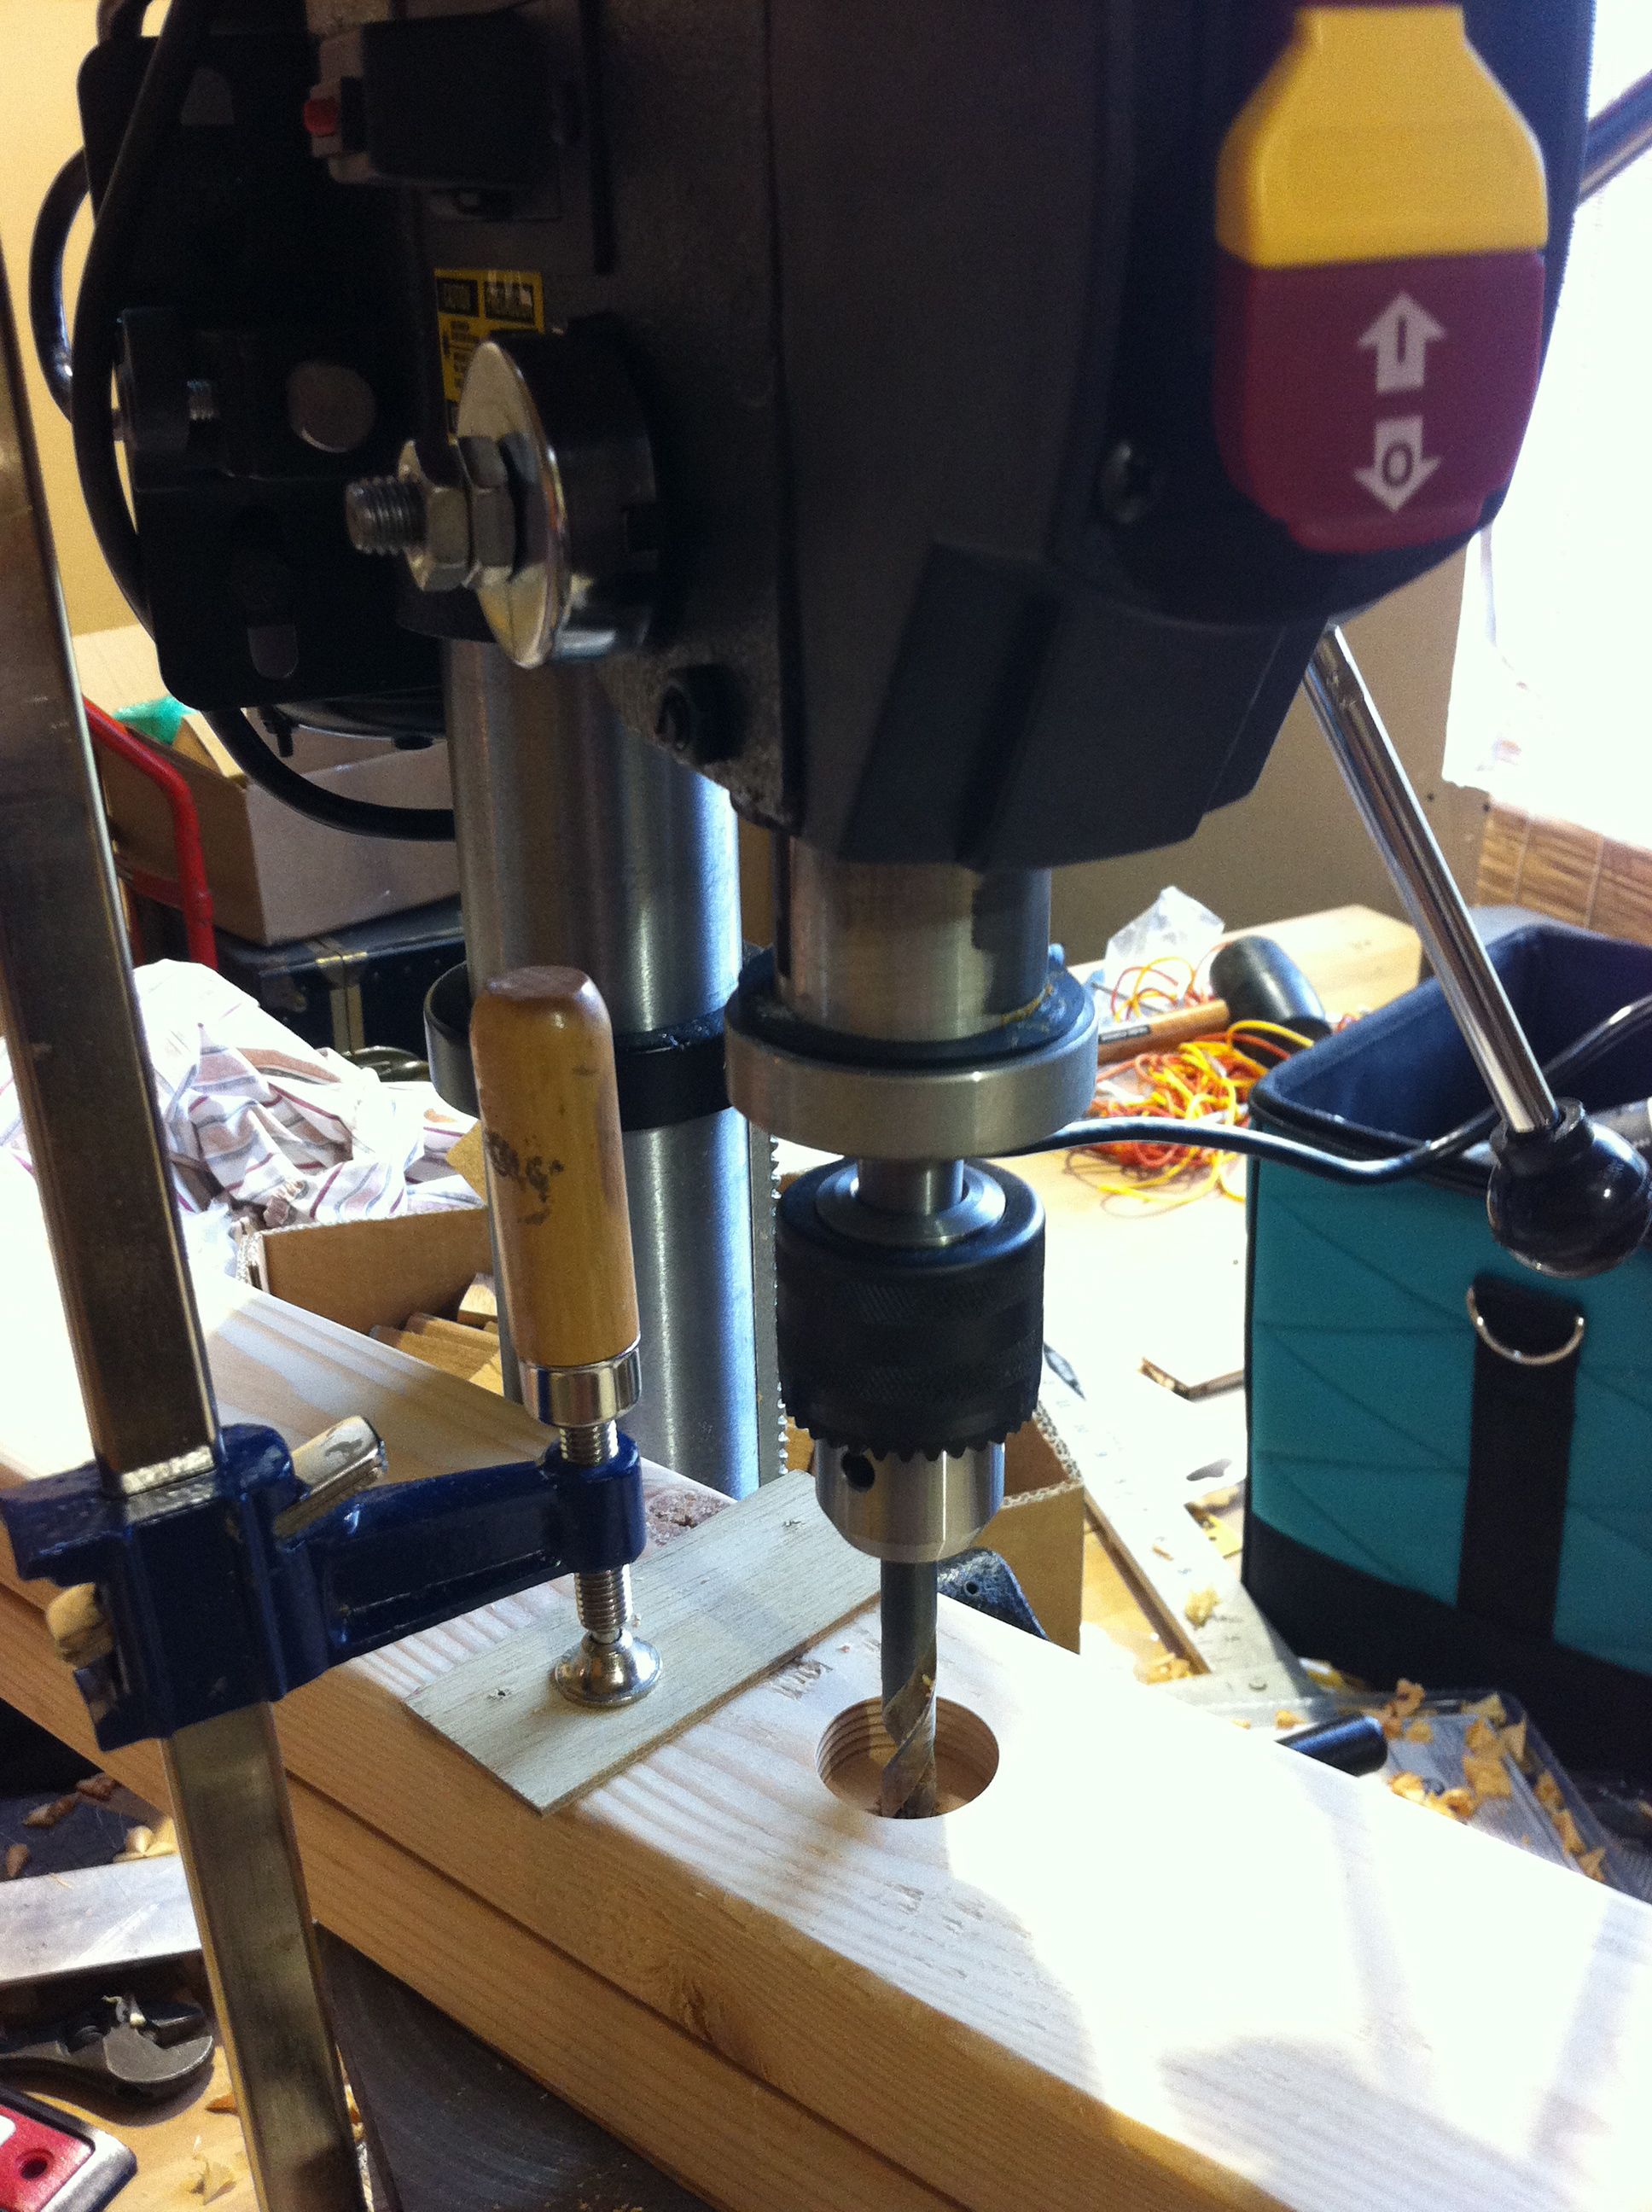
Clamping everything together securely, I first used a forstner bit to drill part way down on each side and then a regular bit to drill all the way through. This was so the bolt would be recessed.

Voila! I love ratchet wrenches.
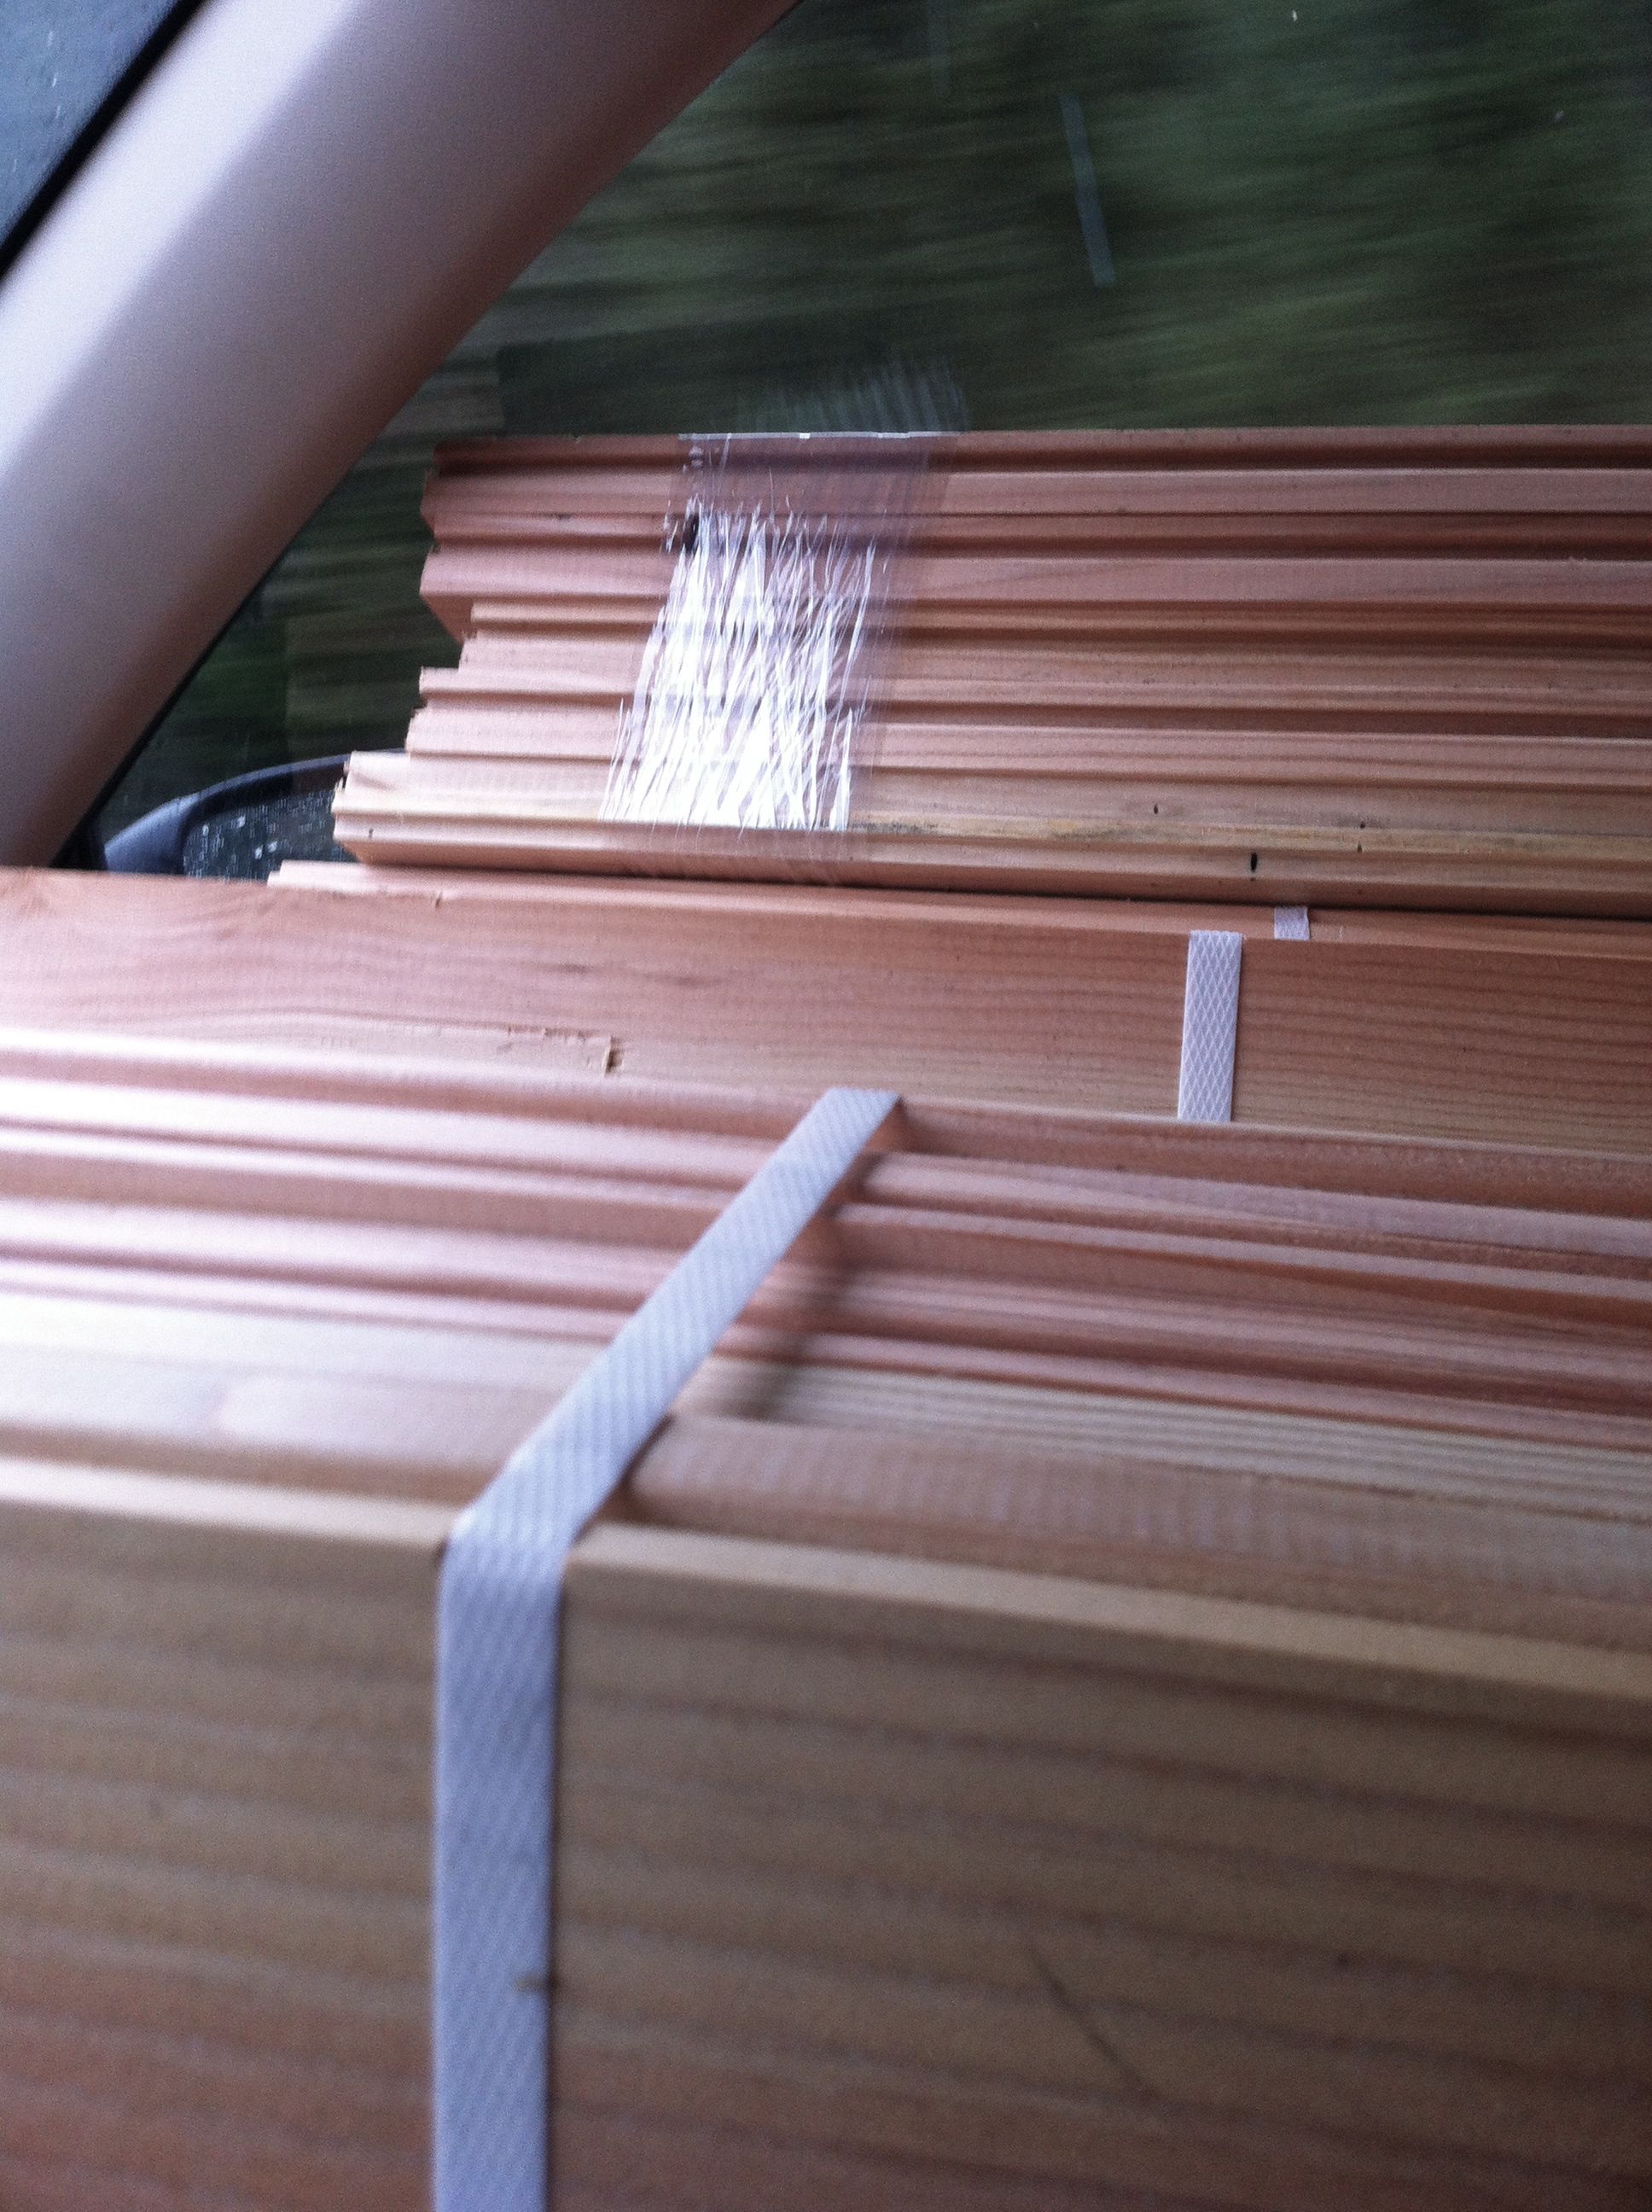
After looking at some cool, but very expensive options for my loft flooring, I found some remnant Doug fir mill ends for super cheap (“rustic” – ie, with knots and various anomalies). They are 5/4″ x 3″ tongue in groove. Had to buy some 6′ lengths since there weren’t enough 8′ boards to span the full distance. It was a bit of a monsoon the day I picked them up.
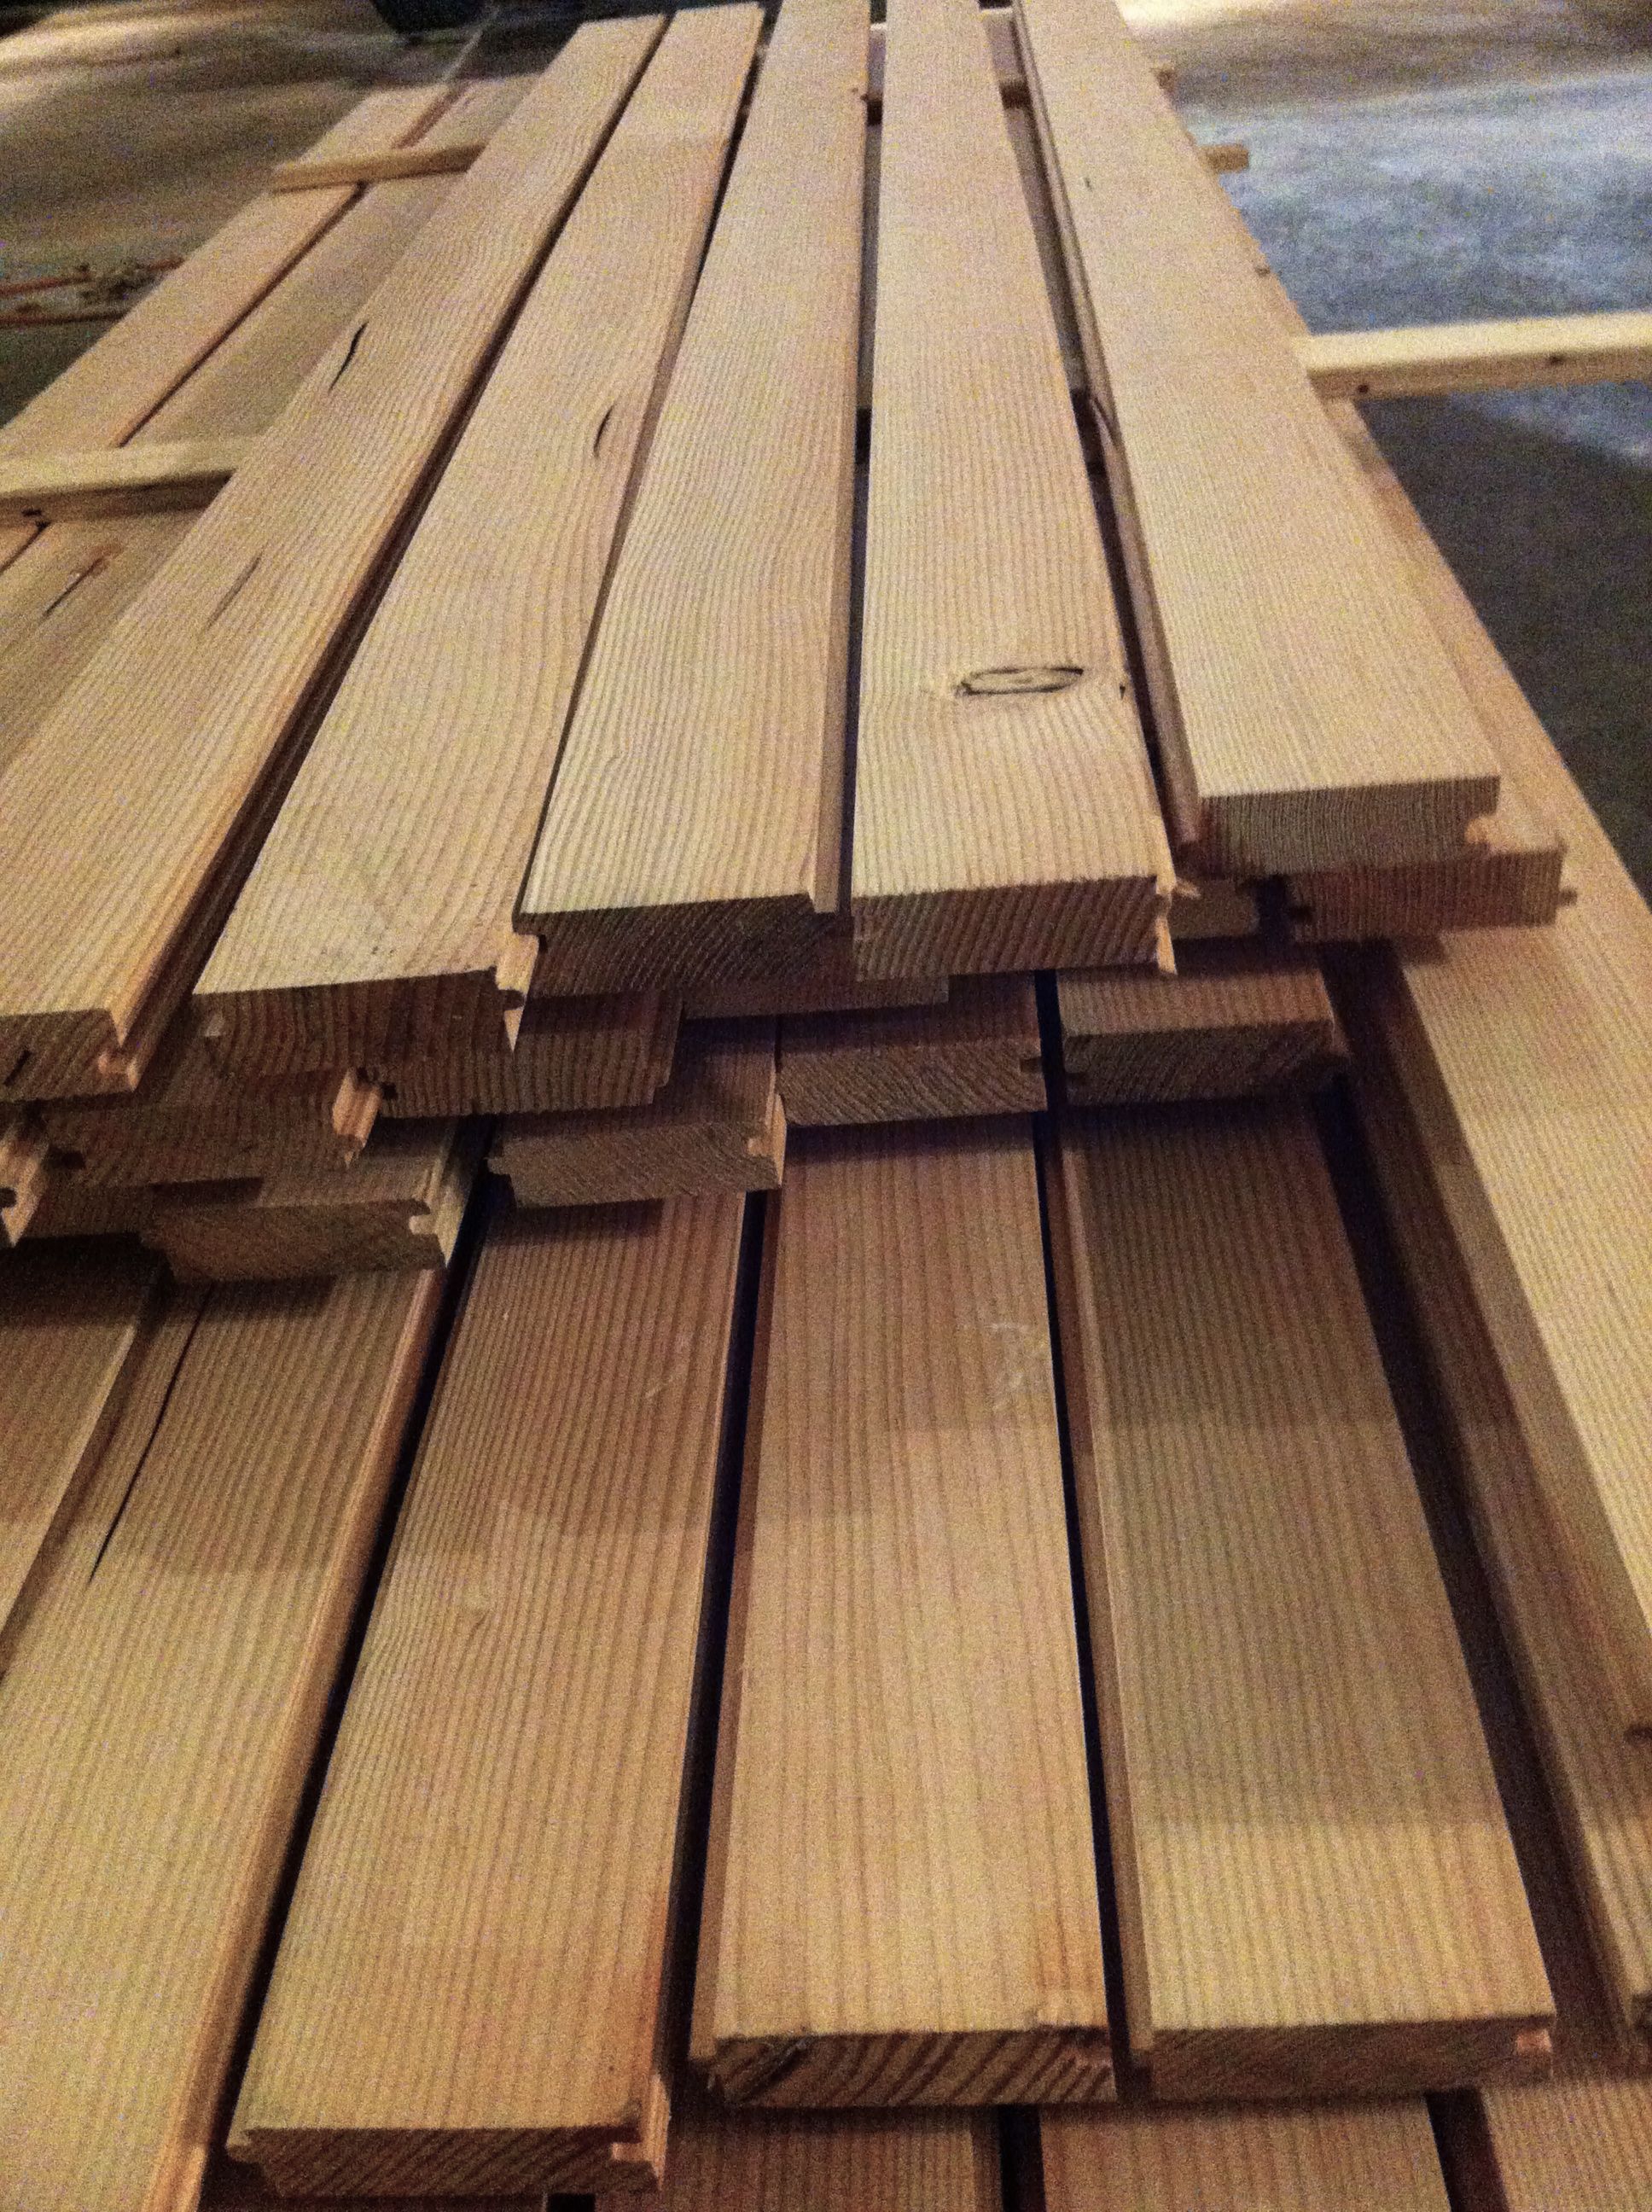
I stacked them with “stickers” (small strips of wood) so that they would acclimate evenly on all sides. Despite this, they were either a bit warped to begin with (they were bundled so it was hard to tell) or they warped some after from their brief exposure to rain and perhaps changes in humidity. Ah, the ways of wood!
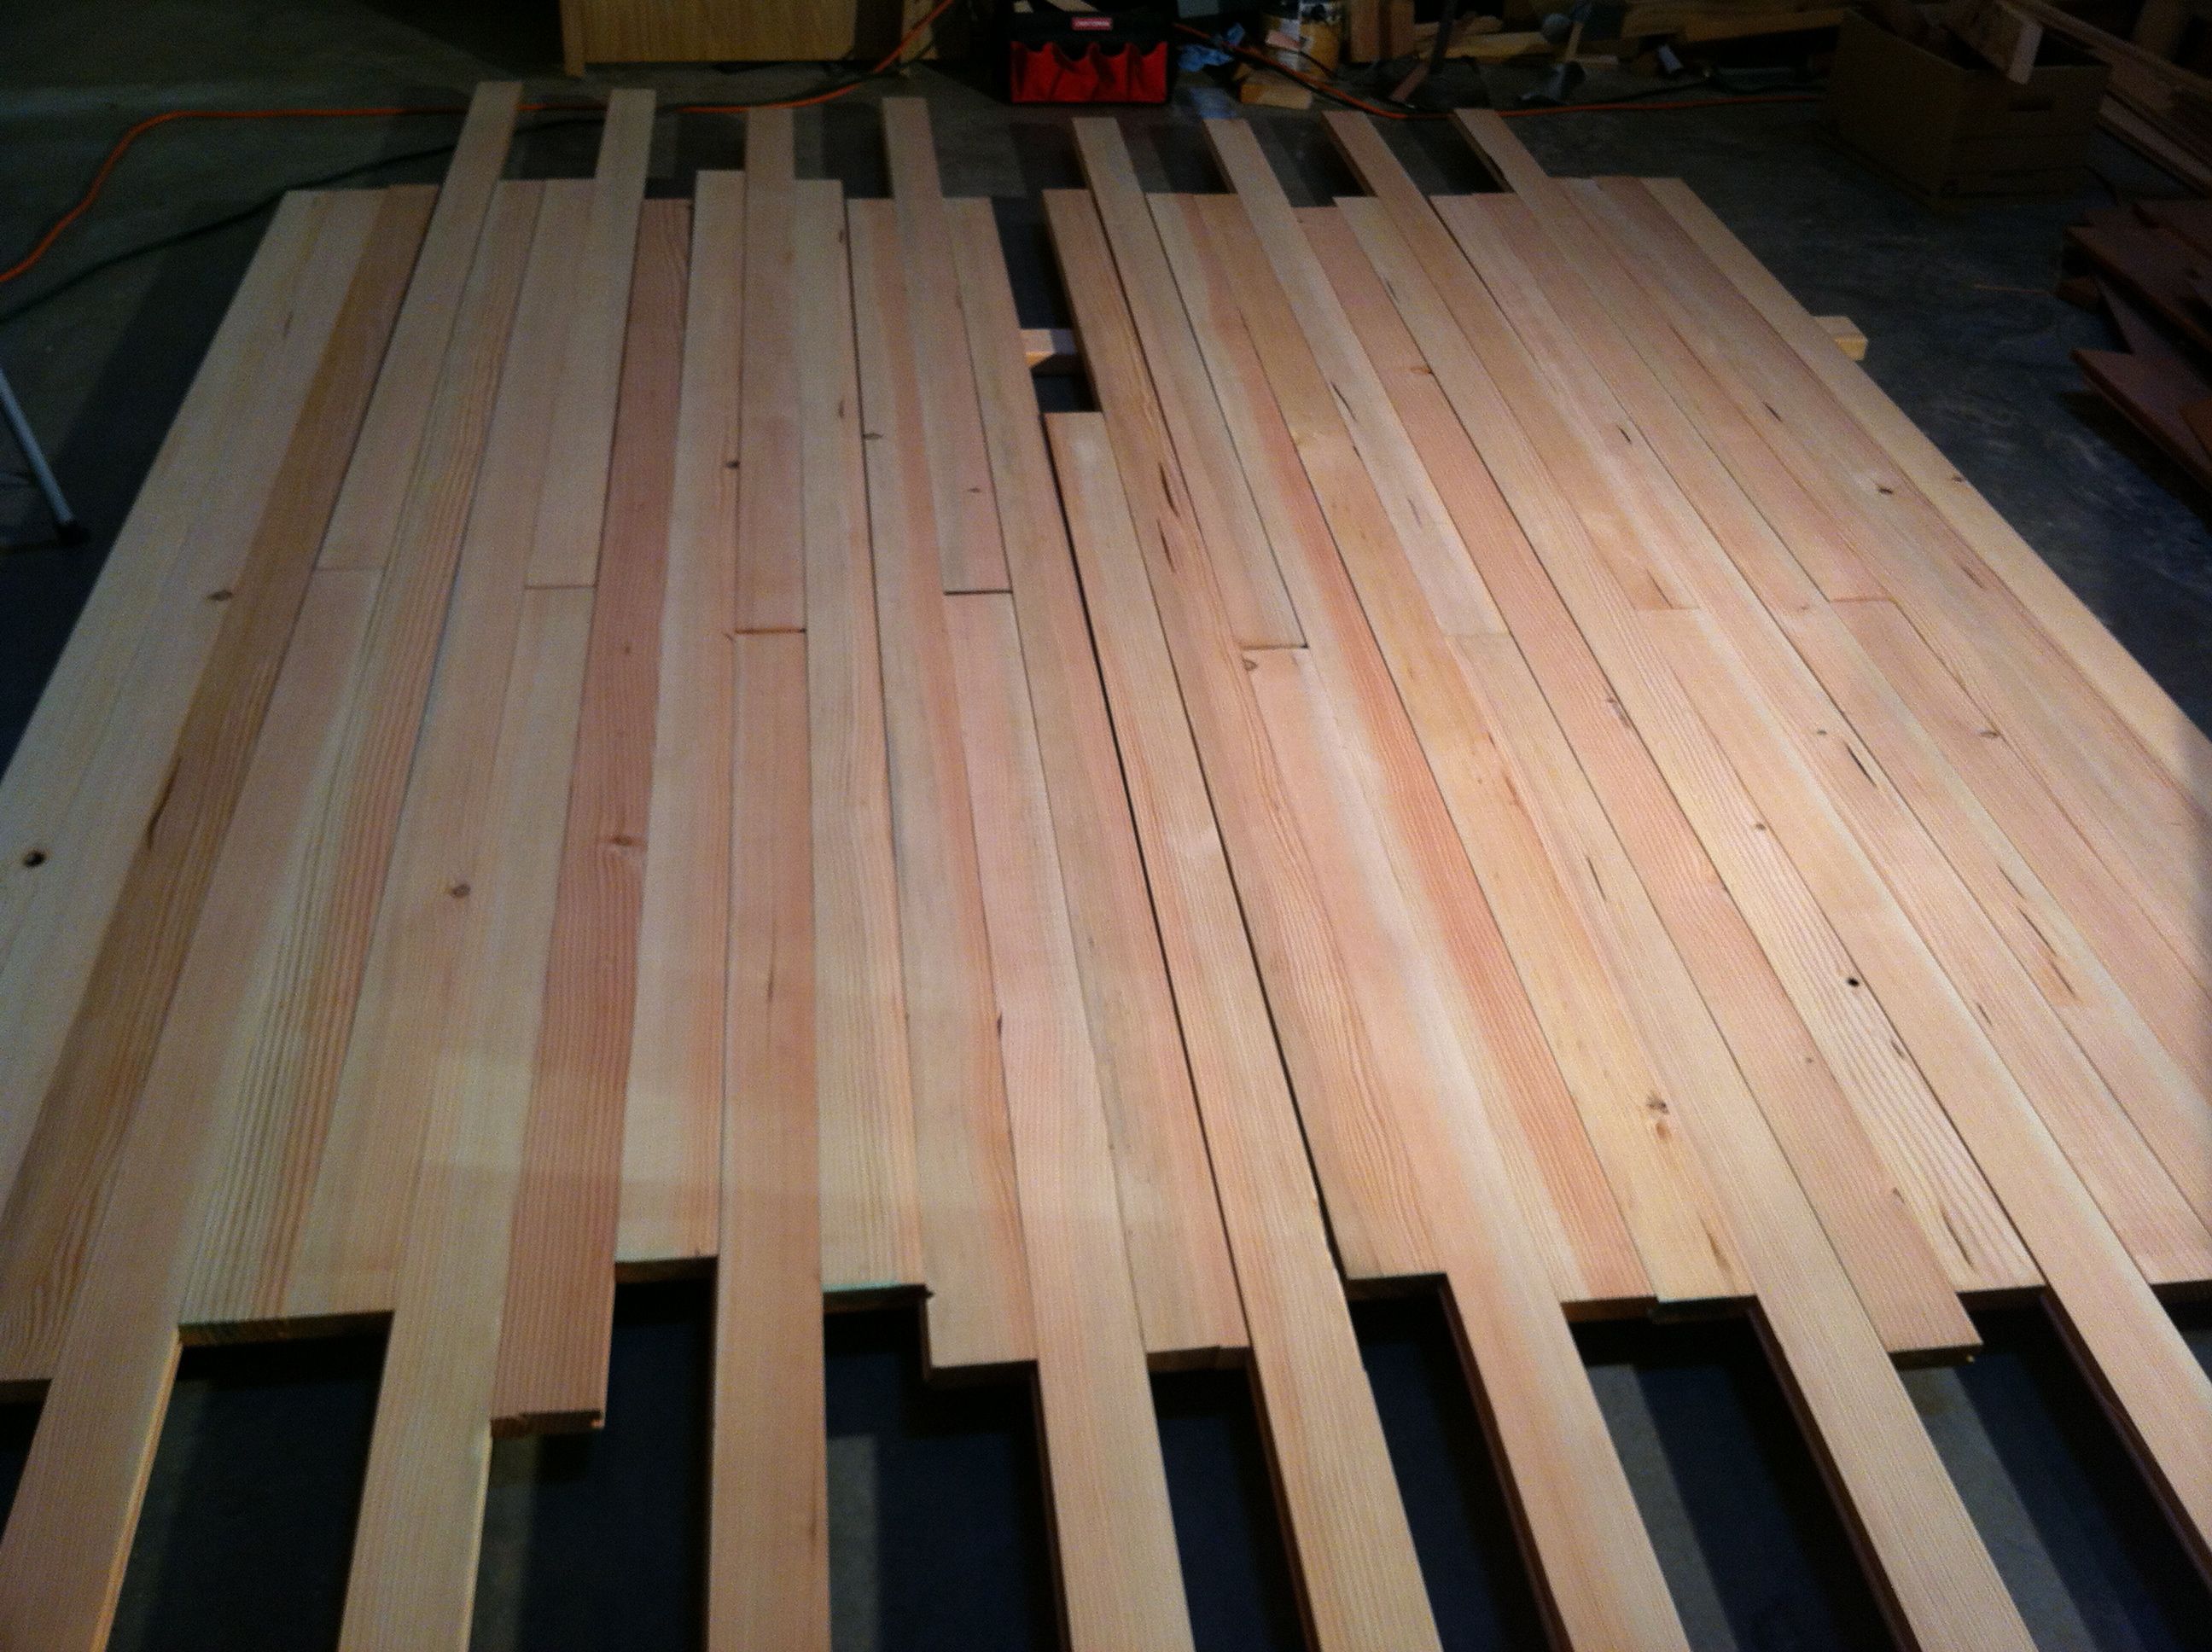
A few weeks later I was ready to start the loft. I sanded all the boards, surprised at how much color variation there was. I then laid them all out to get a rough idea of how the joins would look. Though I had bought a lot extra, the warping meant I had to discard a lot of the really bad ones and include some I would have preferred not to. I ended up with exactly enough. No pressure!

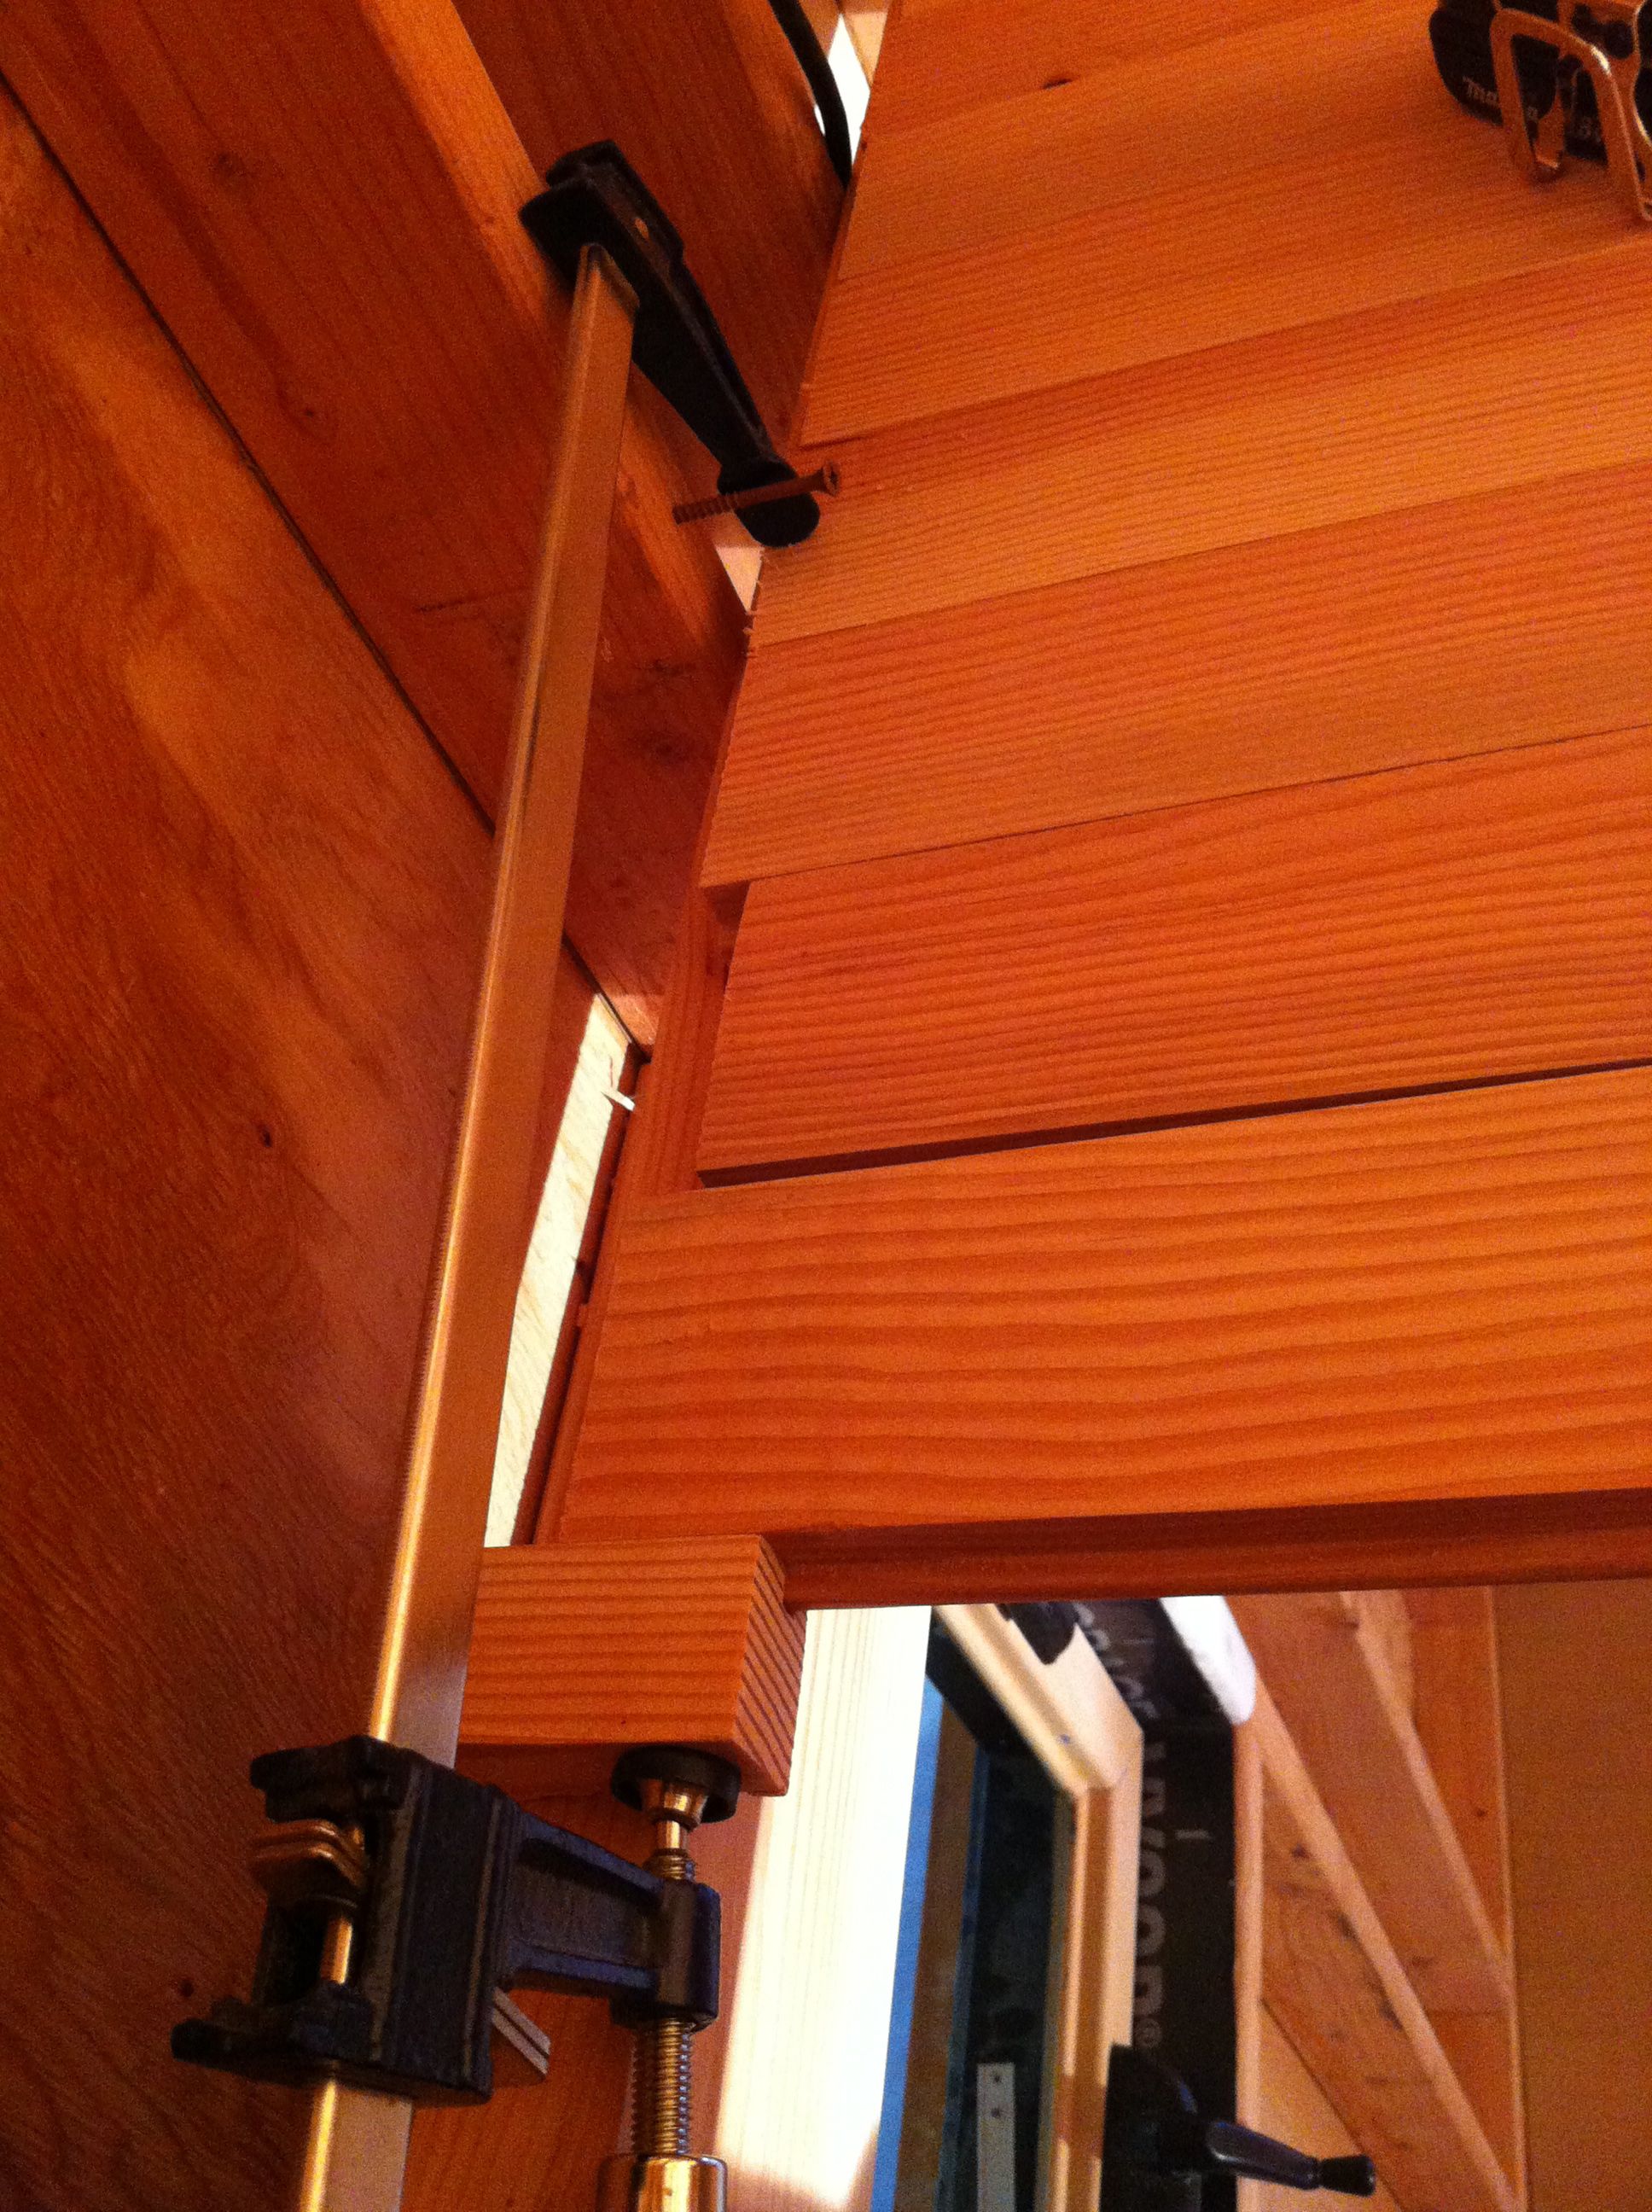
I needed to leave some room around the edges of the loft for my wall board and expansion room. I took two pieces of my wall board and placed them upright along the studs at the edge of the loft (see top left). I could then shove the flooring up against them without having to deal with measuring or doing chalk lines. At the end, I could just pull the wall board out and have the right gap. It’s also a good idea to reserve your straightest boards for the beginning and end, since you want to start off right (to avoid angling), and at the end it’s hard to do any adjusting once you’re up against the wall.

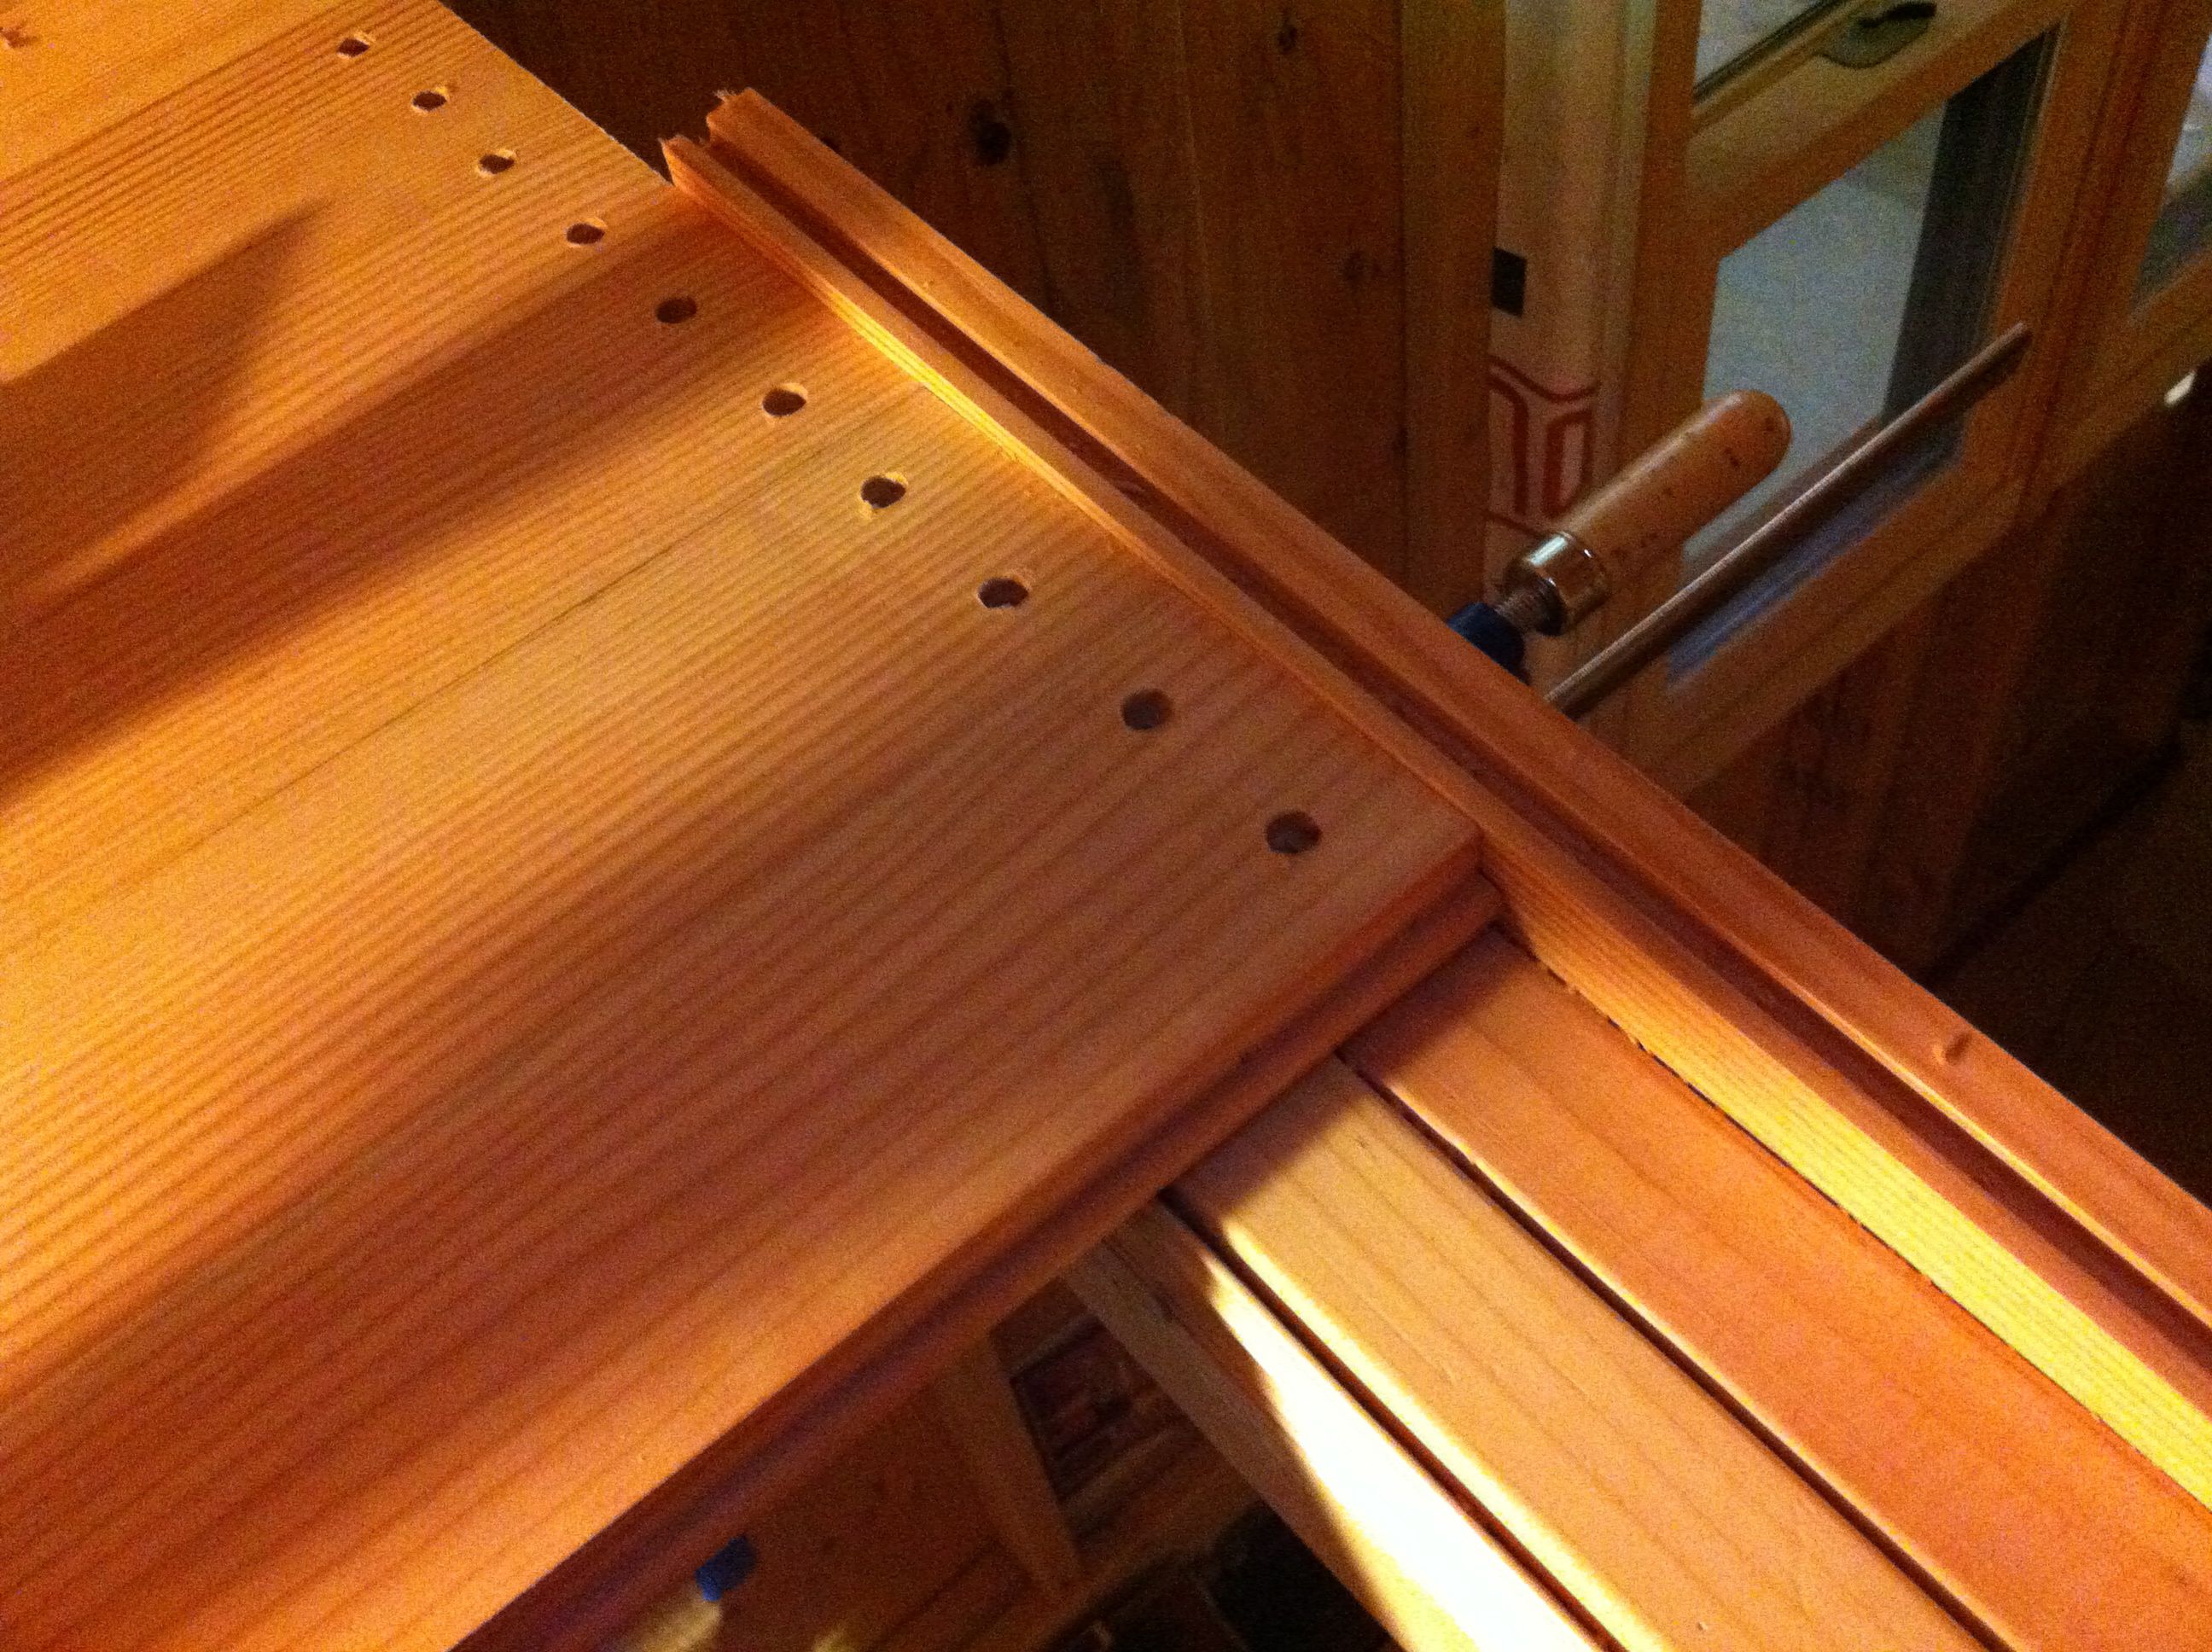
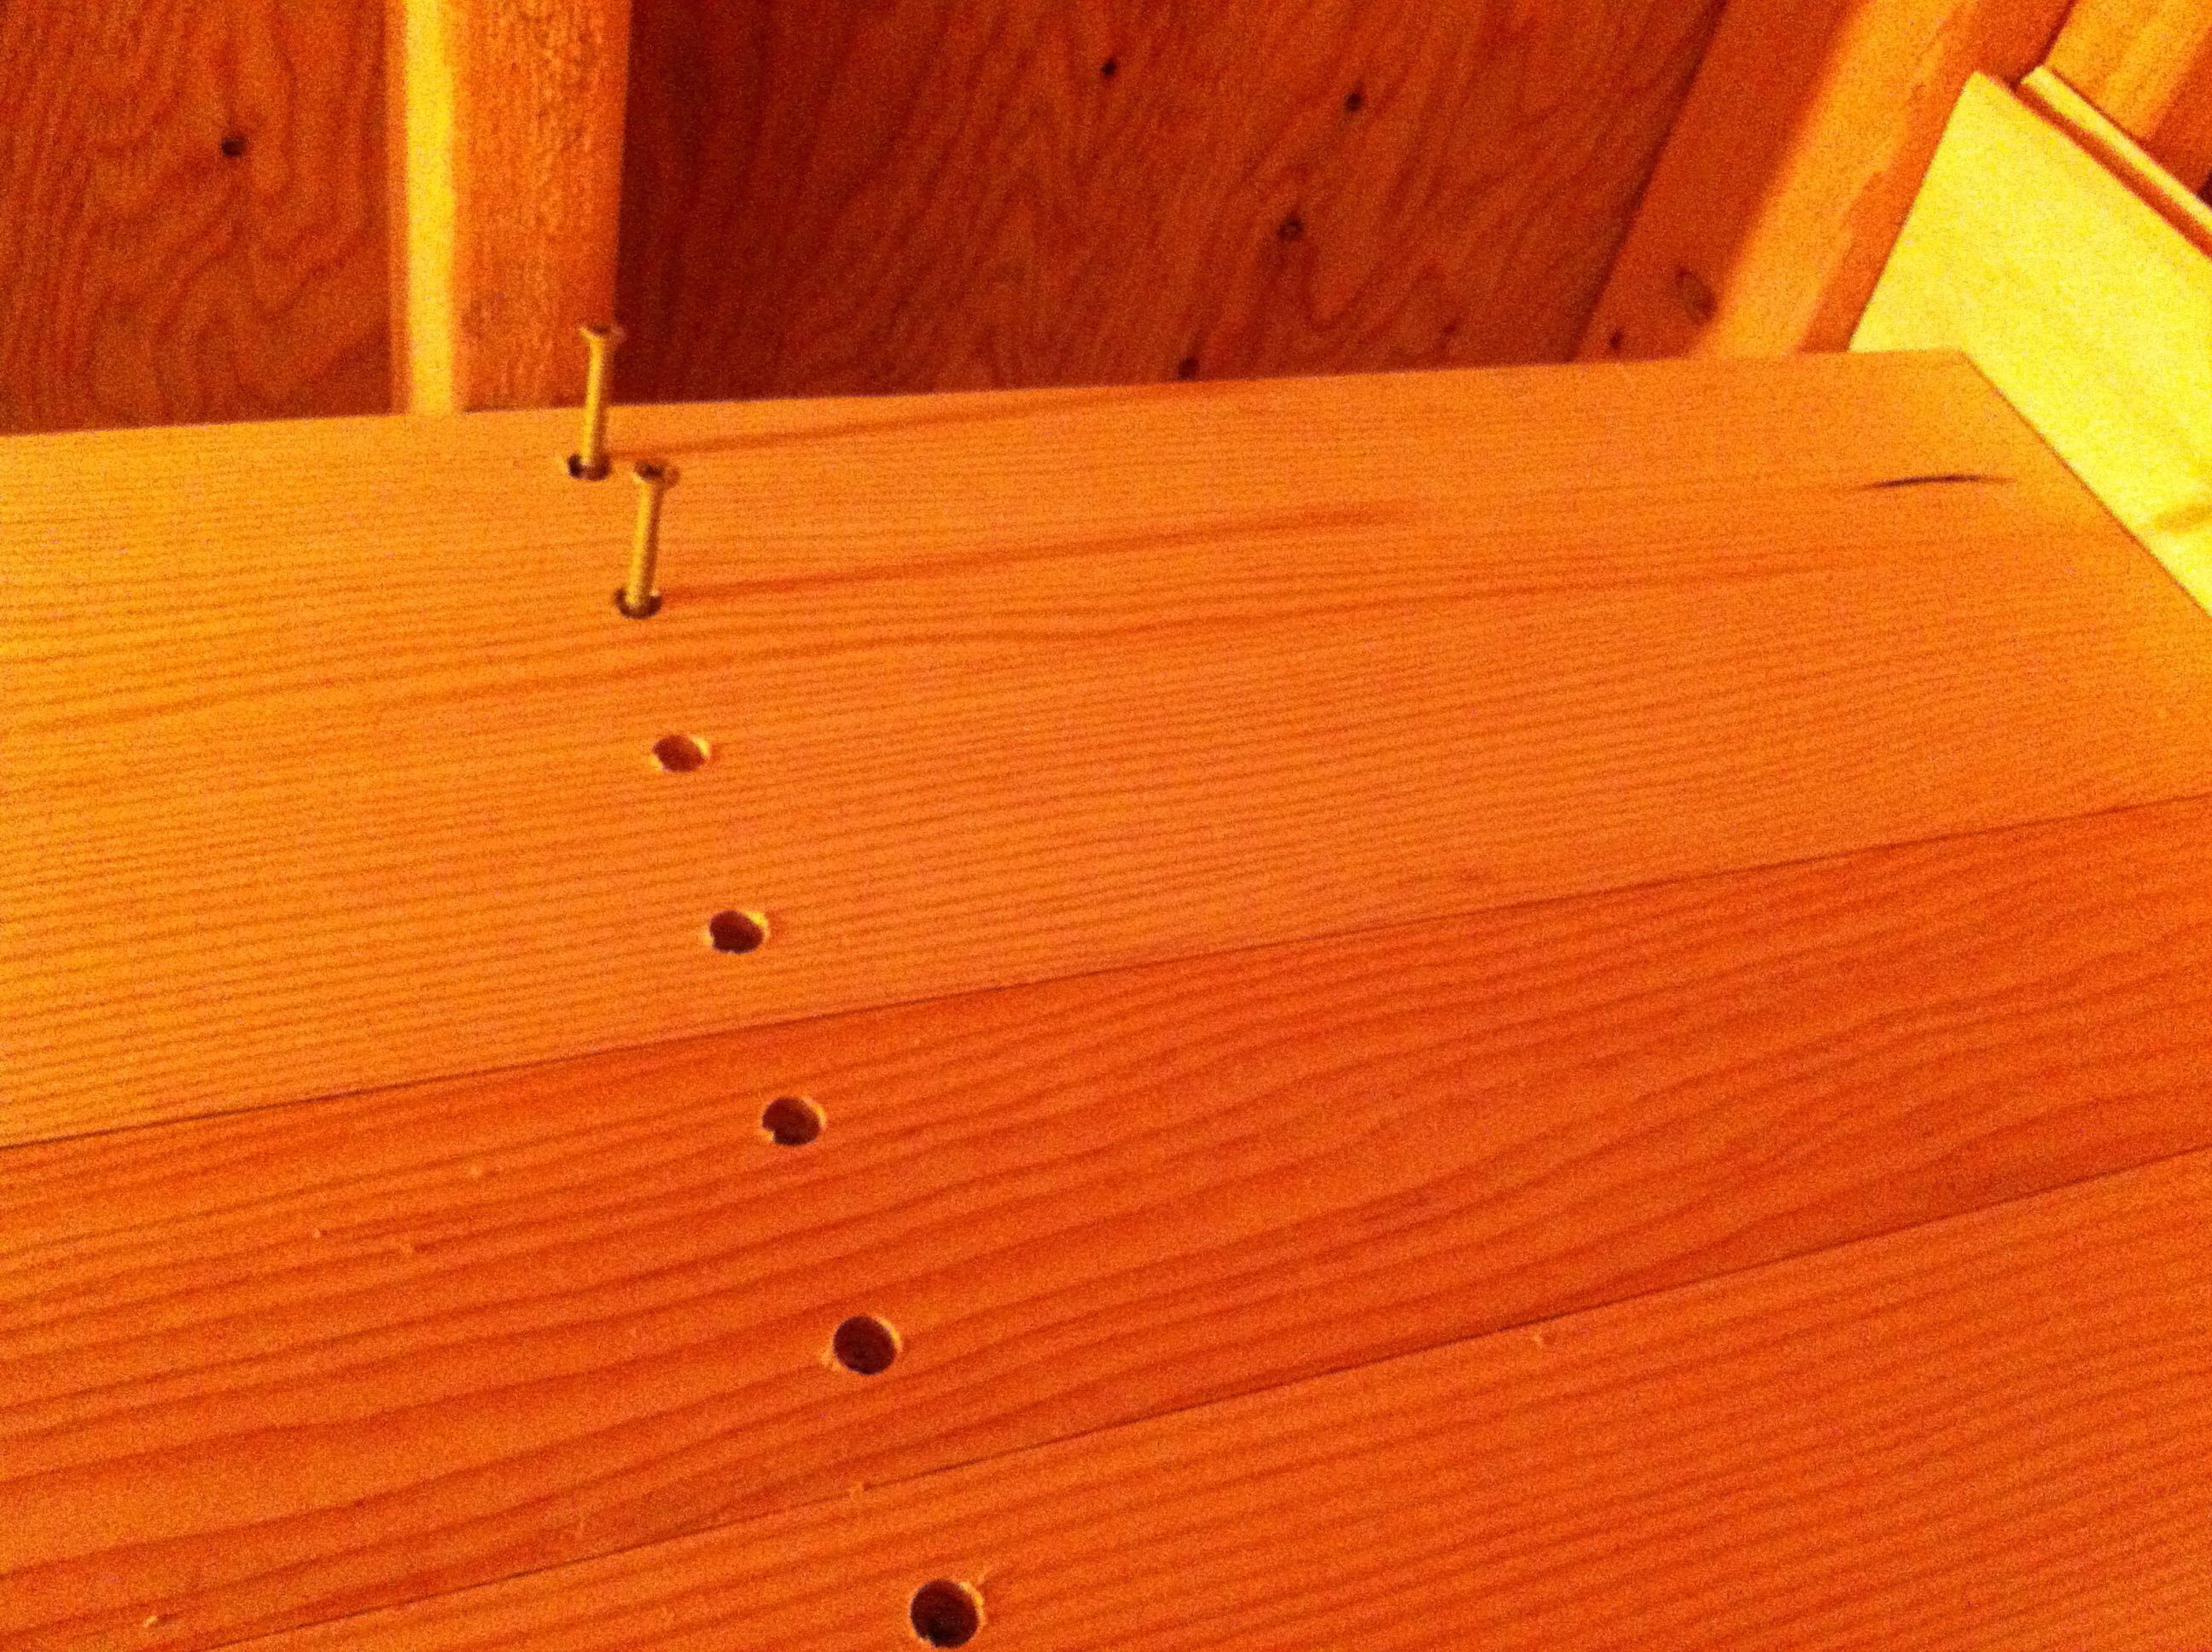
After some discussions, I opted not to rent the type of nail gun used to install hardwood floors since it was going to be a tight fit in places. Instead I attached them by screwing through the faces on the ends of the board, with smaller screws at an angle through the tongue in one or two places down the length (I did use a nail gun to tack the boards in place while I drilled but the brads weren’t strong enough to have any lasting holding power). I made up a little jig so that I could line up where to drill evenly.
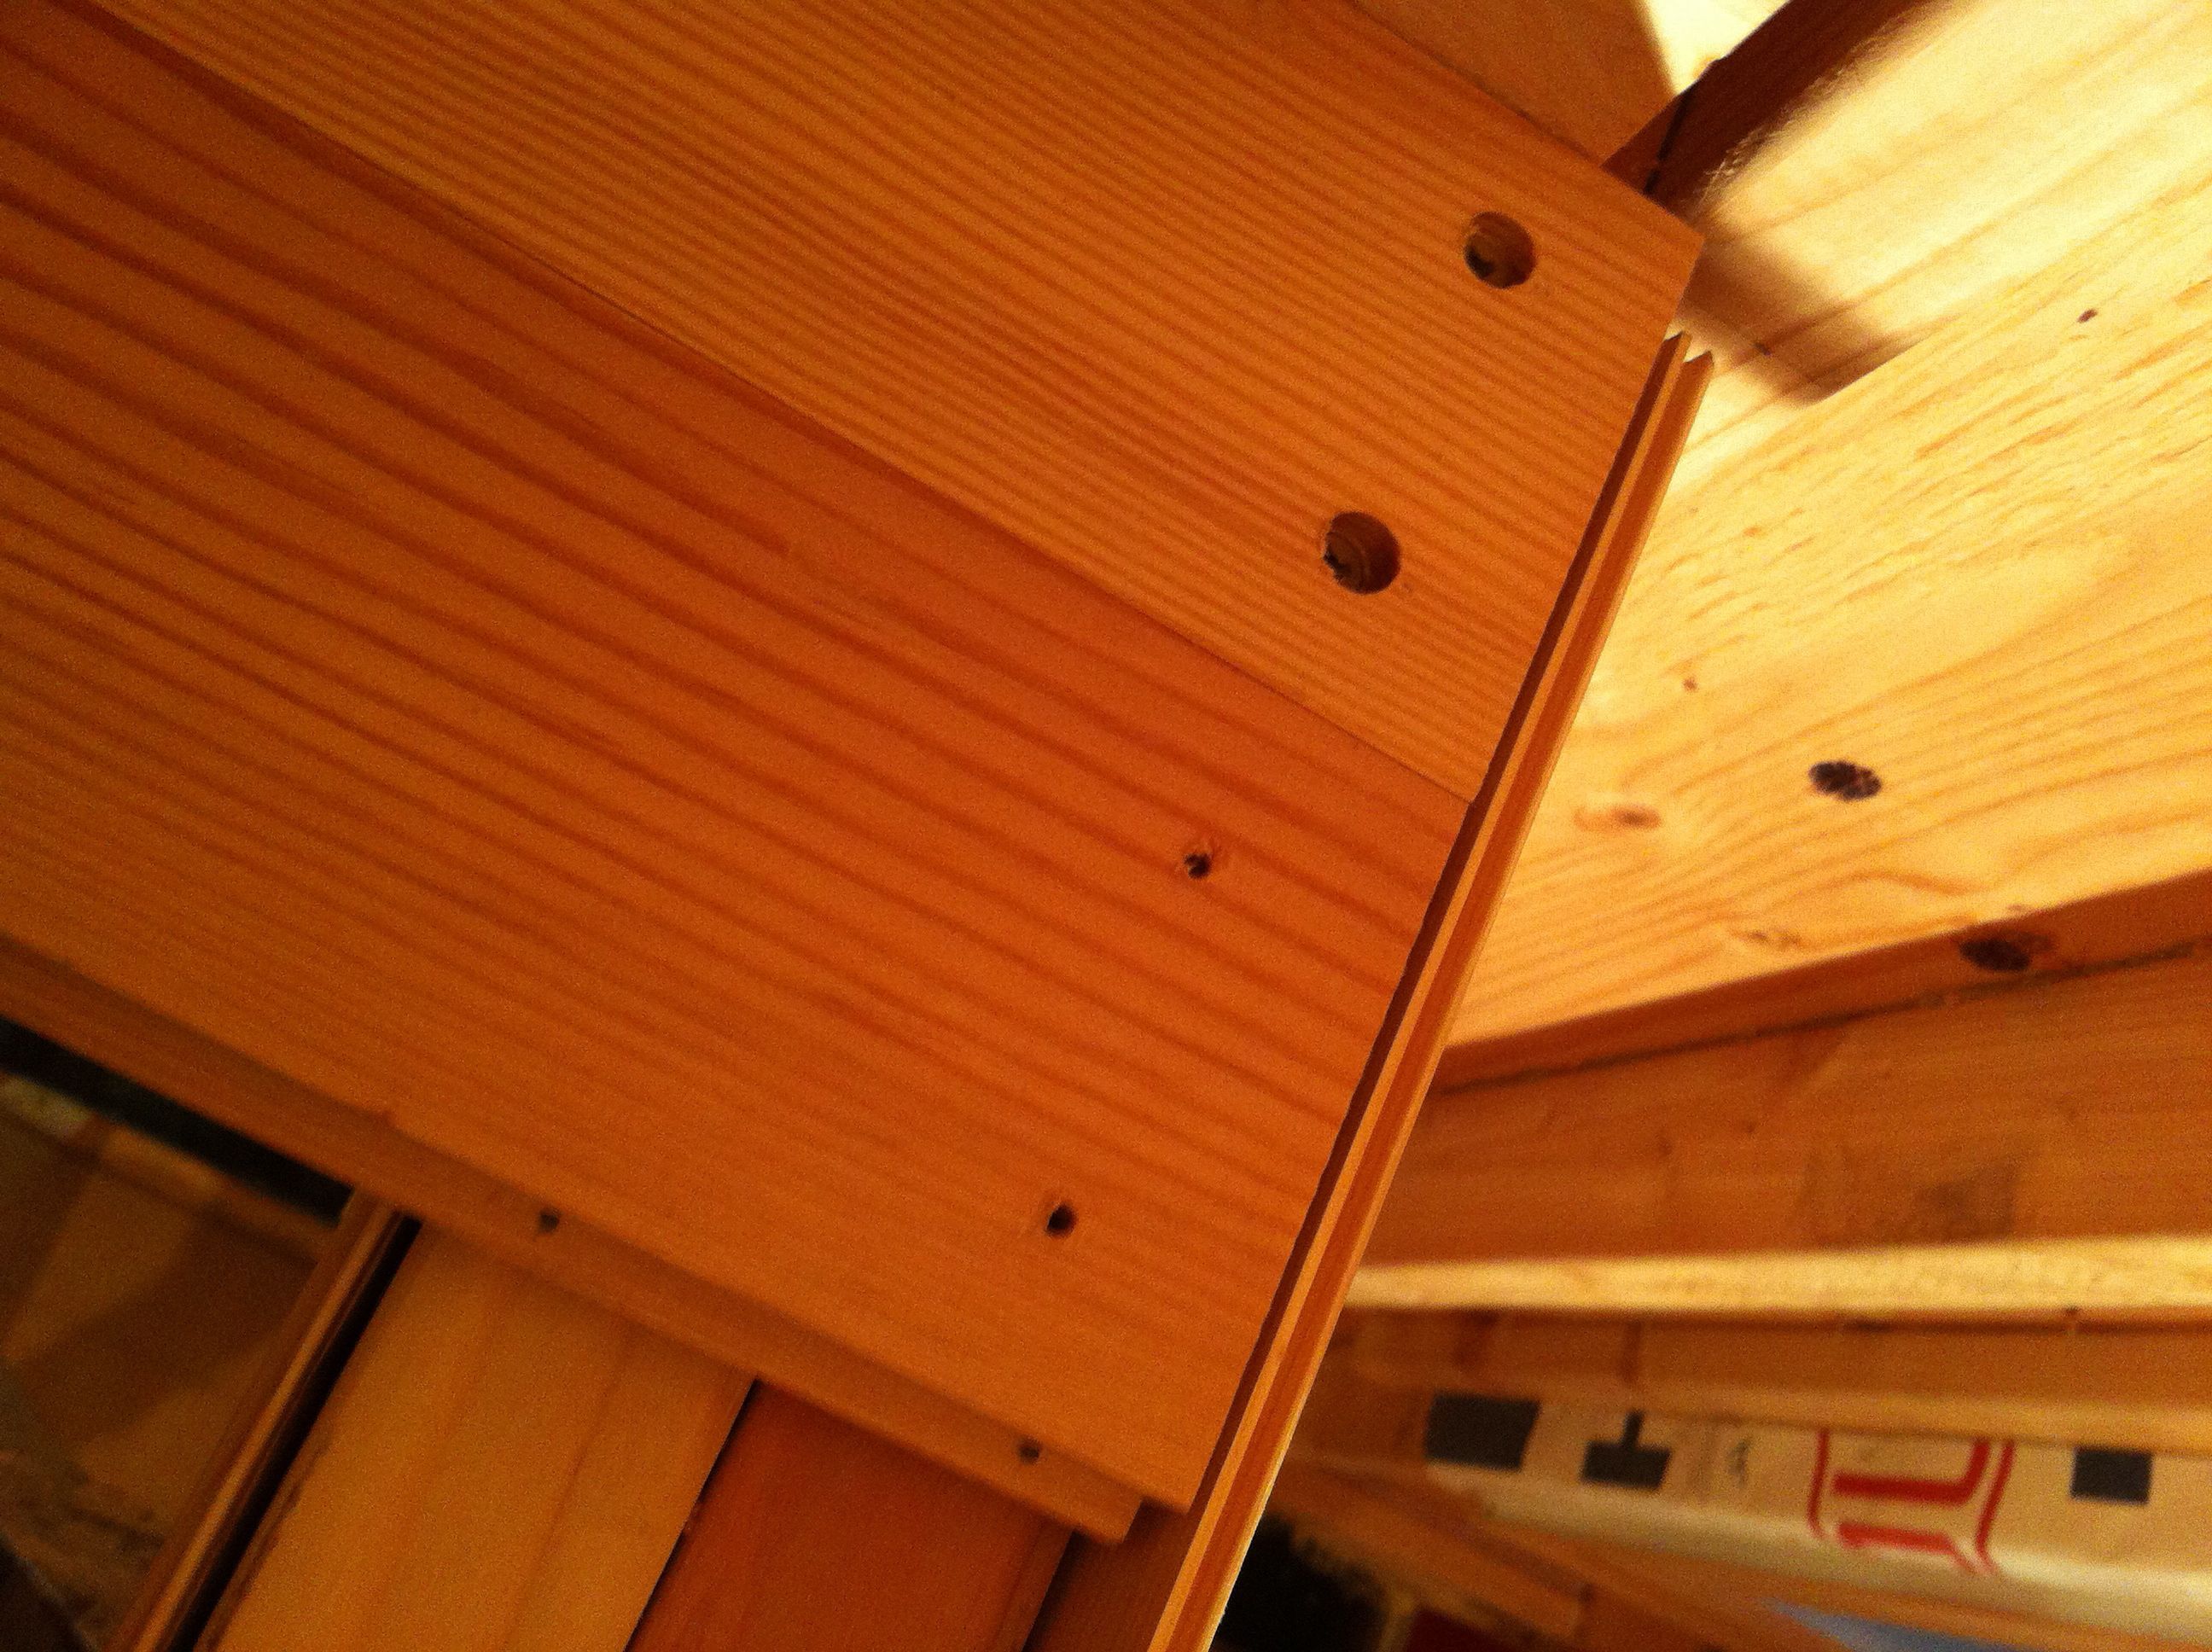
I wanted to plug the screw holes so first I had to countersink them. While you can buy a countersink bit that also has a full length bit to drill the hole itself, I had trouble with them snapping off in the hole. So instead I did it as a two-step process, first drilling the holes (above) and then countersinking them (below). A bit tedious swapping the bits constantly but I got into a rhythm.
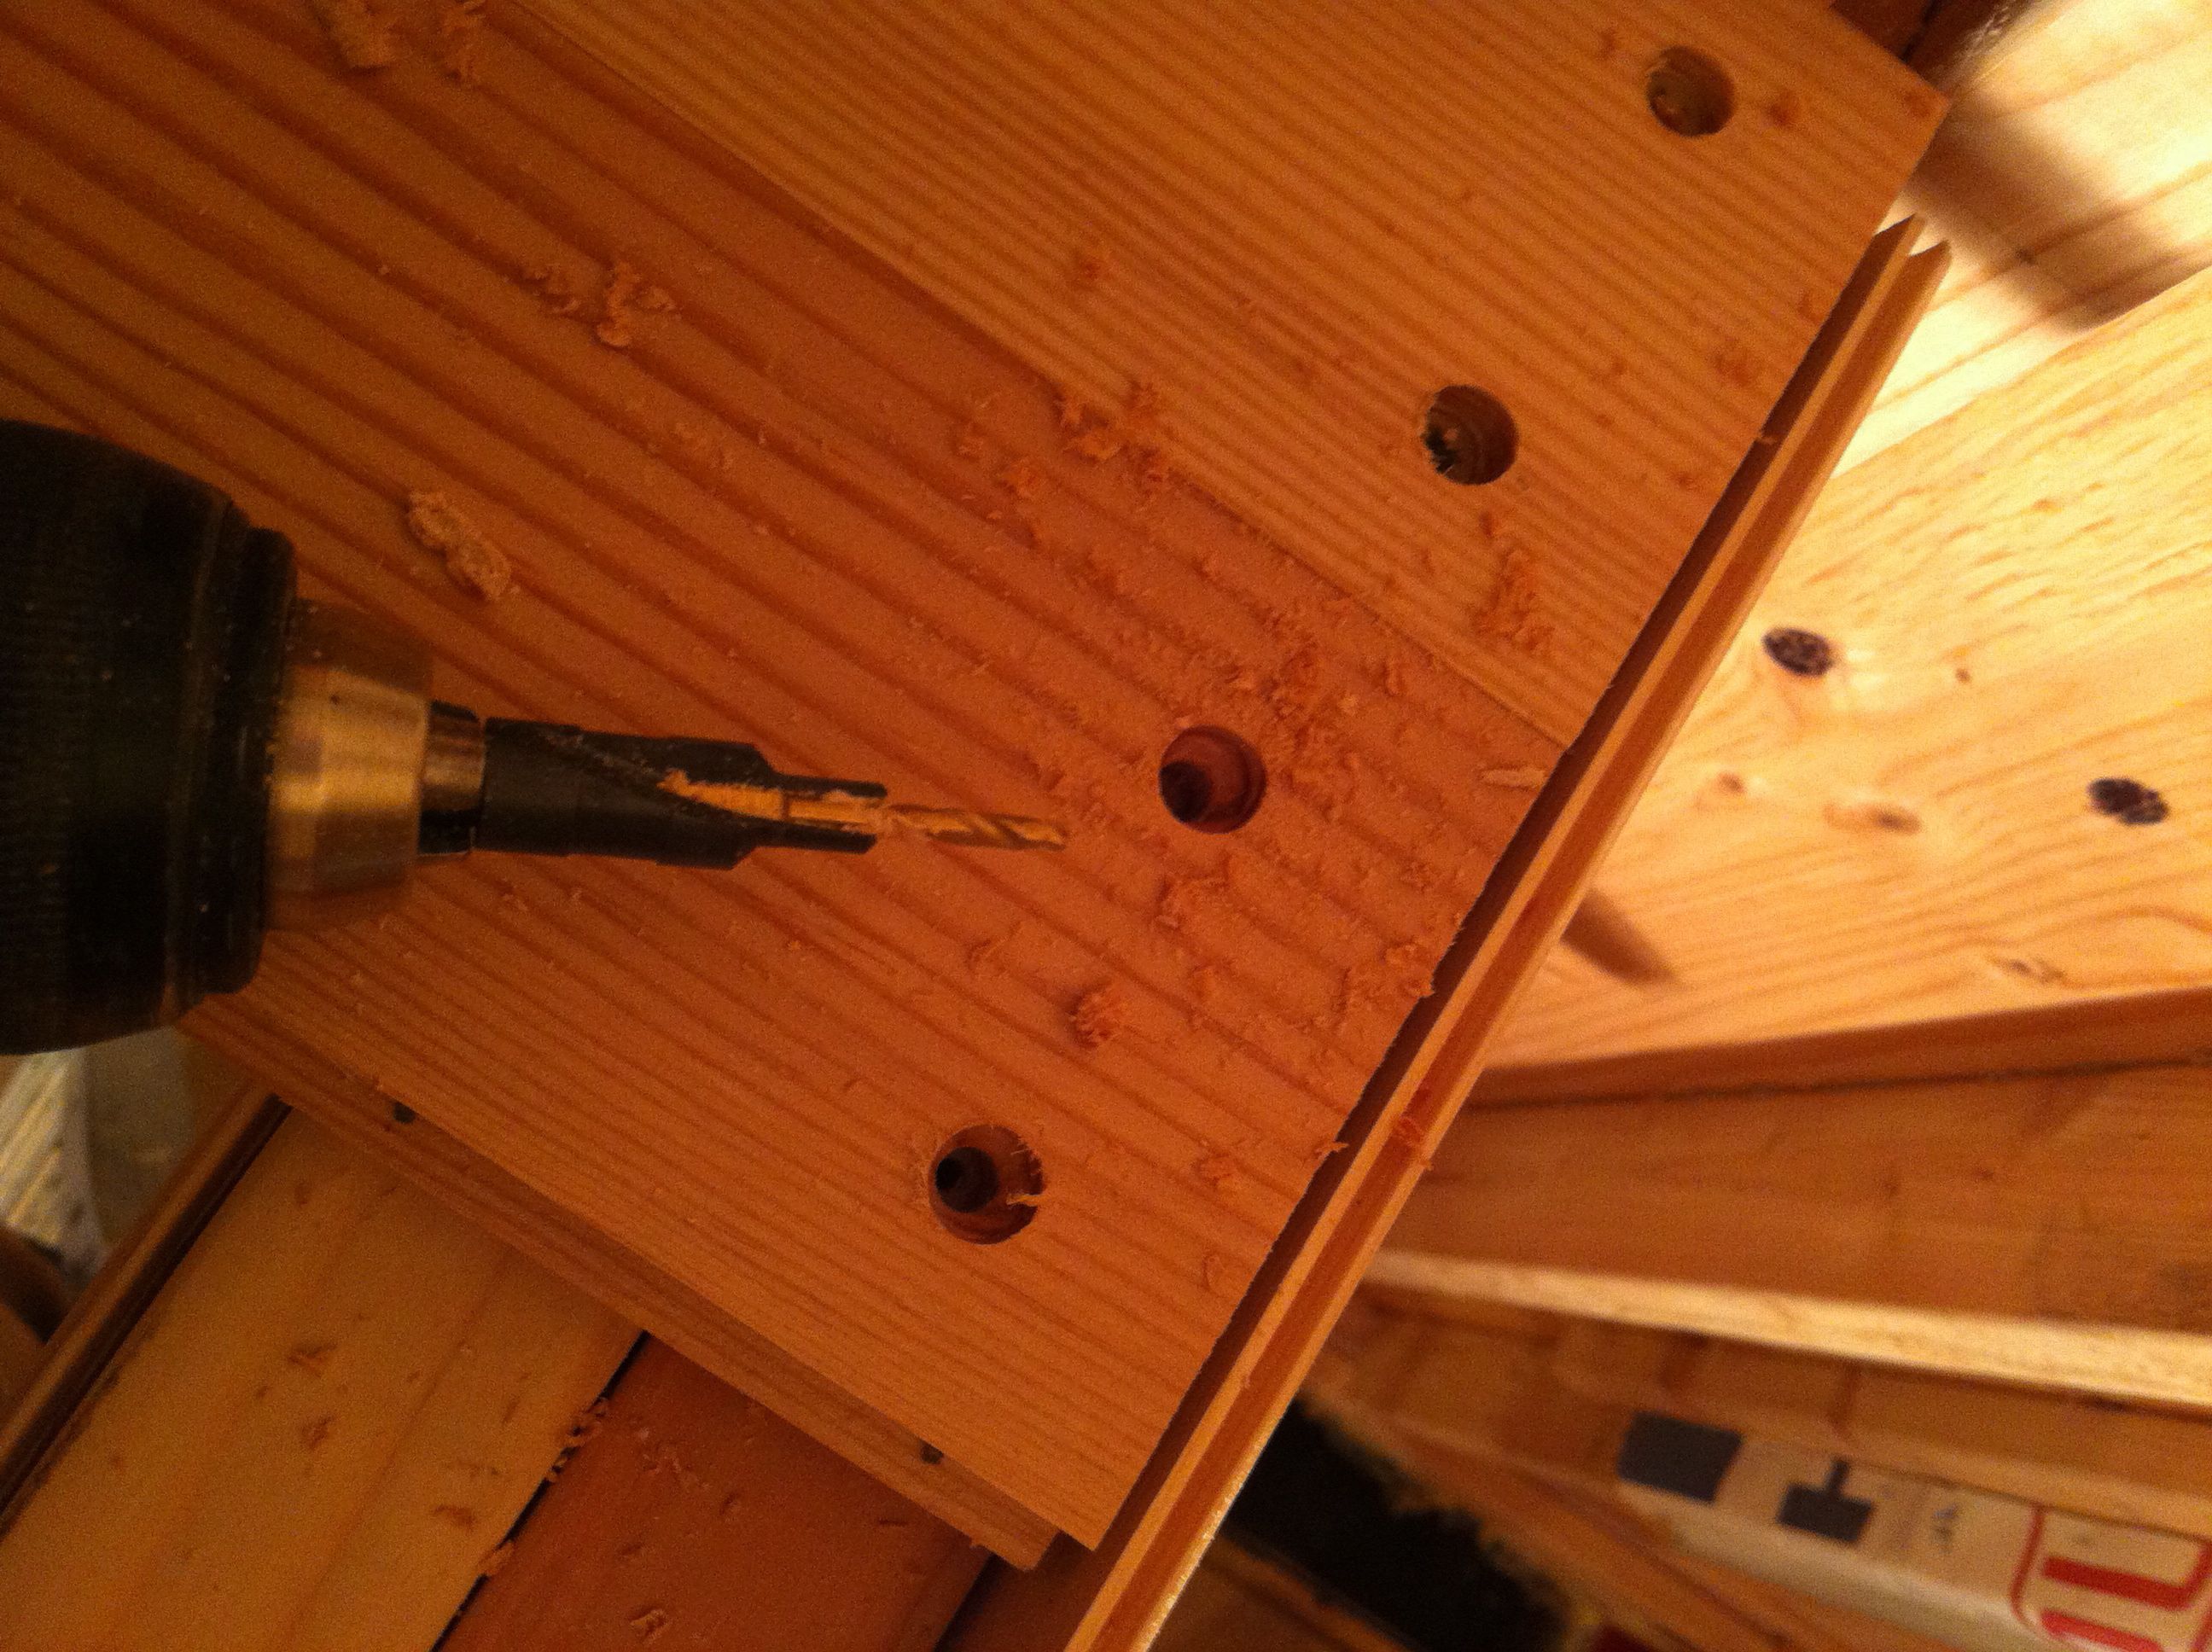
After drilling the countersink holes. Be sure to match your countersink bit to the number size (#6, 8, 10, etc.) of your screw AND the diameter of the screw head. The screw should go in cleanly without enlarging the hole at all. Also, be sure to brush away all the waste material from the area where you will be laying your next board so that it lies flat.
I clamped a board on the end of the loft so that, like with the sides, I could quickly place the boards without worrying about them lining up.

Inevitably some of the boards are going have gaps in between. I learned a couple ways to deal with this. The first is to screw a scrap piece of 2×4 to the joist and use a pry bar between it and a scrap piece of tongue and groove so you don’t damage your tongue (ha!). Since I didn’t want to be screwing and unscrewing the scrap constantly, I experimented with attaching it a foot or so back and then placing smaller loose scraps up to the board I was working on. After I was done with each board, I could pull out a scrap and work my way across. This worked fairly well, especially after I discovered (after taking this pic) that the pry bar goes the other way(!), but ended up preferring the chisel method below.

With this method you hammer a chisel in at a 45 degree angle against a scrap piece and then pry it vertical, forcing the gap to close.

Gap closed. It also helped to pre-drill and start a screw so that once you closed the gap you could easily drive the screw in. It’s hard to tell here but the screw is going in at 45 degrees.

This is an example of the type of gap that can be closed easily (which is good since I had a lot!). This is caused by bowing, where the ends touch but it bows out from the middle.
And after using the chisel method.
This is one way to solve crowning, where the board touches in the middle but arcs out at each end. You start getting creative as you’re faced with each new situation. This pic also shows that though the boards were supposed to be 8′, not all were. For this reason and because it was a narrow joist, I didn’t screw this back edge on the last joist, but instead on the one just before (see below). This worked out well since I’ll be putting in a built-in cabinet/headboard over this area.
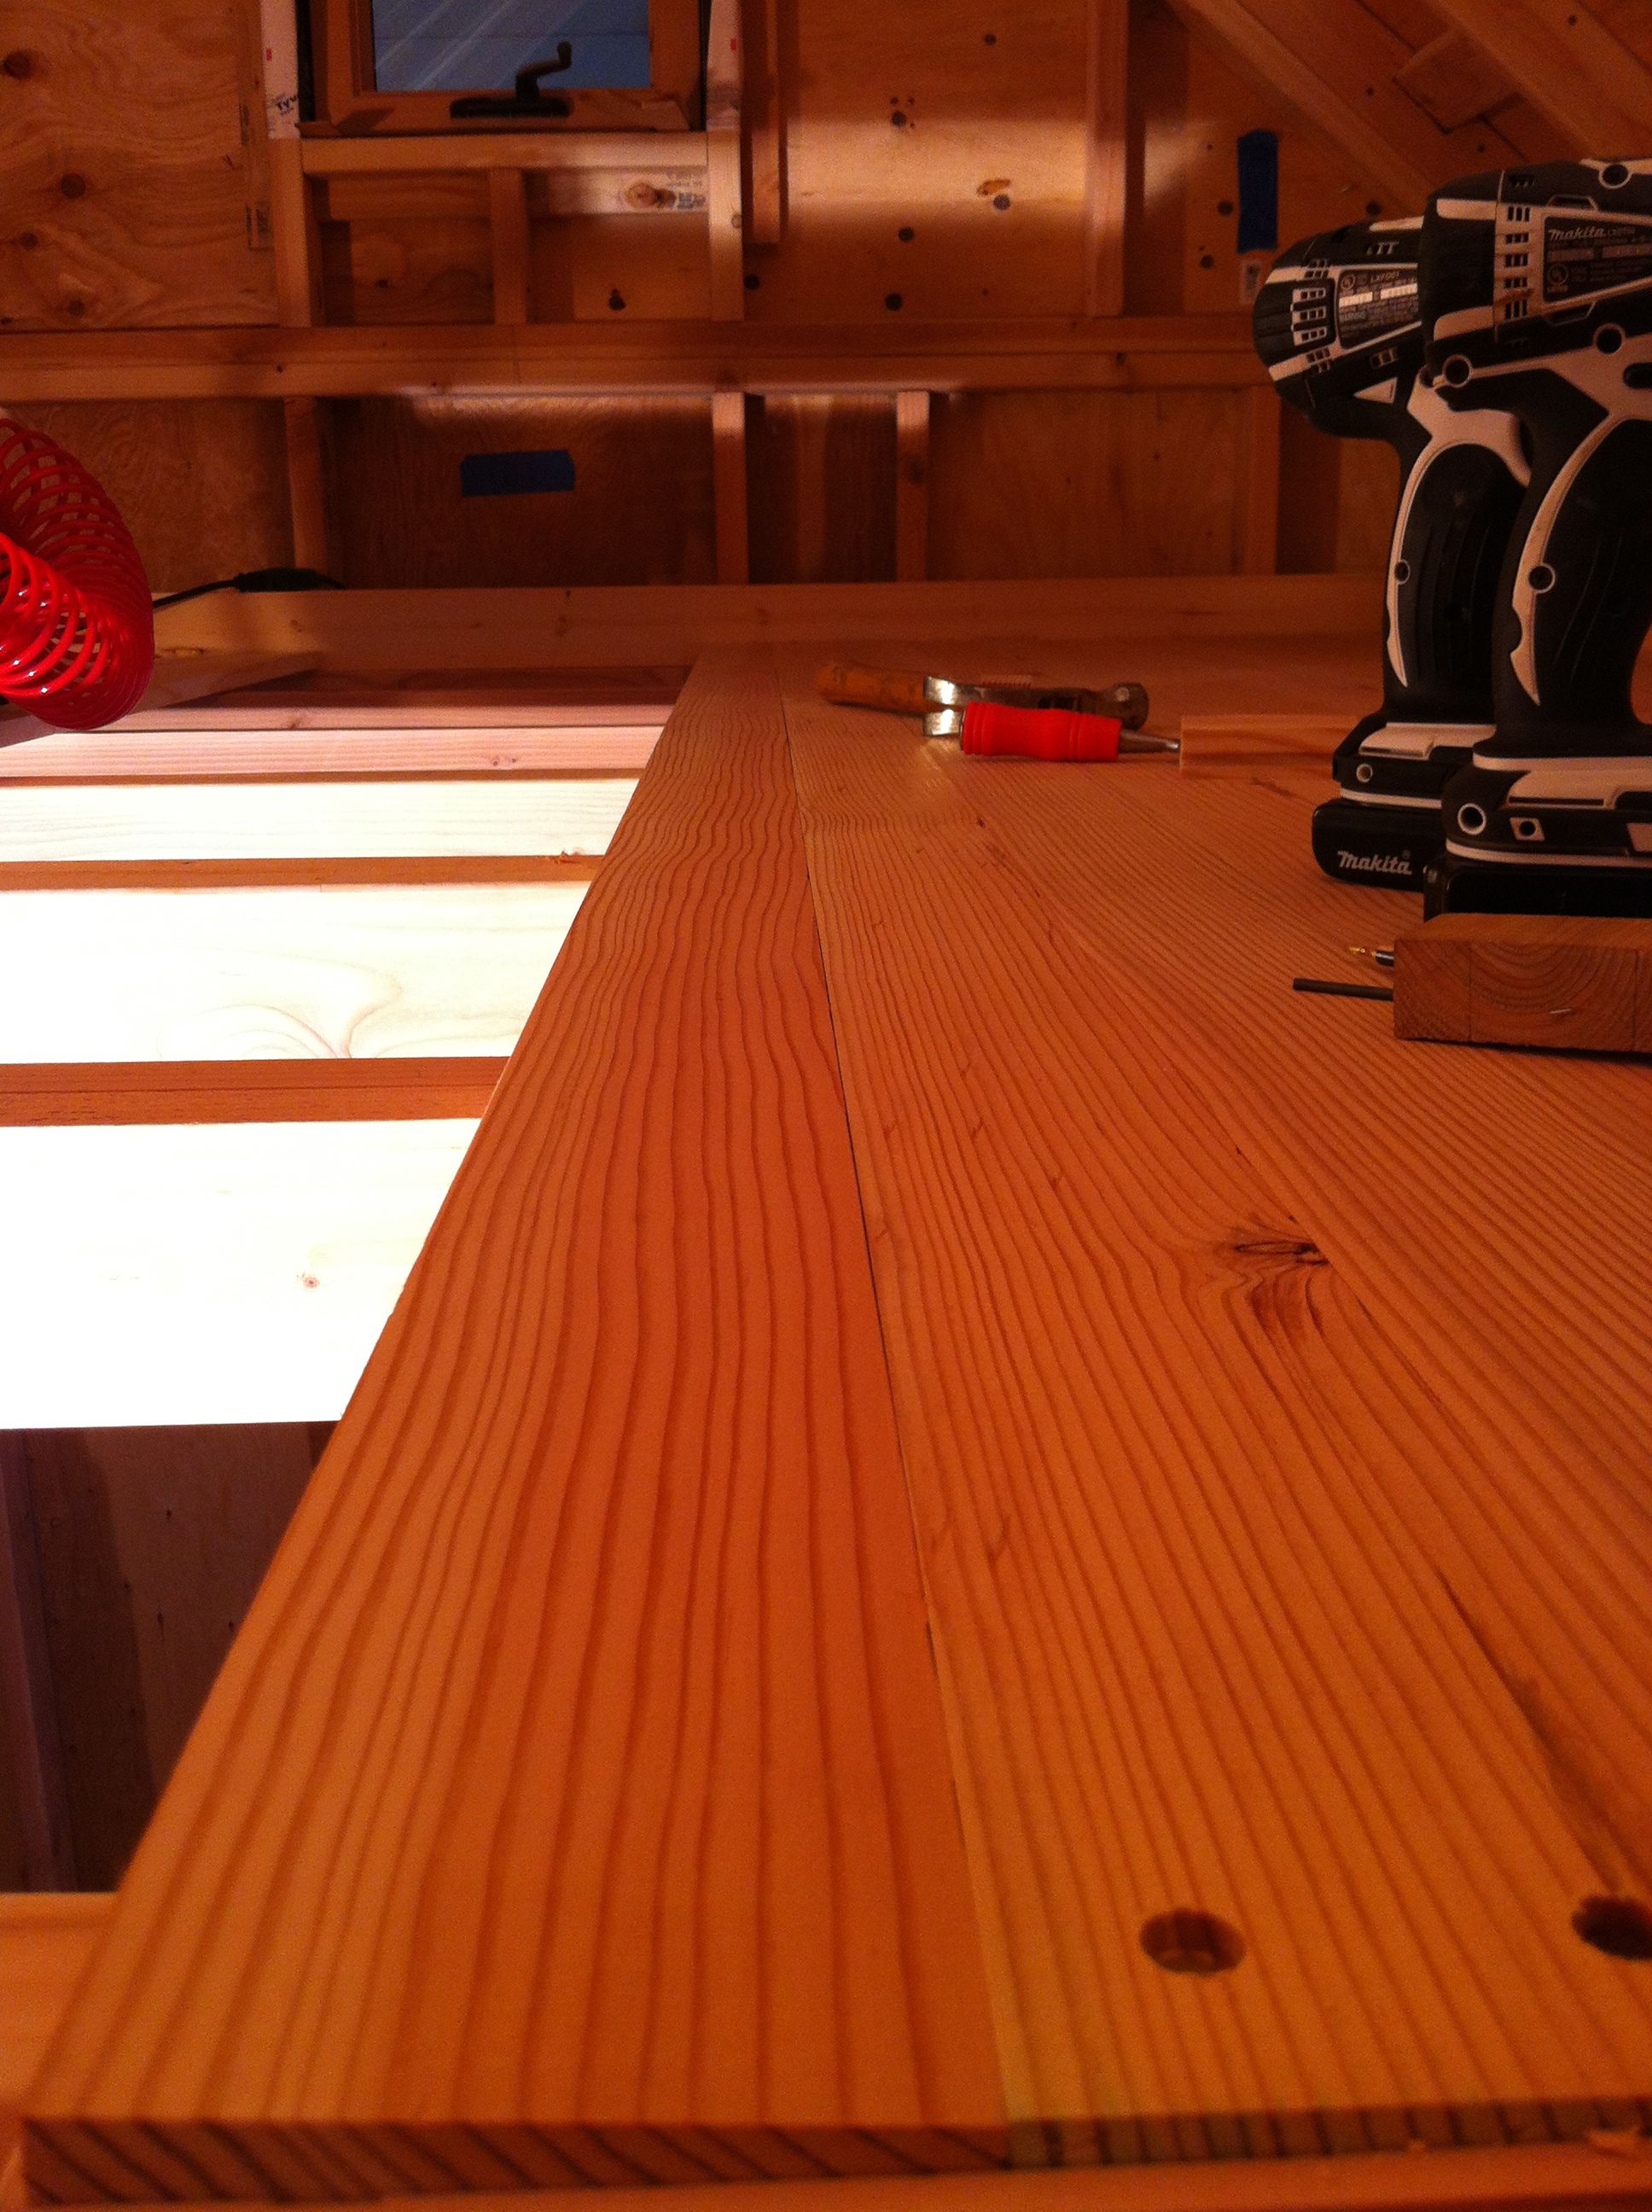
The march of the screws. I had to rip down a board to fit in the remaining space.
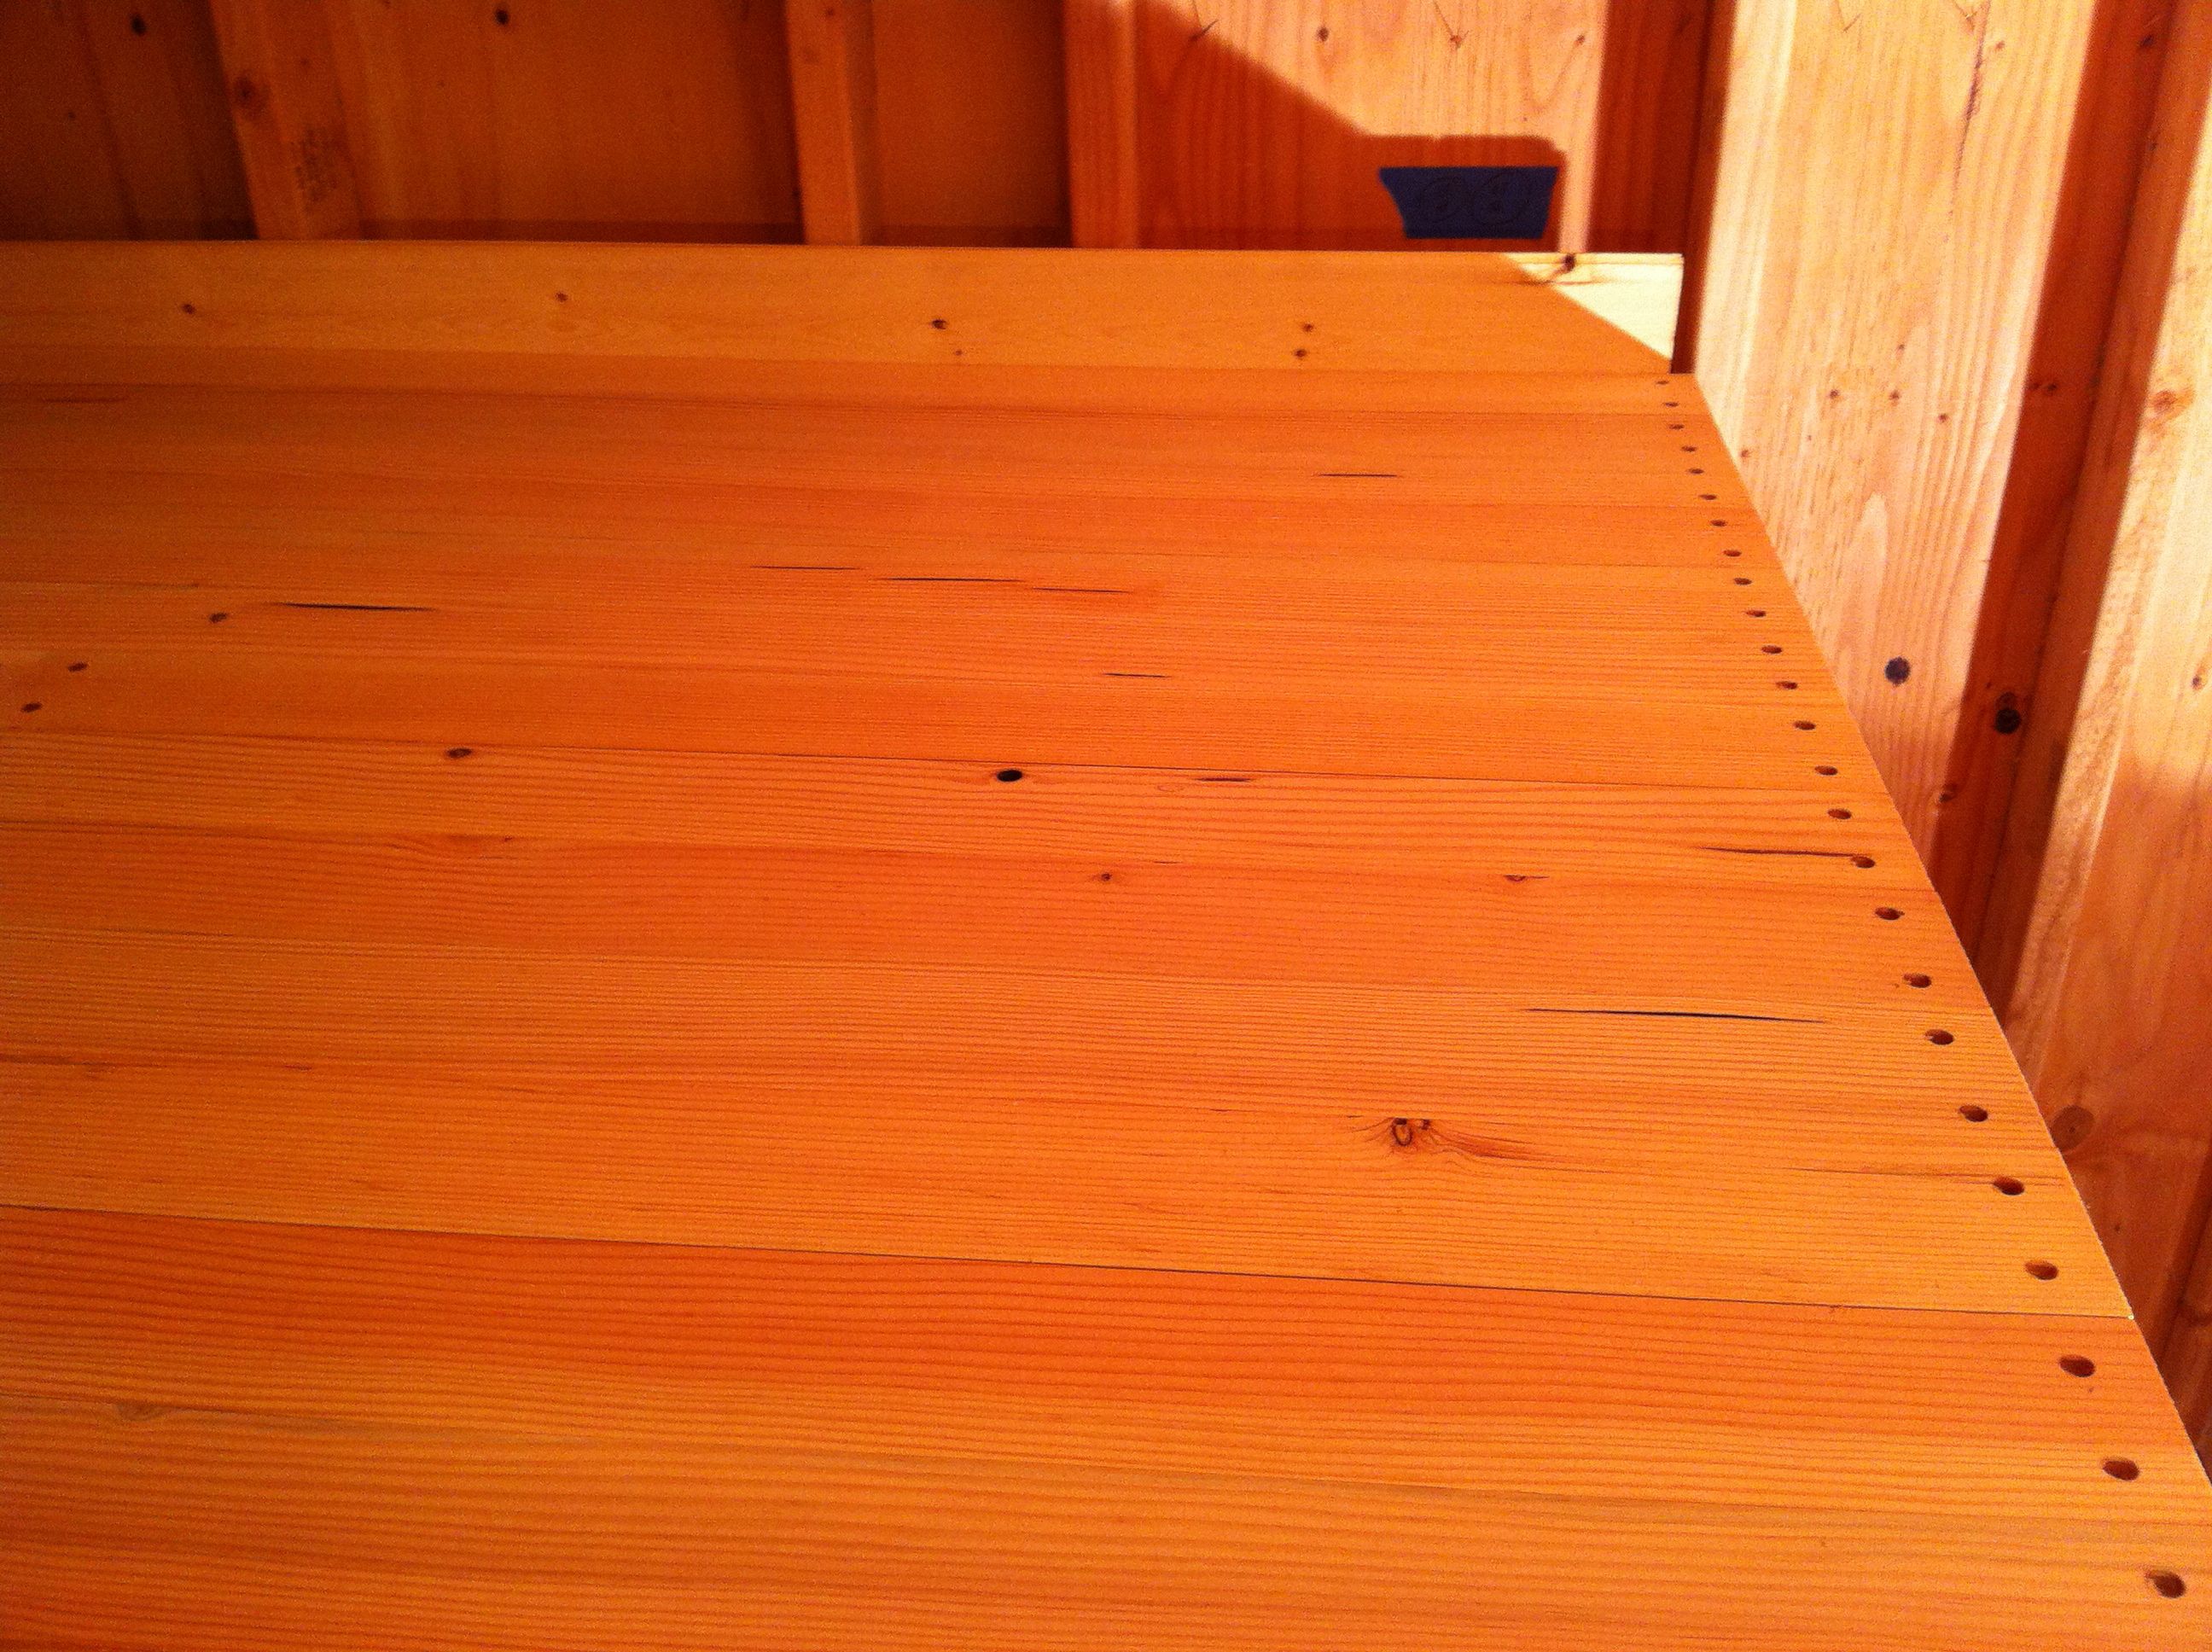
Looking back. Lots of holes to plug!
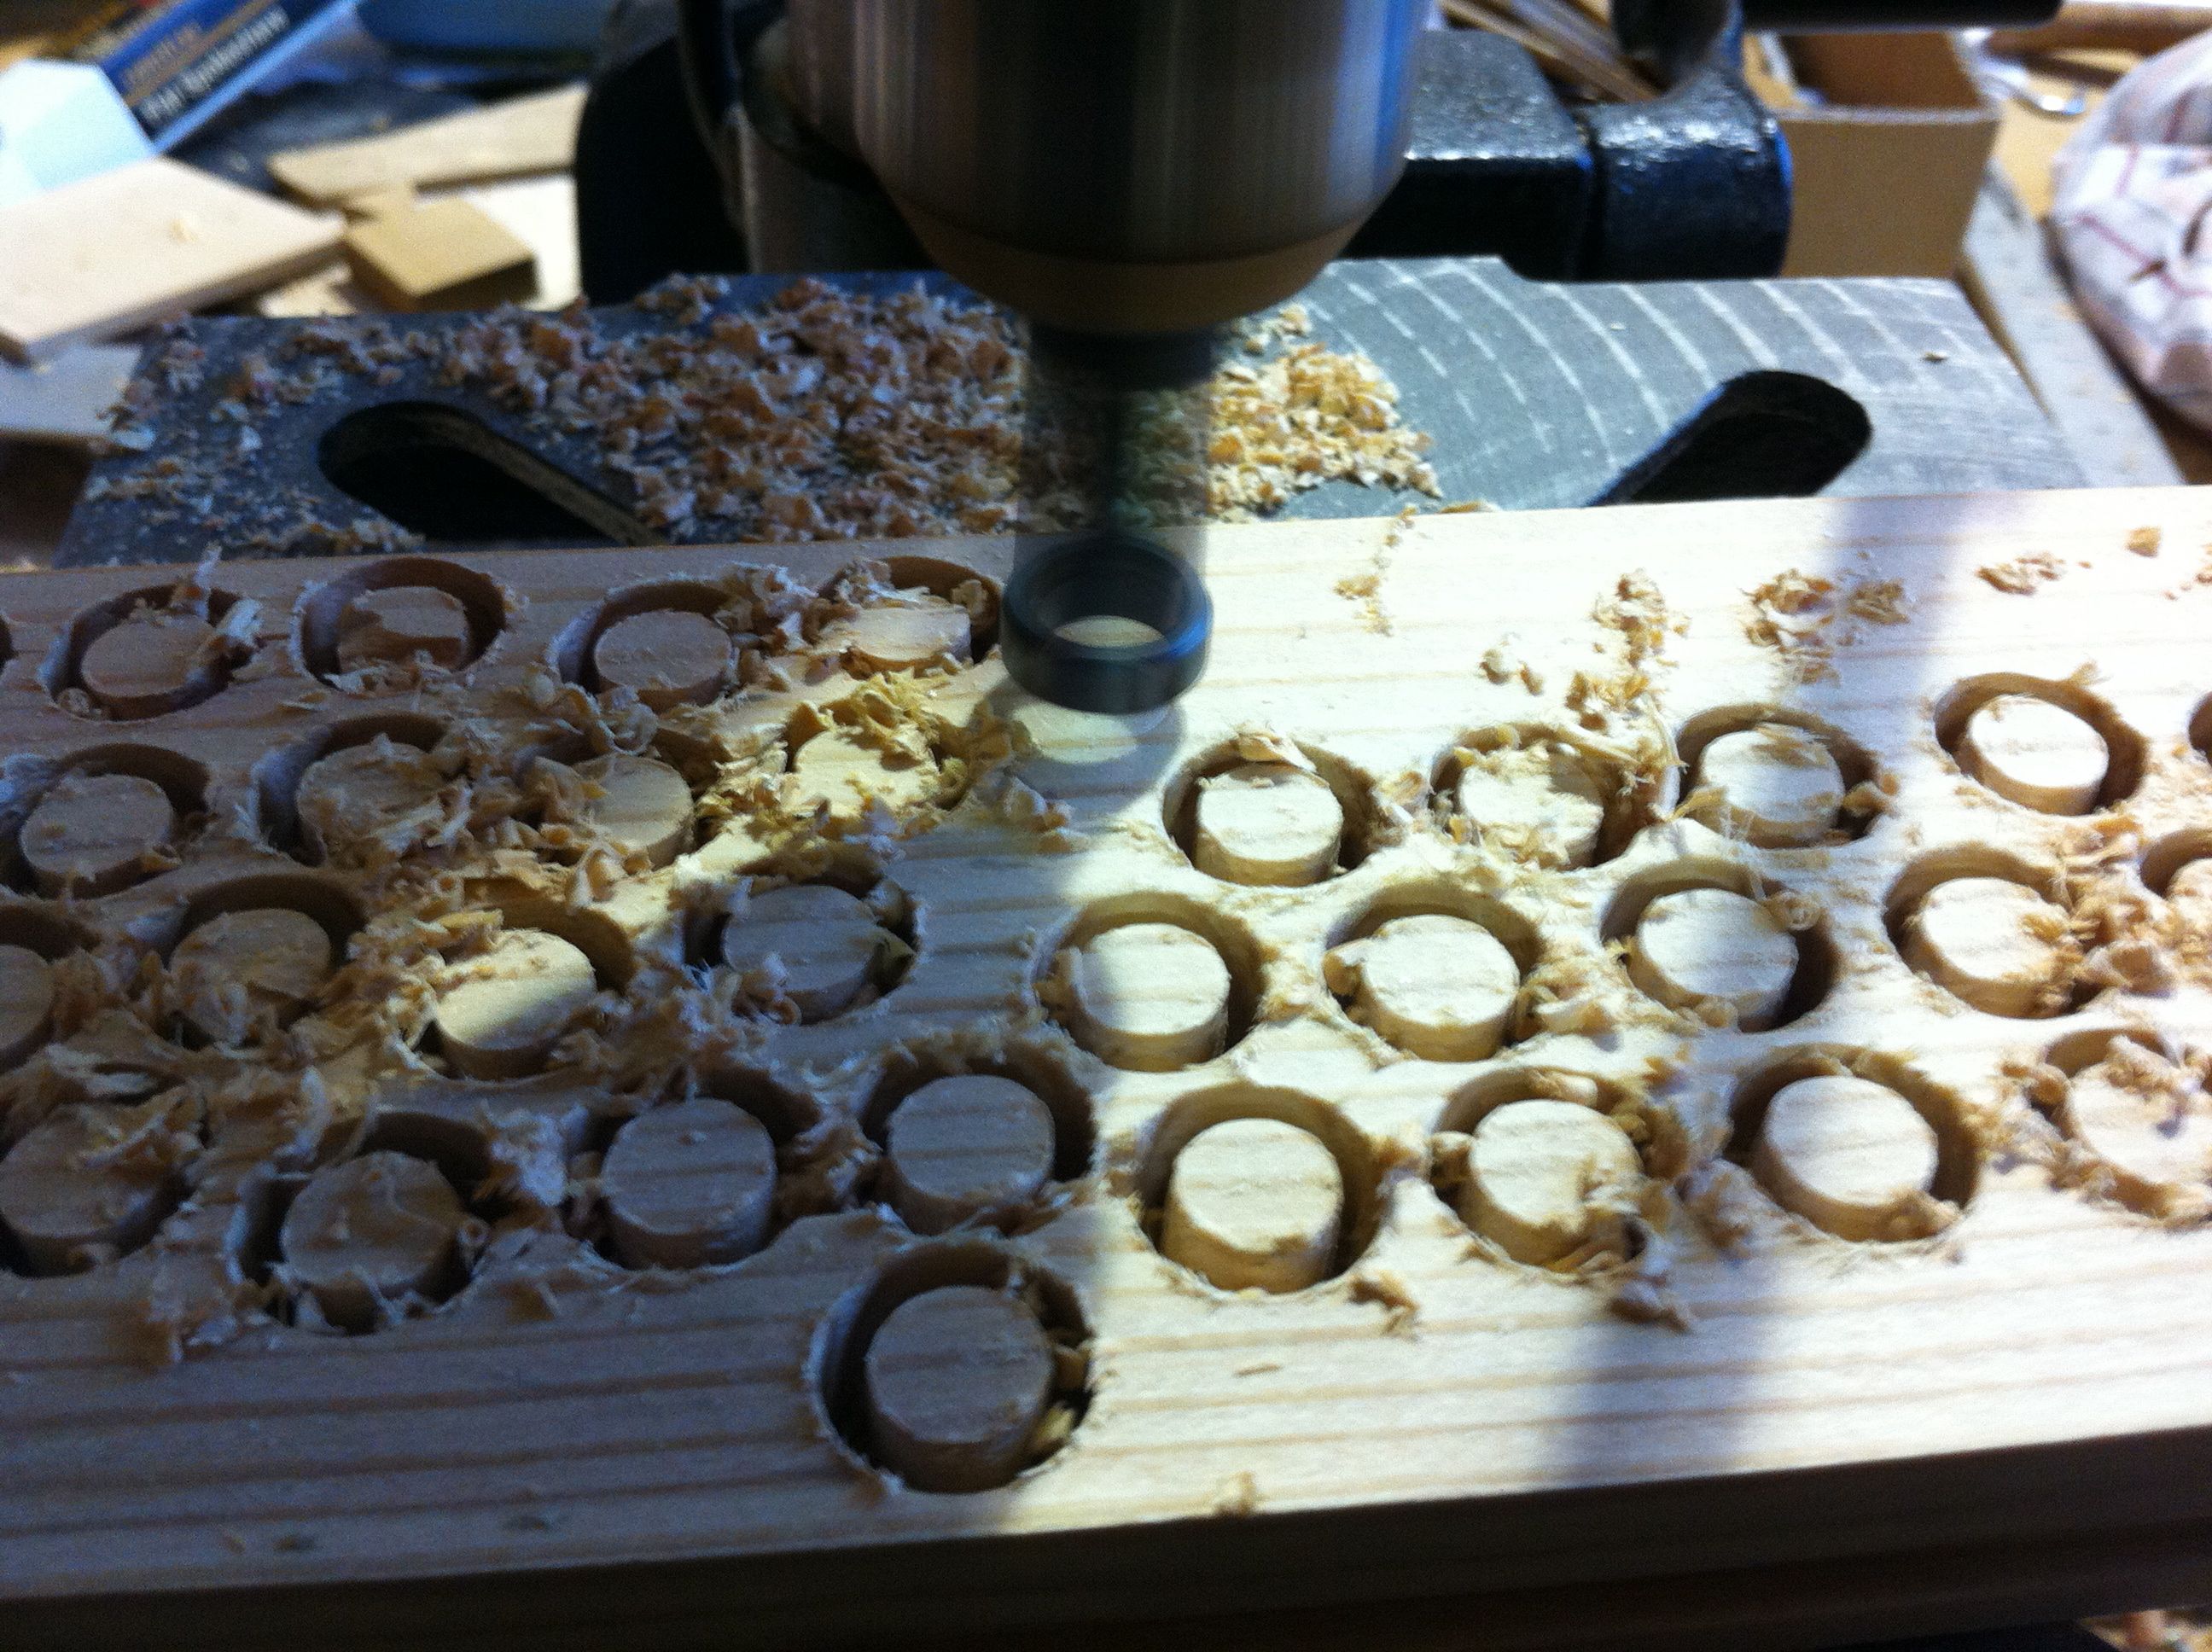
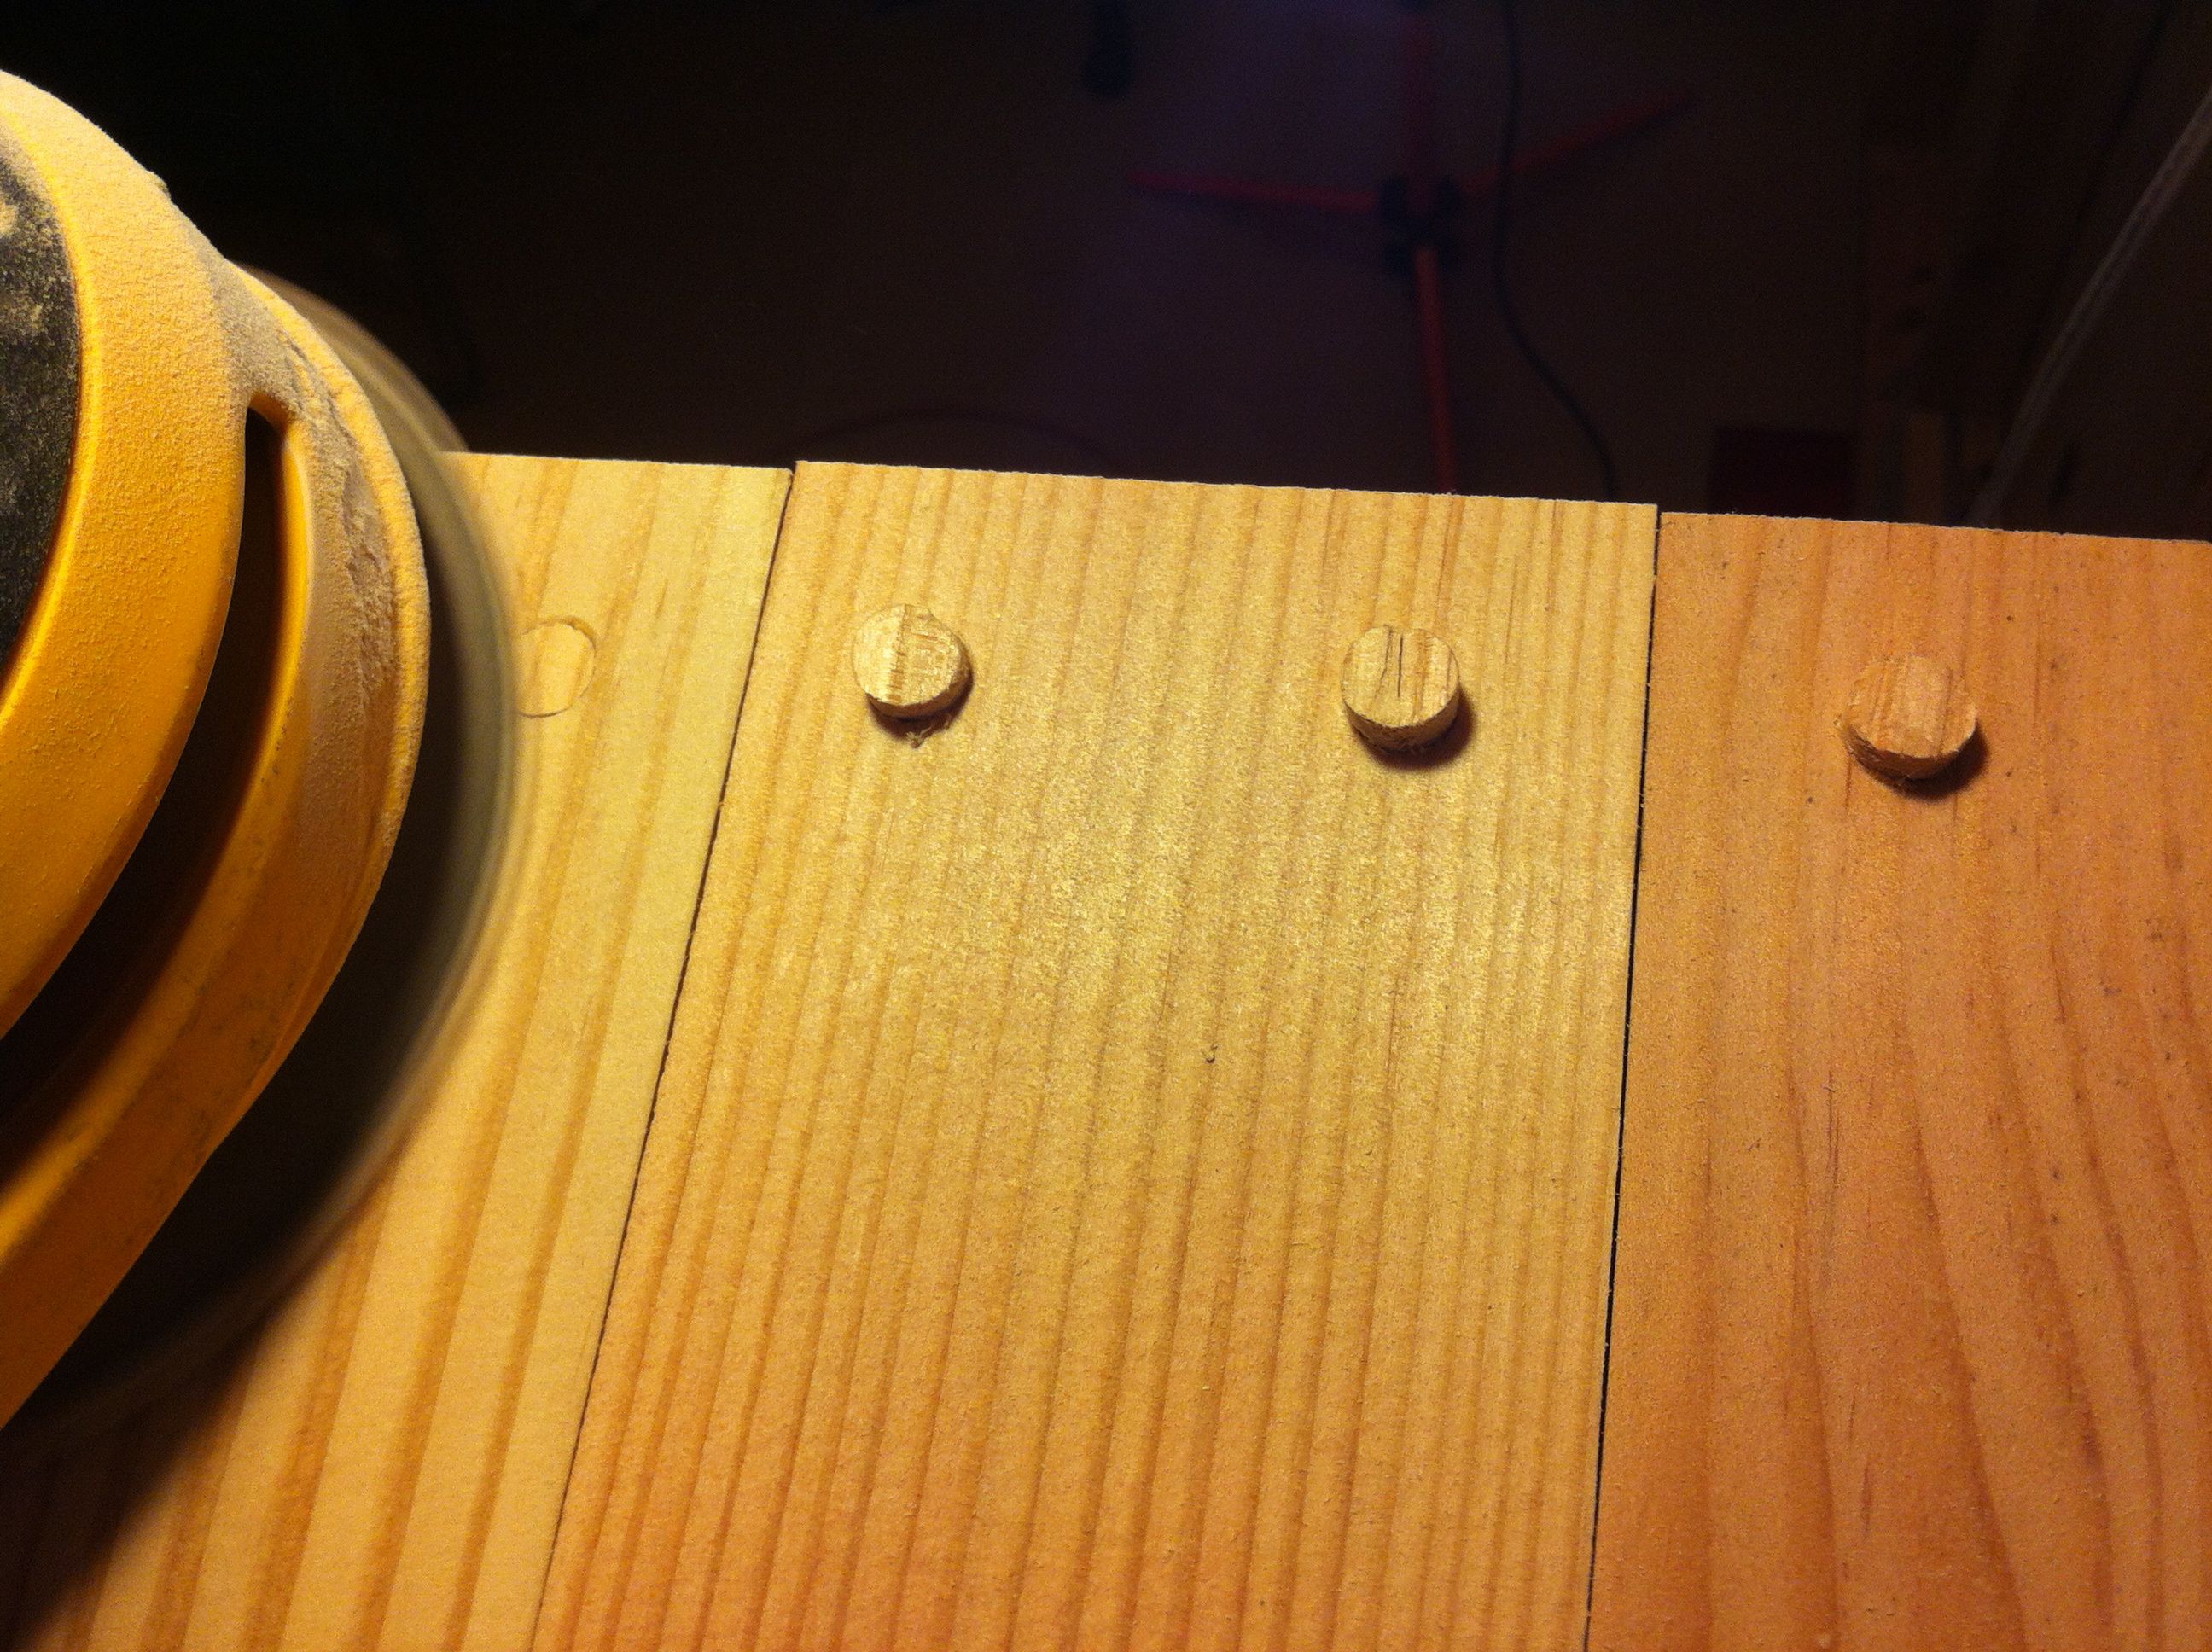
I used a plug cutter bit that matched the diameter of my countersink hole. I used a drill press which made it easy, but you could probably get away with using a hand drill if you were very careful to go straight down. You could wrap tape around the cutter so you know how far down to go. If you don’t want to make your own plugs, you can buy wooden dowels and cut them up.

The plugs are easy to pop out with a thin chisel or screwdriver.

I made my plugs about twice as tall as my holes, which seemed to work well for making sure they were above surface of the boards after you pound them in.
Depending on how persnickety you are, you can line up the grain before you (gently) pound them in with a hammer or the end of a chisel. I dipped the ends lightly in wood glue, just deep enough to go about 1/16″ up the sides. Any more than this and it gets forced up out of the hole.

Since there was wide variety in my boards, I also got into trying to color match the plugs as best as I could. It’s hard to see here but I chose scraps for the plugs that had a range of colors and then chose the closest match as I worked my way along each board.

Endless plugging.
I like the little fortresses of plugs in the distance where I joined boards.

After the glue dried, I had to figure out how get them flat. First I tried a chisel. If you’re going to go this route, your chisel needs to be super sharp and it’s best to angle it side to side, taking off thin slices each time to avoid tearing out the plug below the surface. I found this to be extremely slow and it was easy to gouge the surrounding areas. I thought it was going to take me all day to do 154 plugs.
Fortunately I stumbled on something much easier. It’s a snap to use an orbital sander and just grind them down (carefully!). Whole thing took less than an hour.
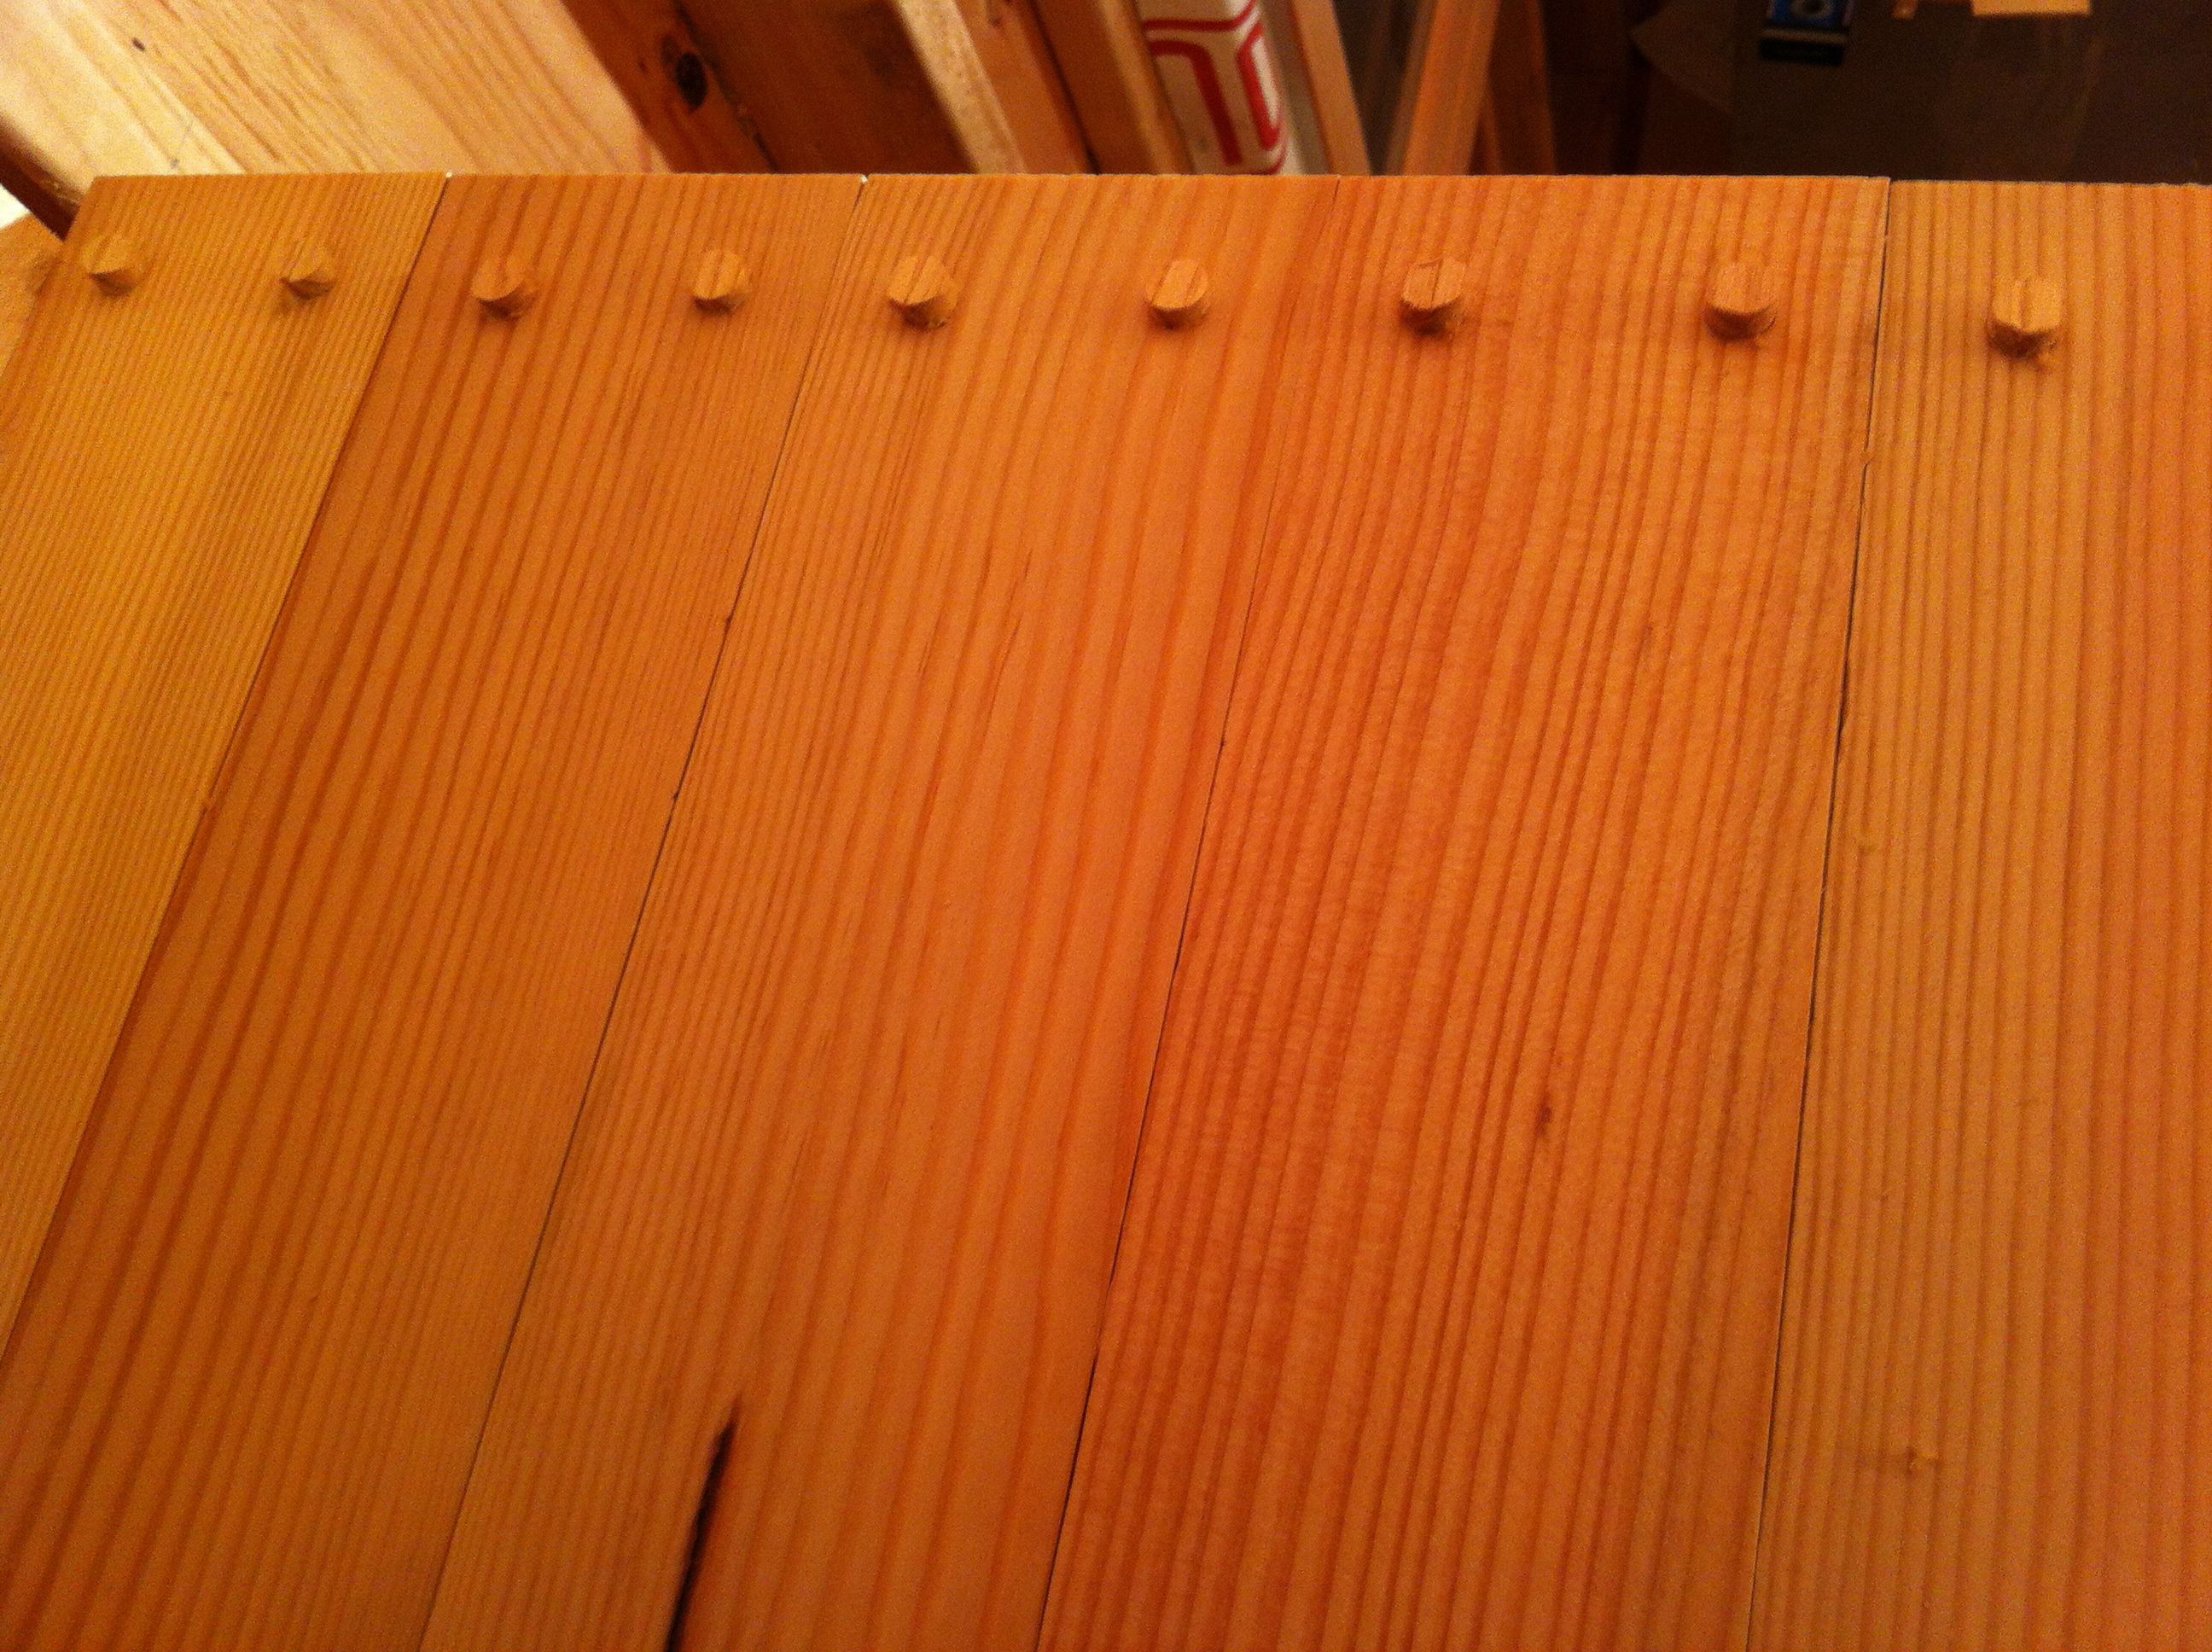
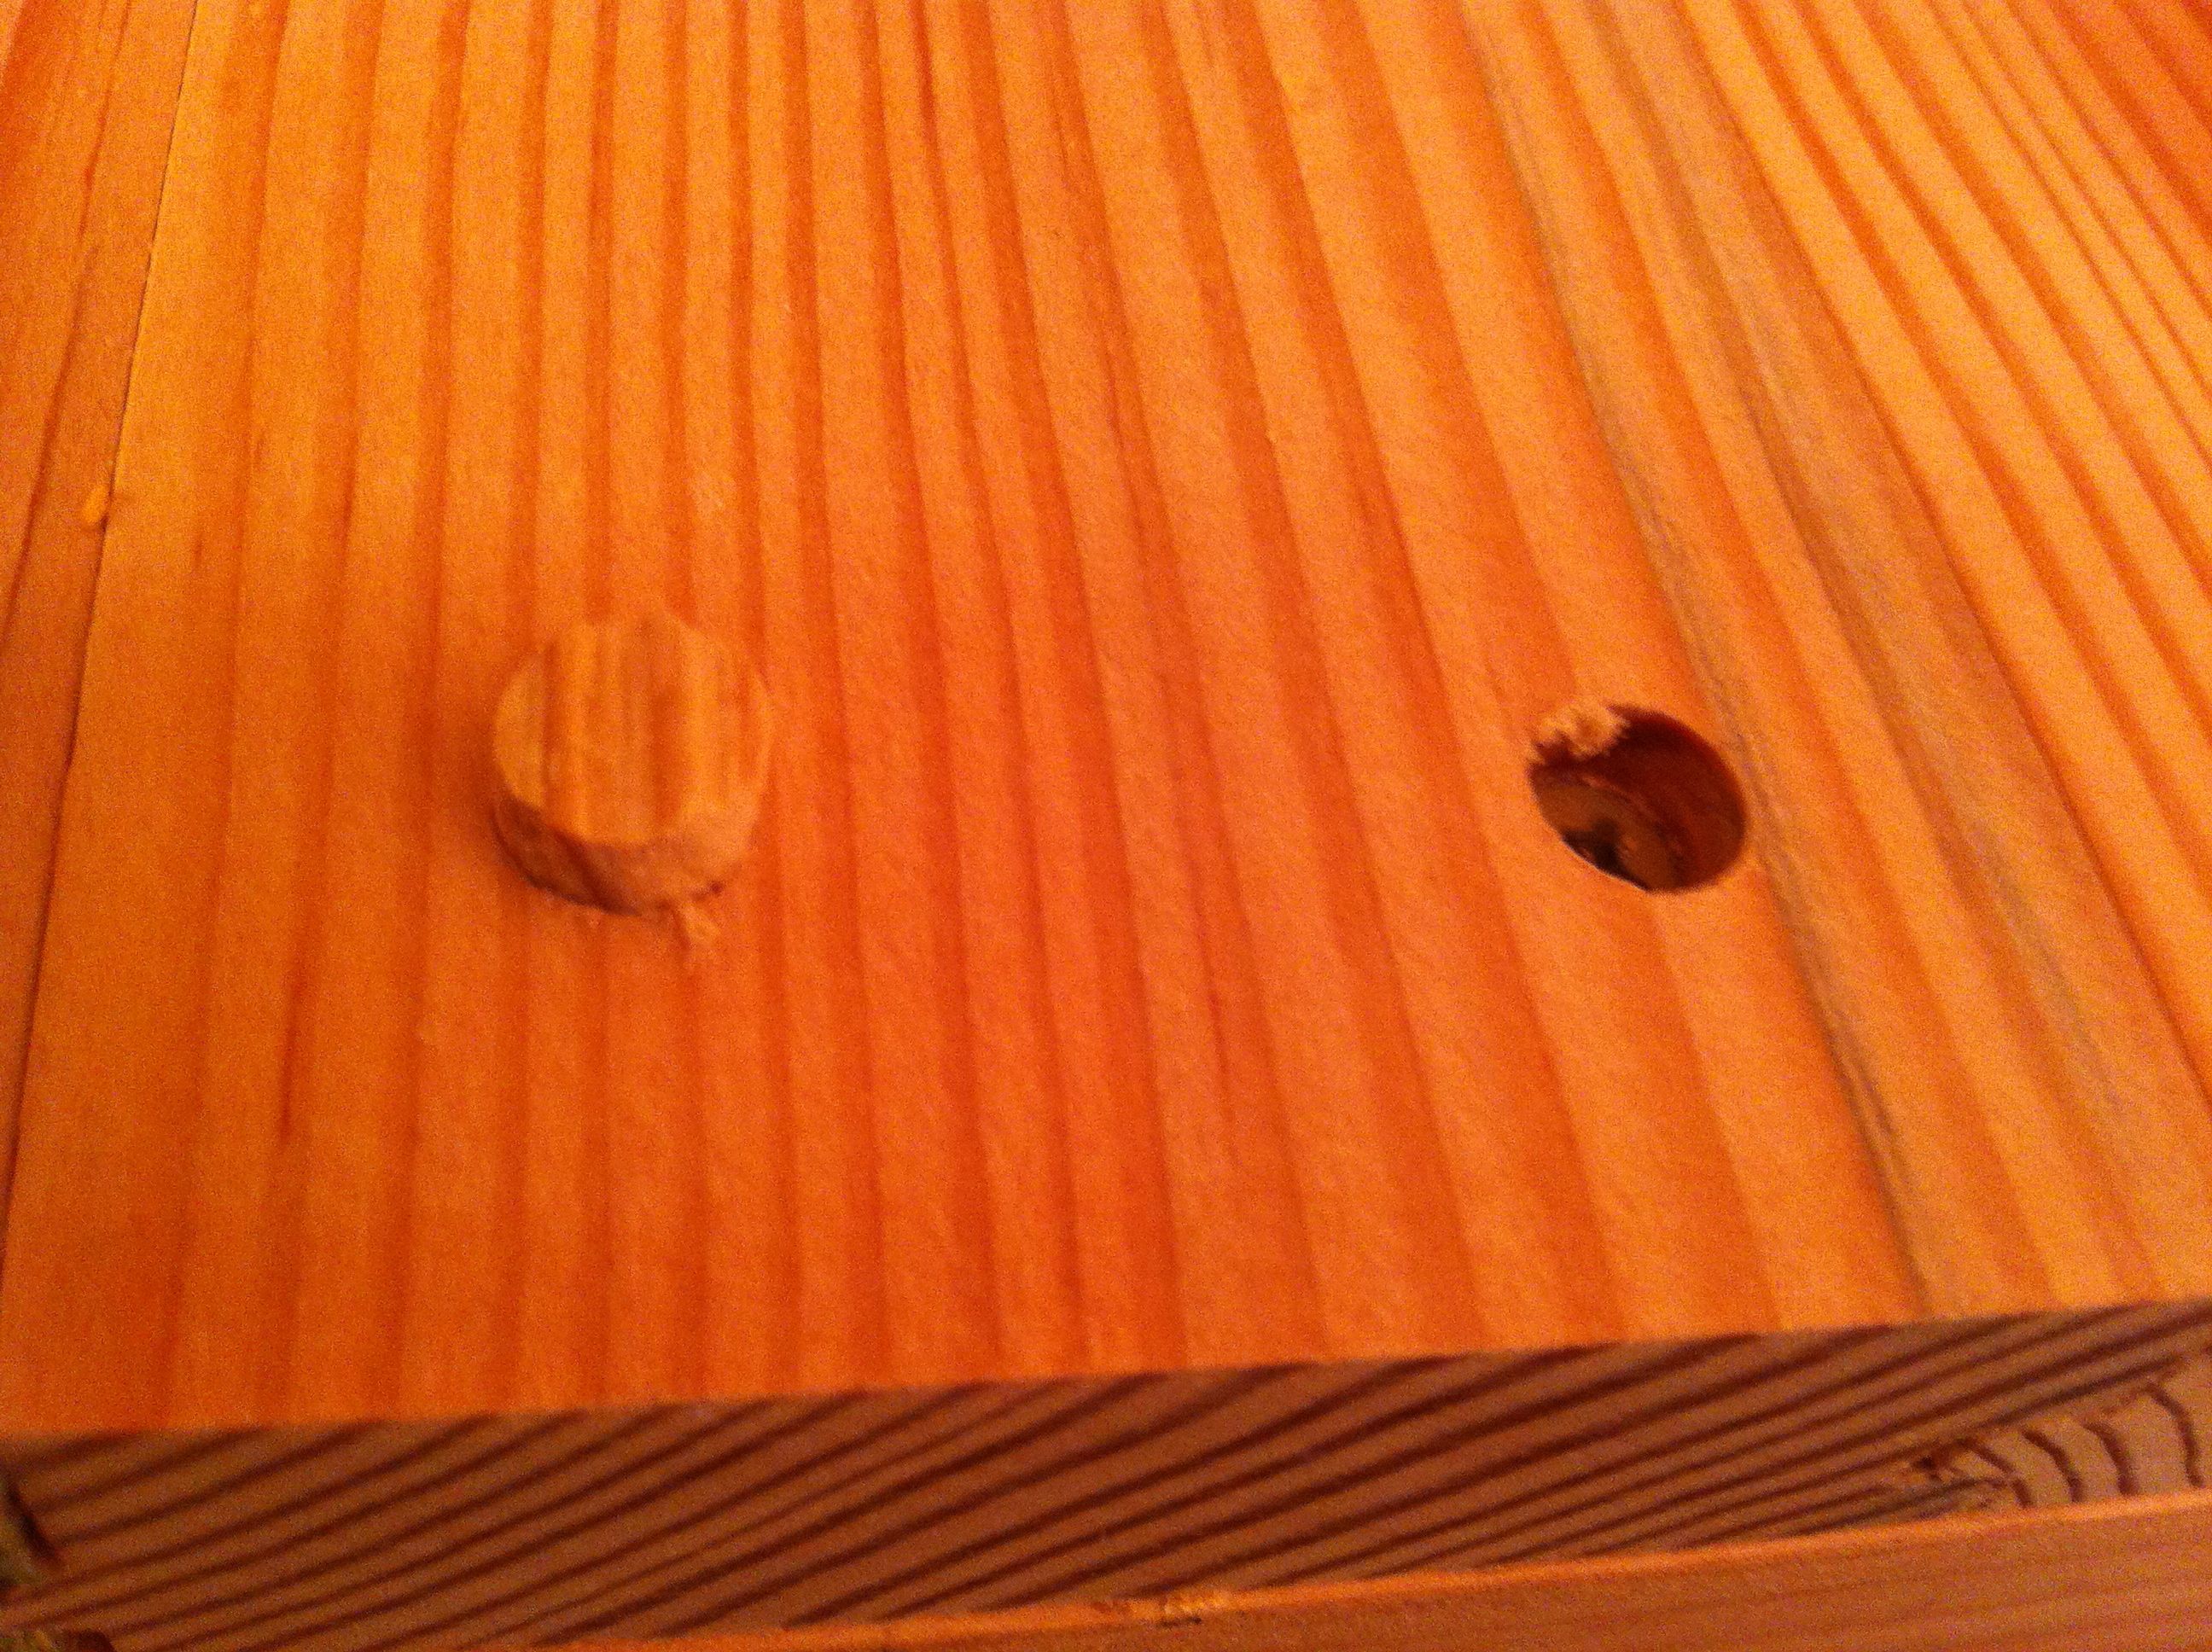
Here’s a nice example of a before and after section. Before sanding down the plugs…

And after. I was happy with how the color matching worked. A contrasting color of wood would have been cool too.
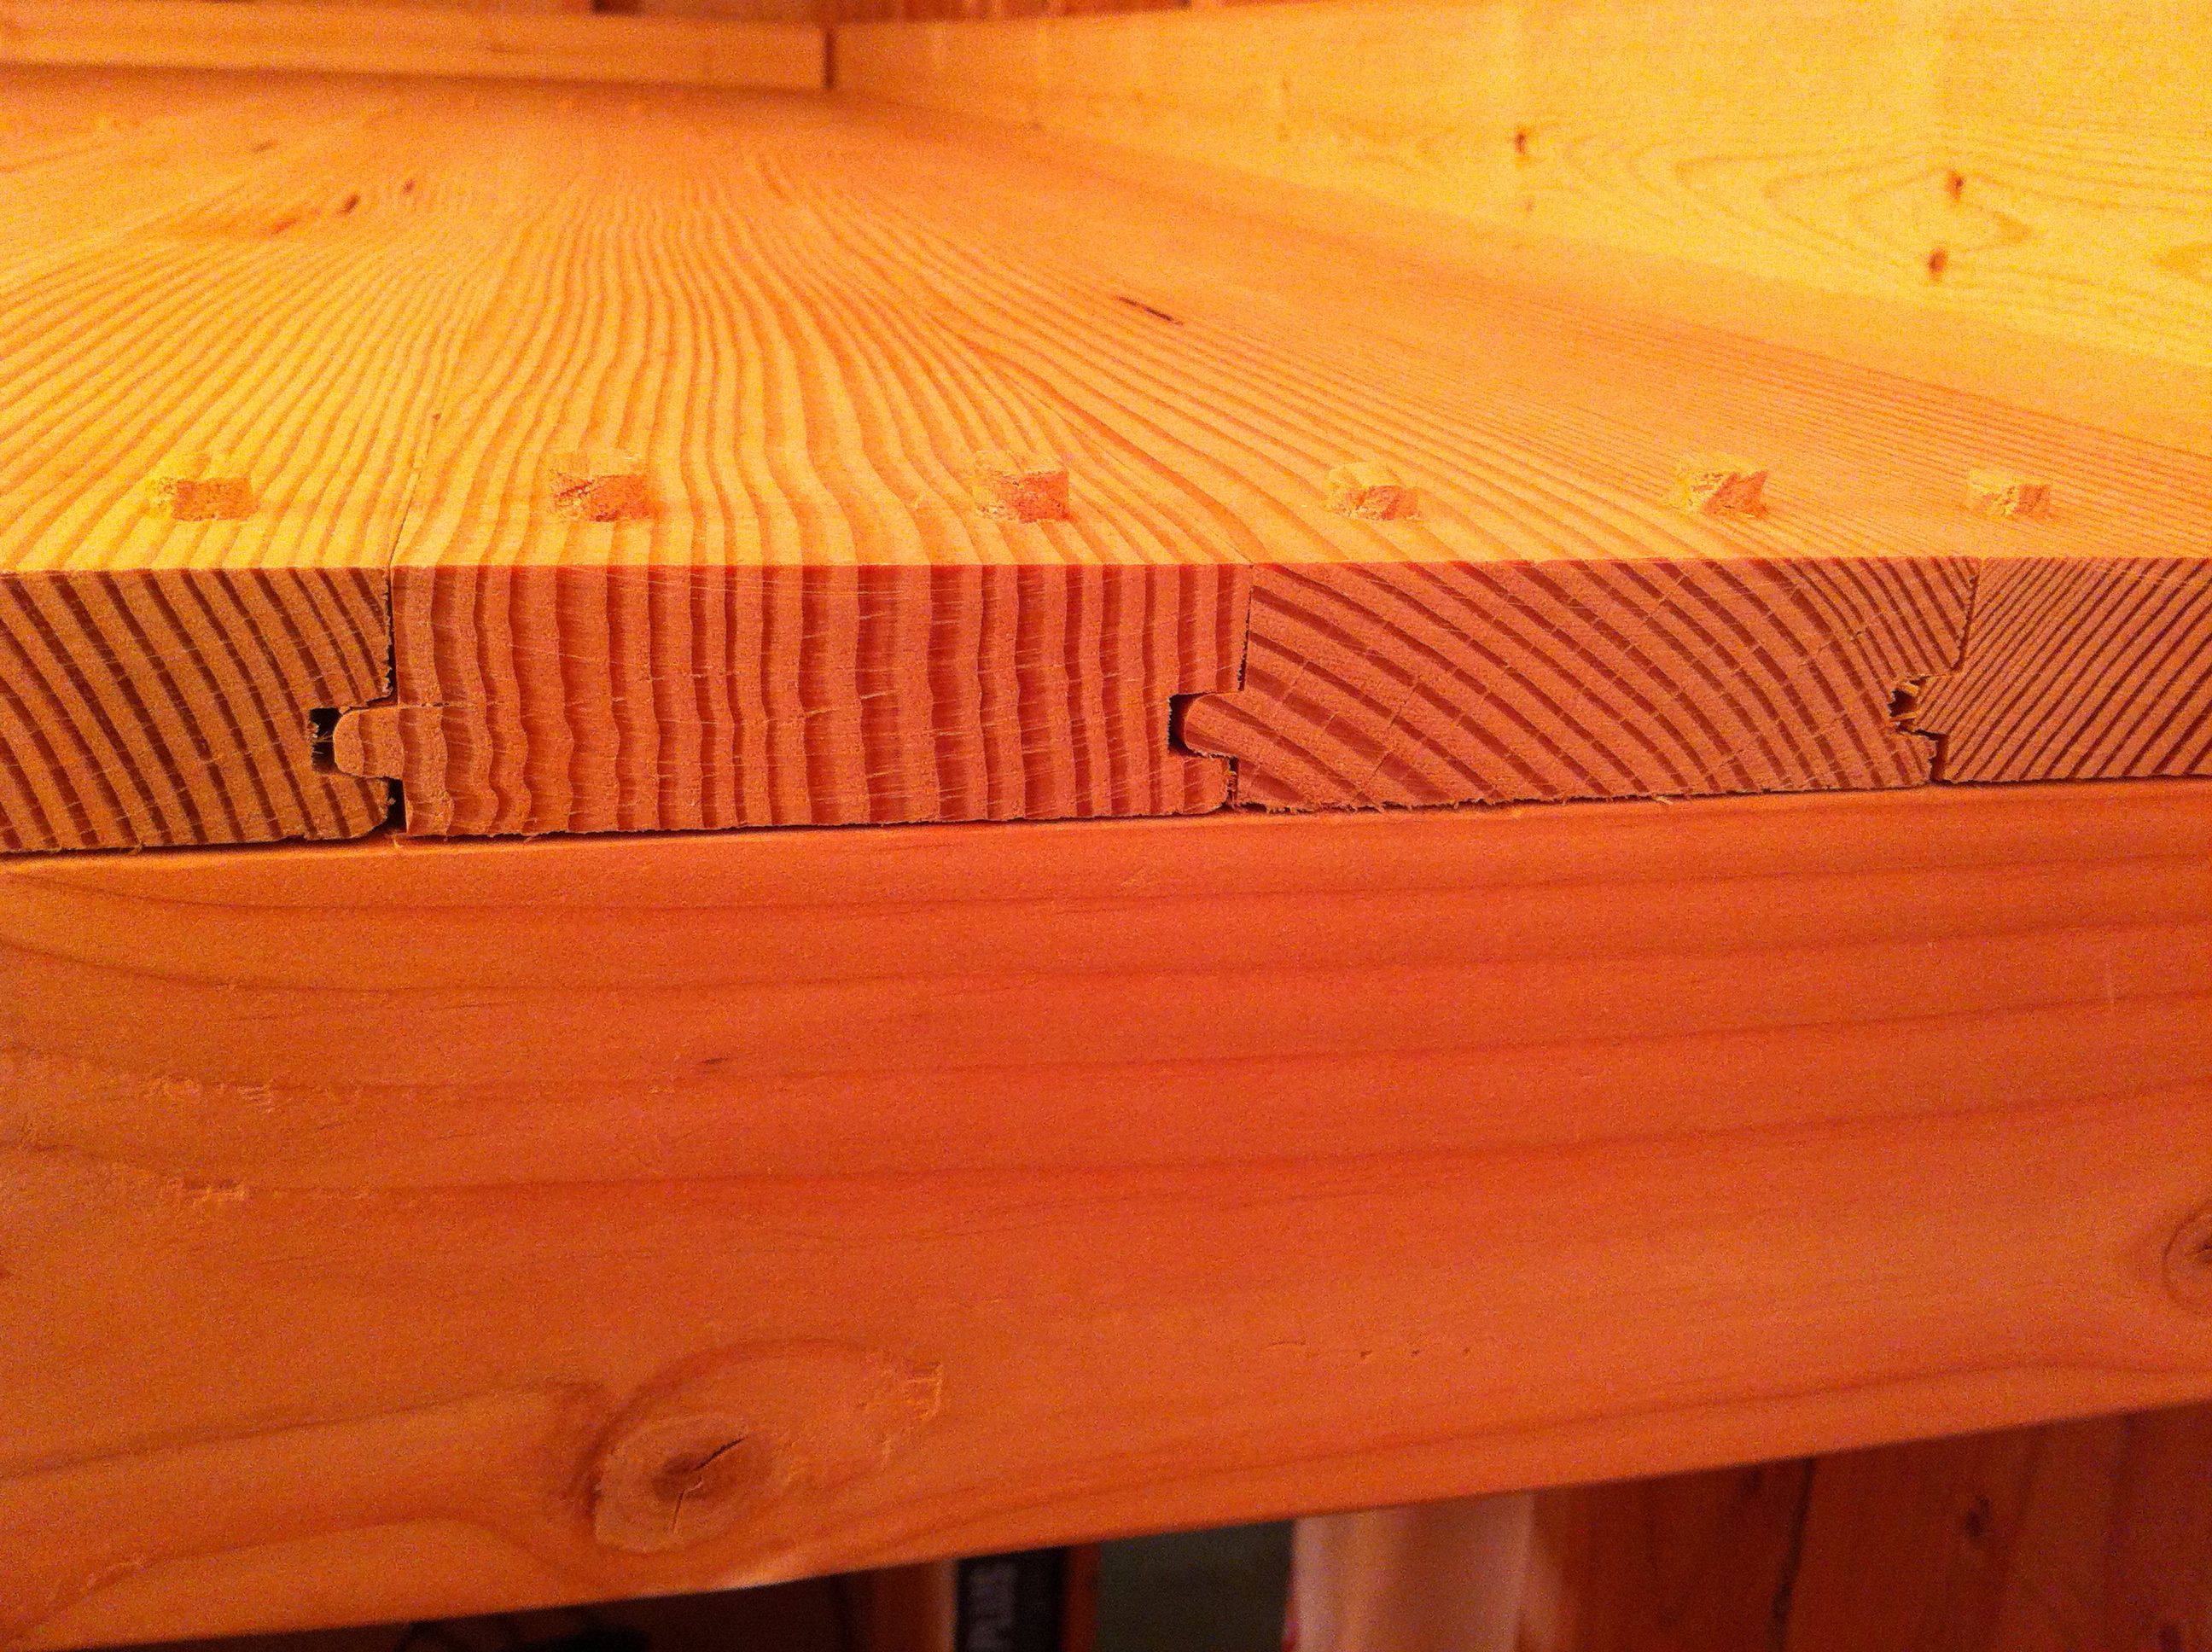
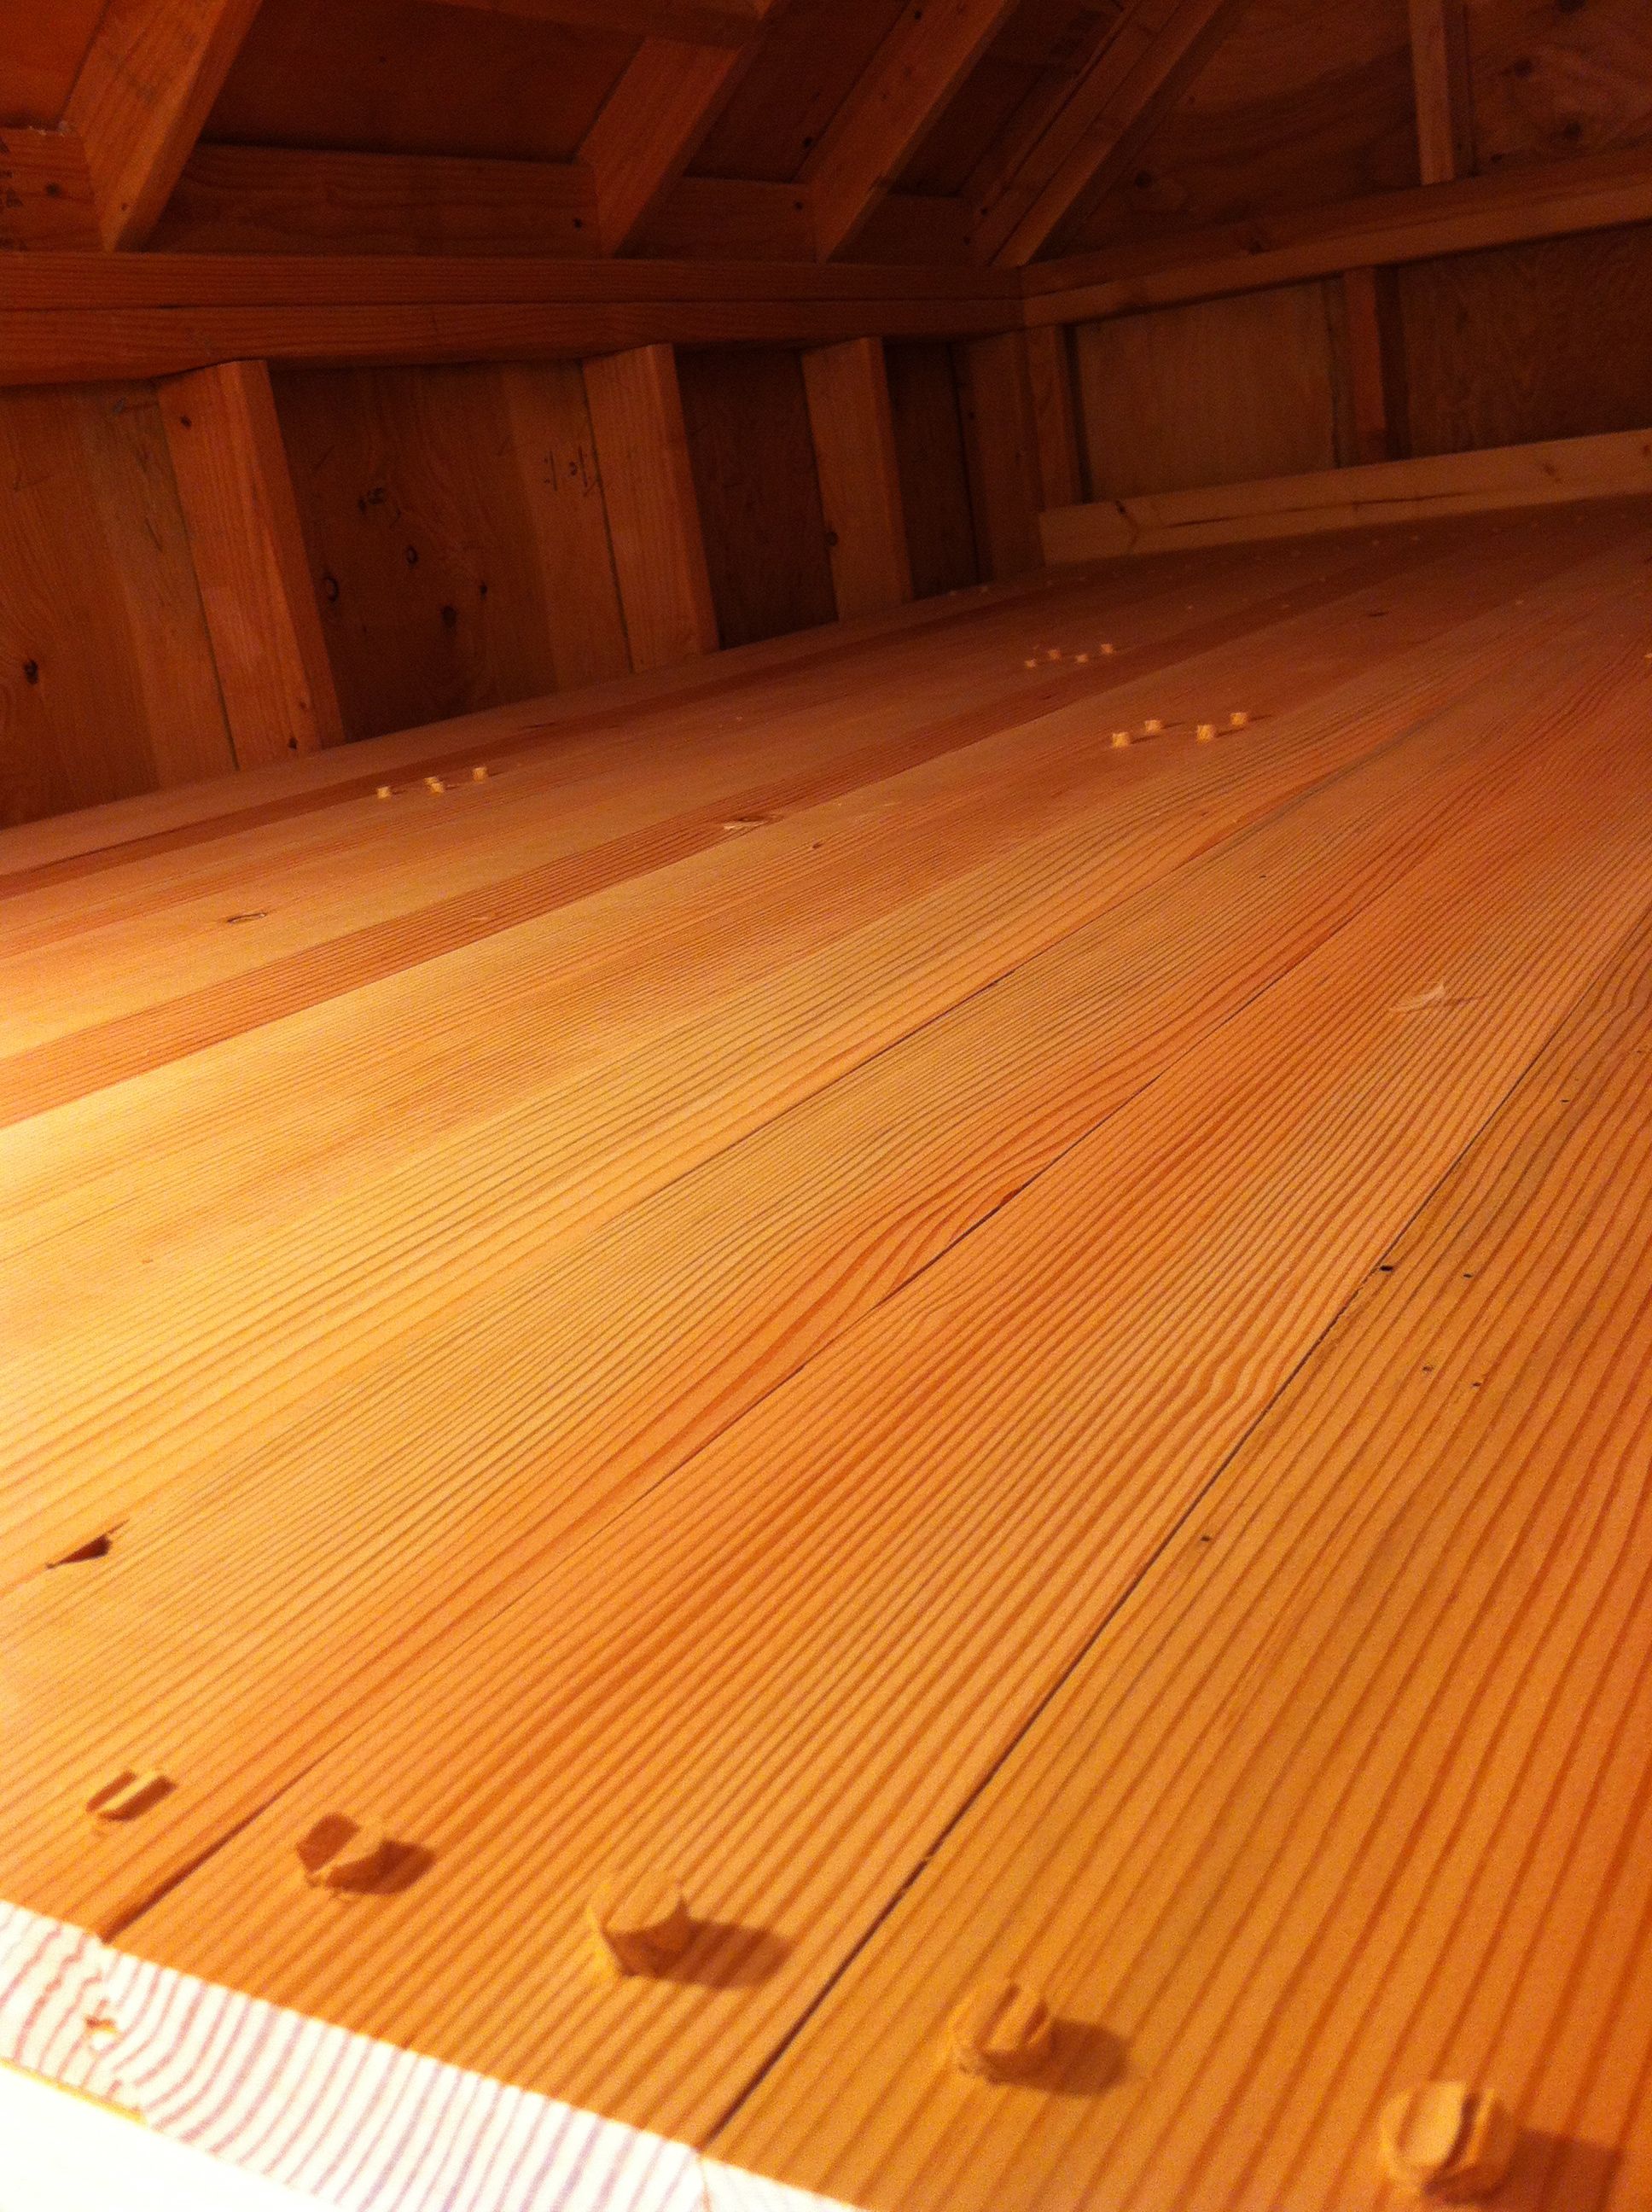
Looks like candy! I wanted to also point out that the tongue and groove milling is slightly offset. I was going nuts since I would get the first couple boards joined tightly above but there would be a gap below. I finally realized this was probably intentional to help with expansion relief and once I got enough boards down, I liked the pattern.

You can see the relief gaps and the bird below.

Finished loft except for a final sanding.

Another view.

This is a collaboration to put poetry in transit stops around Portland. While it doesn’t apply to my loft per se, I thought it was lovely and it segues nicely into my upcoming post.

Your loft is beautiful! We just finished installing ours and took the easy way out for the loft floor- finished plywood. Putting in the extra effort obviously pays off because your handiwork is gorgeous. Well done!
Thanks, Laura! I’m liking working with wood and learning about it, so took the time – not sure it was necessary since it will mostly be covered by the bed! Best wishes for the rest of your build.
Wow, nice photo-essay of the great job you’re doing. Thanks.
Thank you!
Your loft is so beautiful! The way you matched the plugs is above and beyond a “typical” build. The result is so worth it. Such a shame that much of that hard work will be covered by a bed! I am so enjoying reading of your progress as you make this change in your life.
Thanks, Lisa! Yes, I was thinking the same thing about covering it all up and why was I doing this, but it’s also about the experience, learning about wood. It’s all a big art project as far as I’m concerned!