

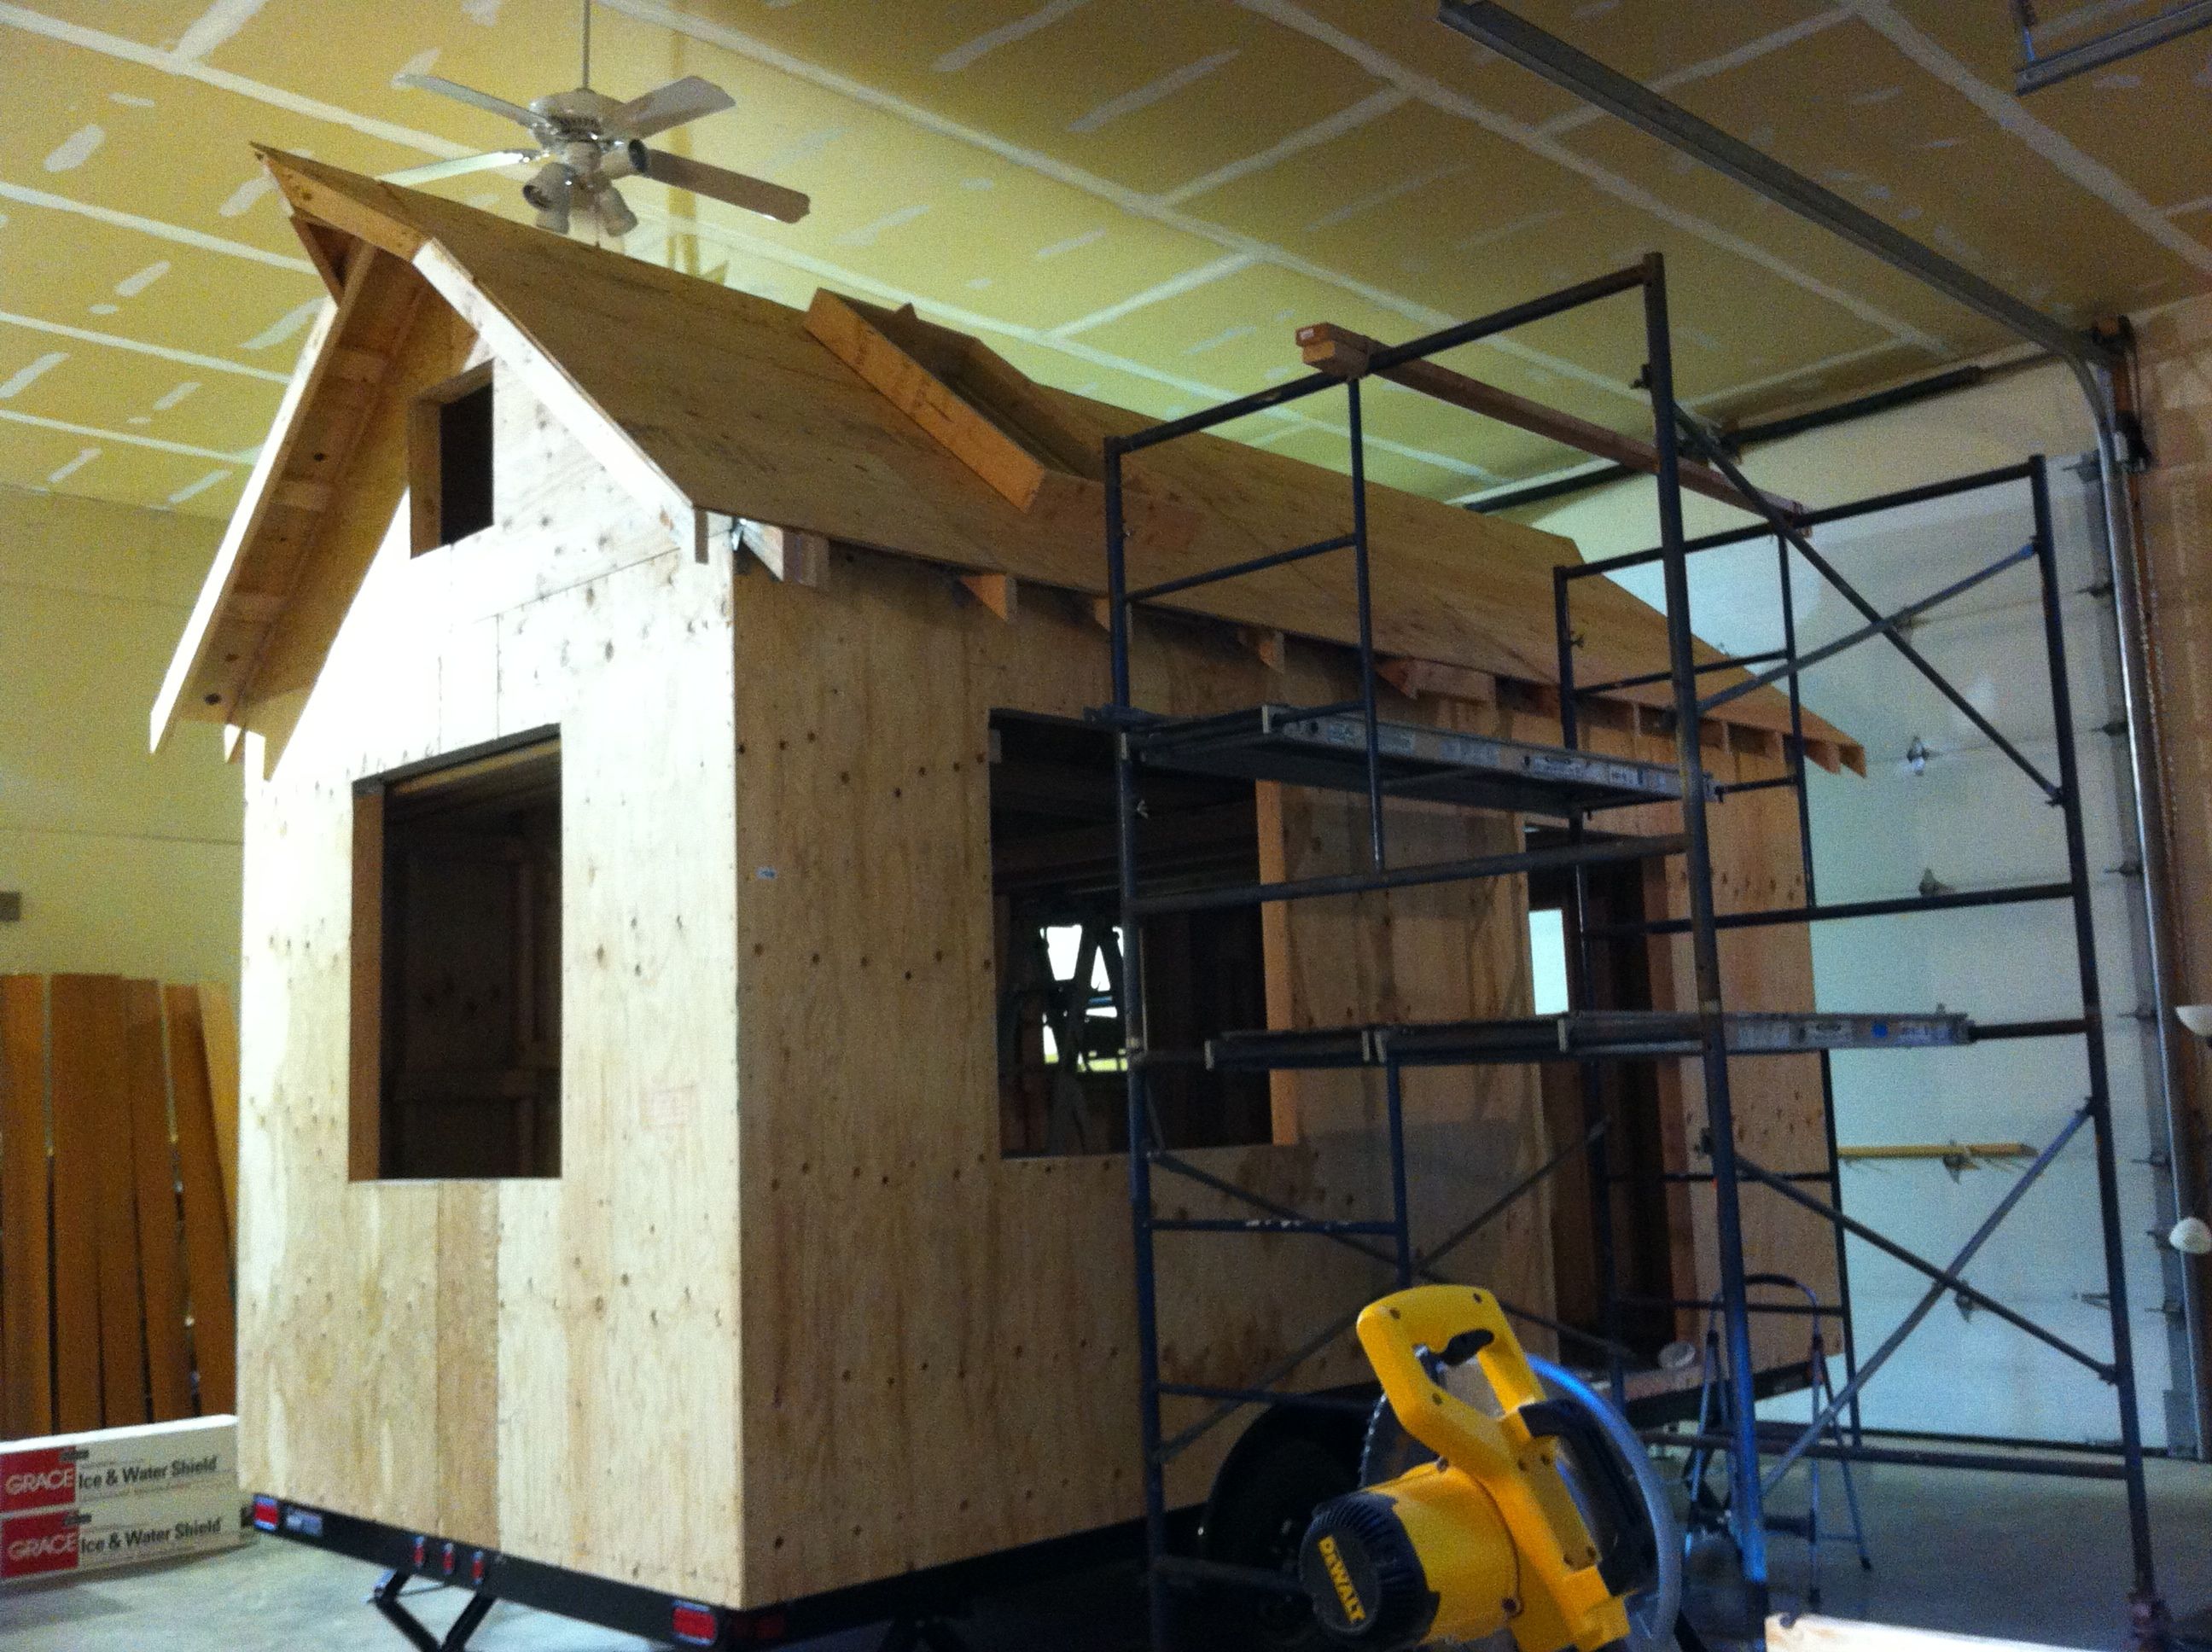
Current state of Naj Haus – January 2014.
Song of ice and fire
Okay, I know I’m really late to the party but as I was killing time in the airport on my way home from my fourth stint of building my tiny house, I picked up a copy of A Game of Thrones by George R.R. Martin. The series, as most of you know, is called A Song of Ice and Fire, and this seemed rather appropriate for the last three weeks. Although Oregon was fortunate to miss out on the extreme weather of the “polar vortex” hitting most of the country, we did get temps down in the 20s and each day was a dance of trying to keep the barn warm enough to apply stains and other building materials, but not too hot to work.
So pour yourself a cup of mulled wine, throw another log on the fire, and listen to the epic saga of this last build stint:

Sky afire: yet another spectacular sunrise.

Some days we had freezing fog.
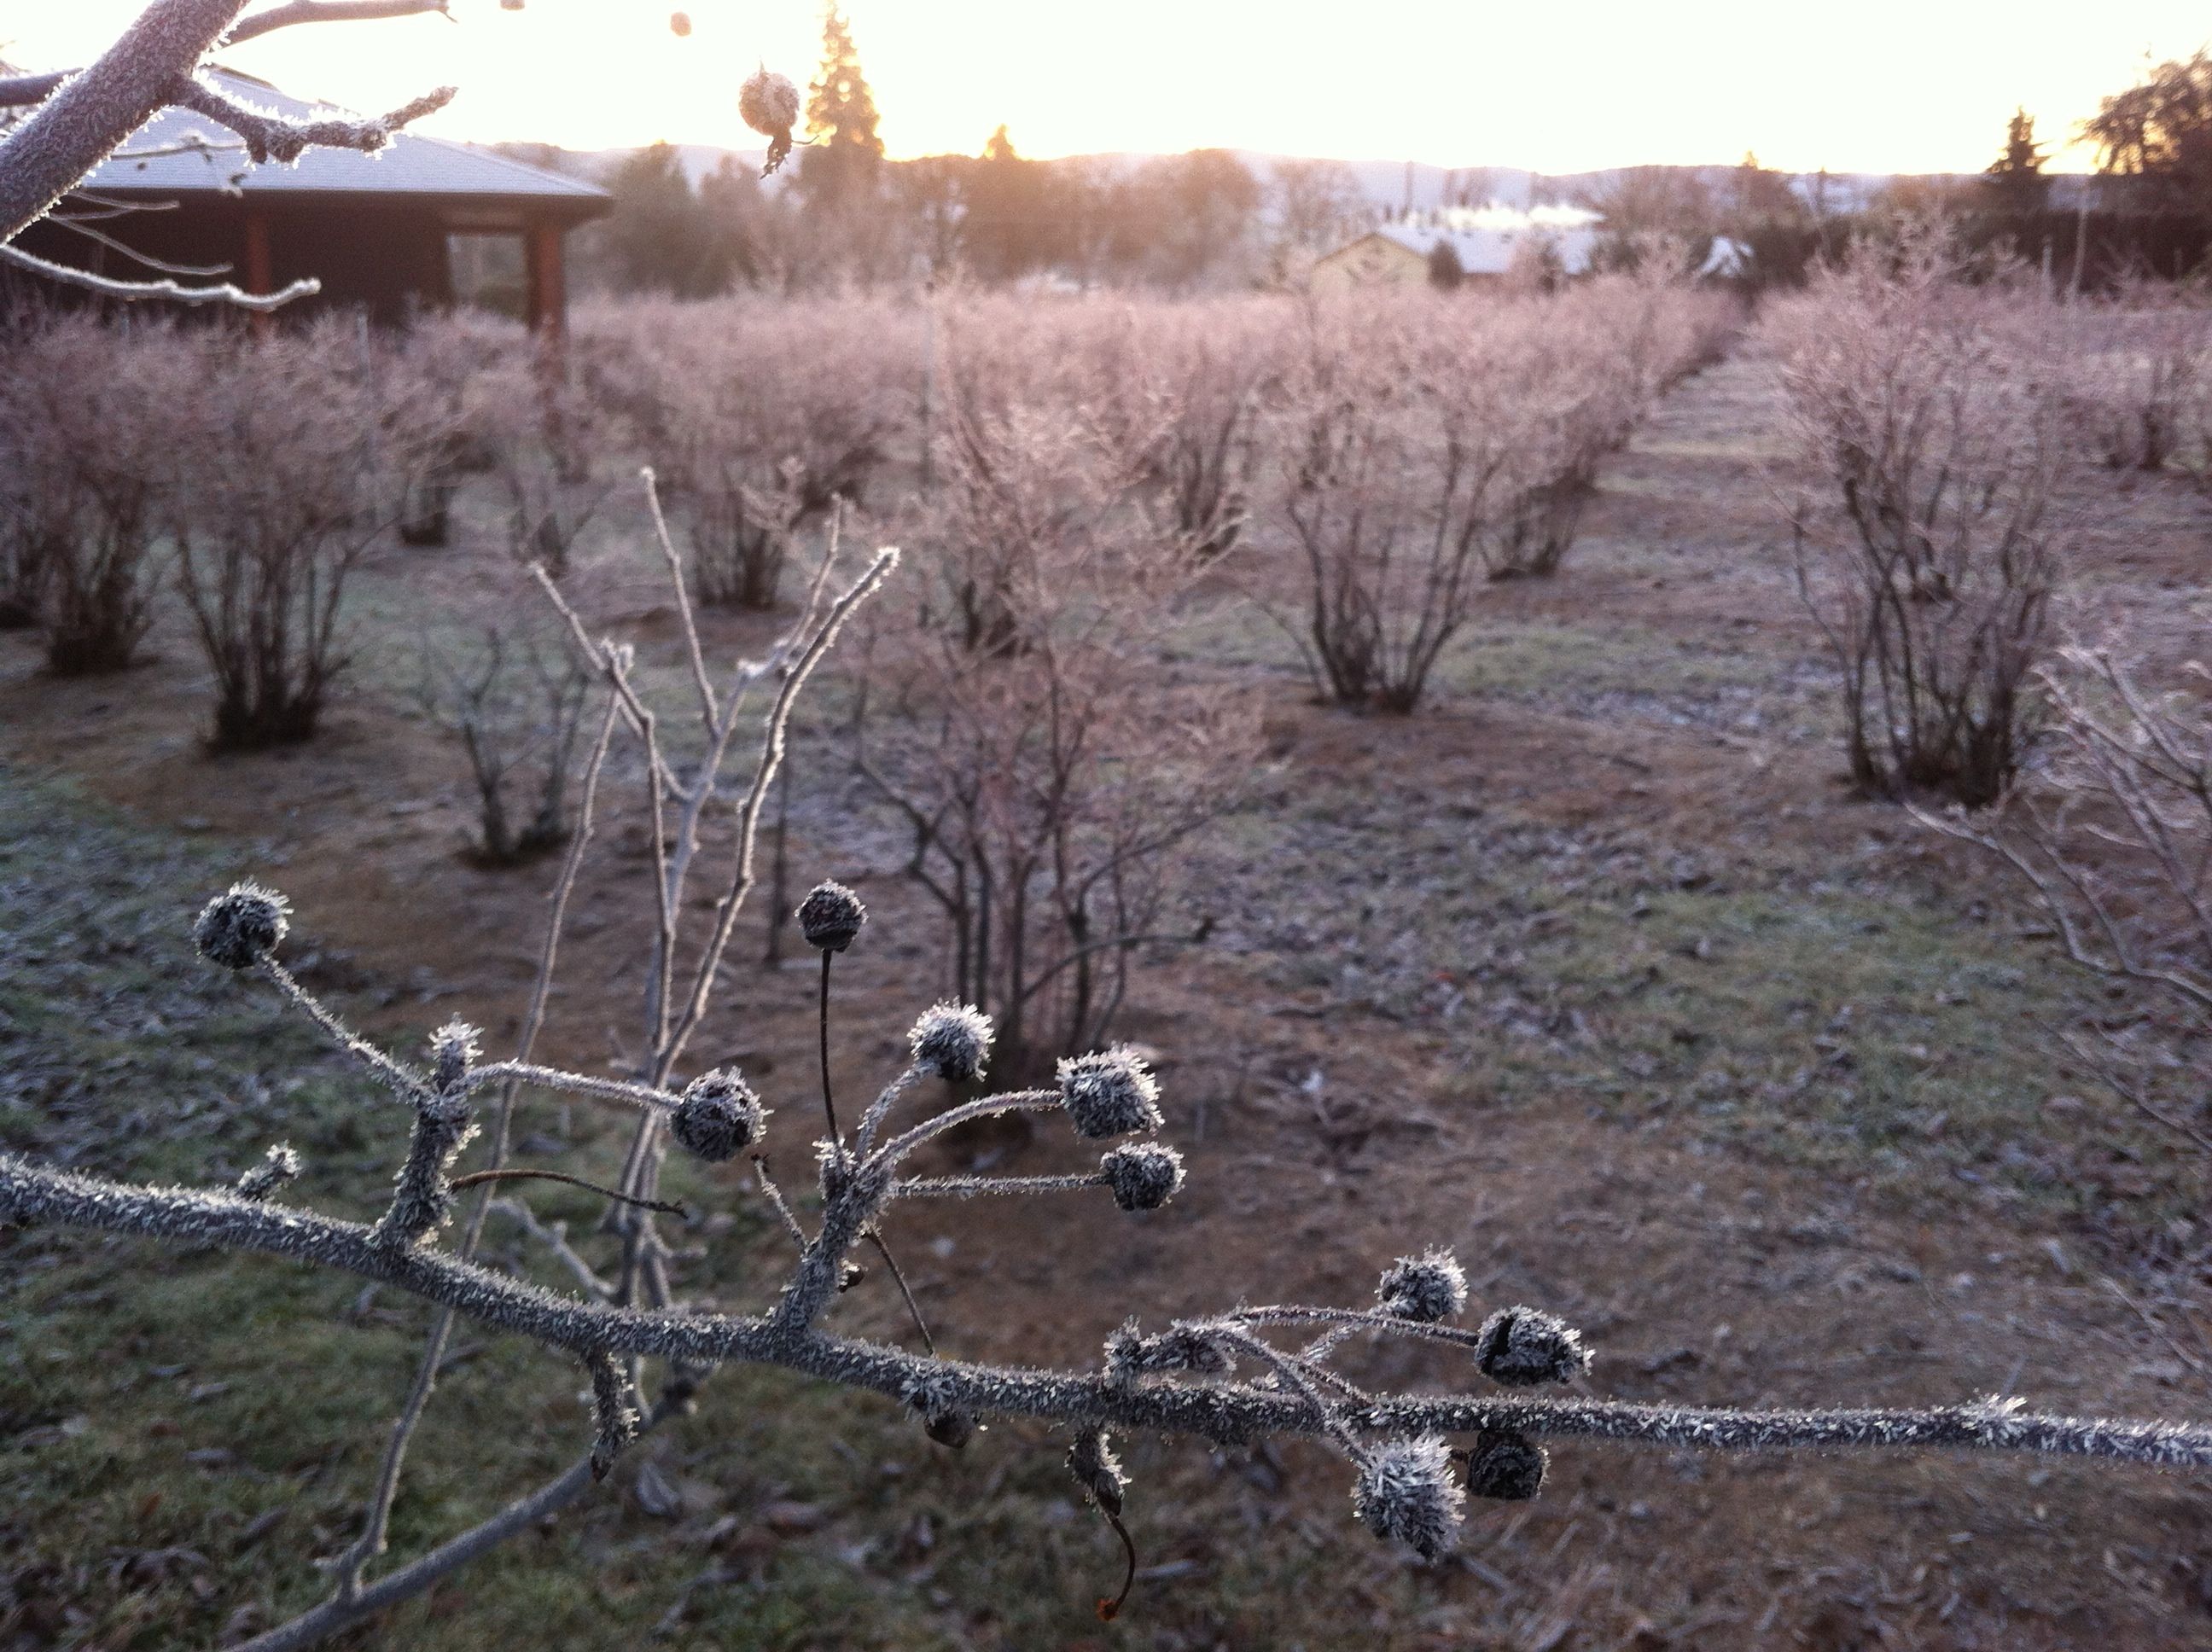
Frozen blueberries and dormant cherry tree.
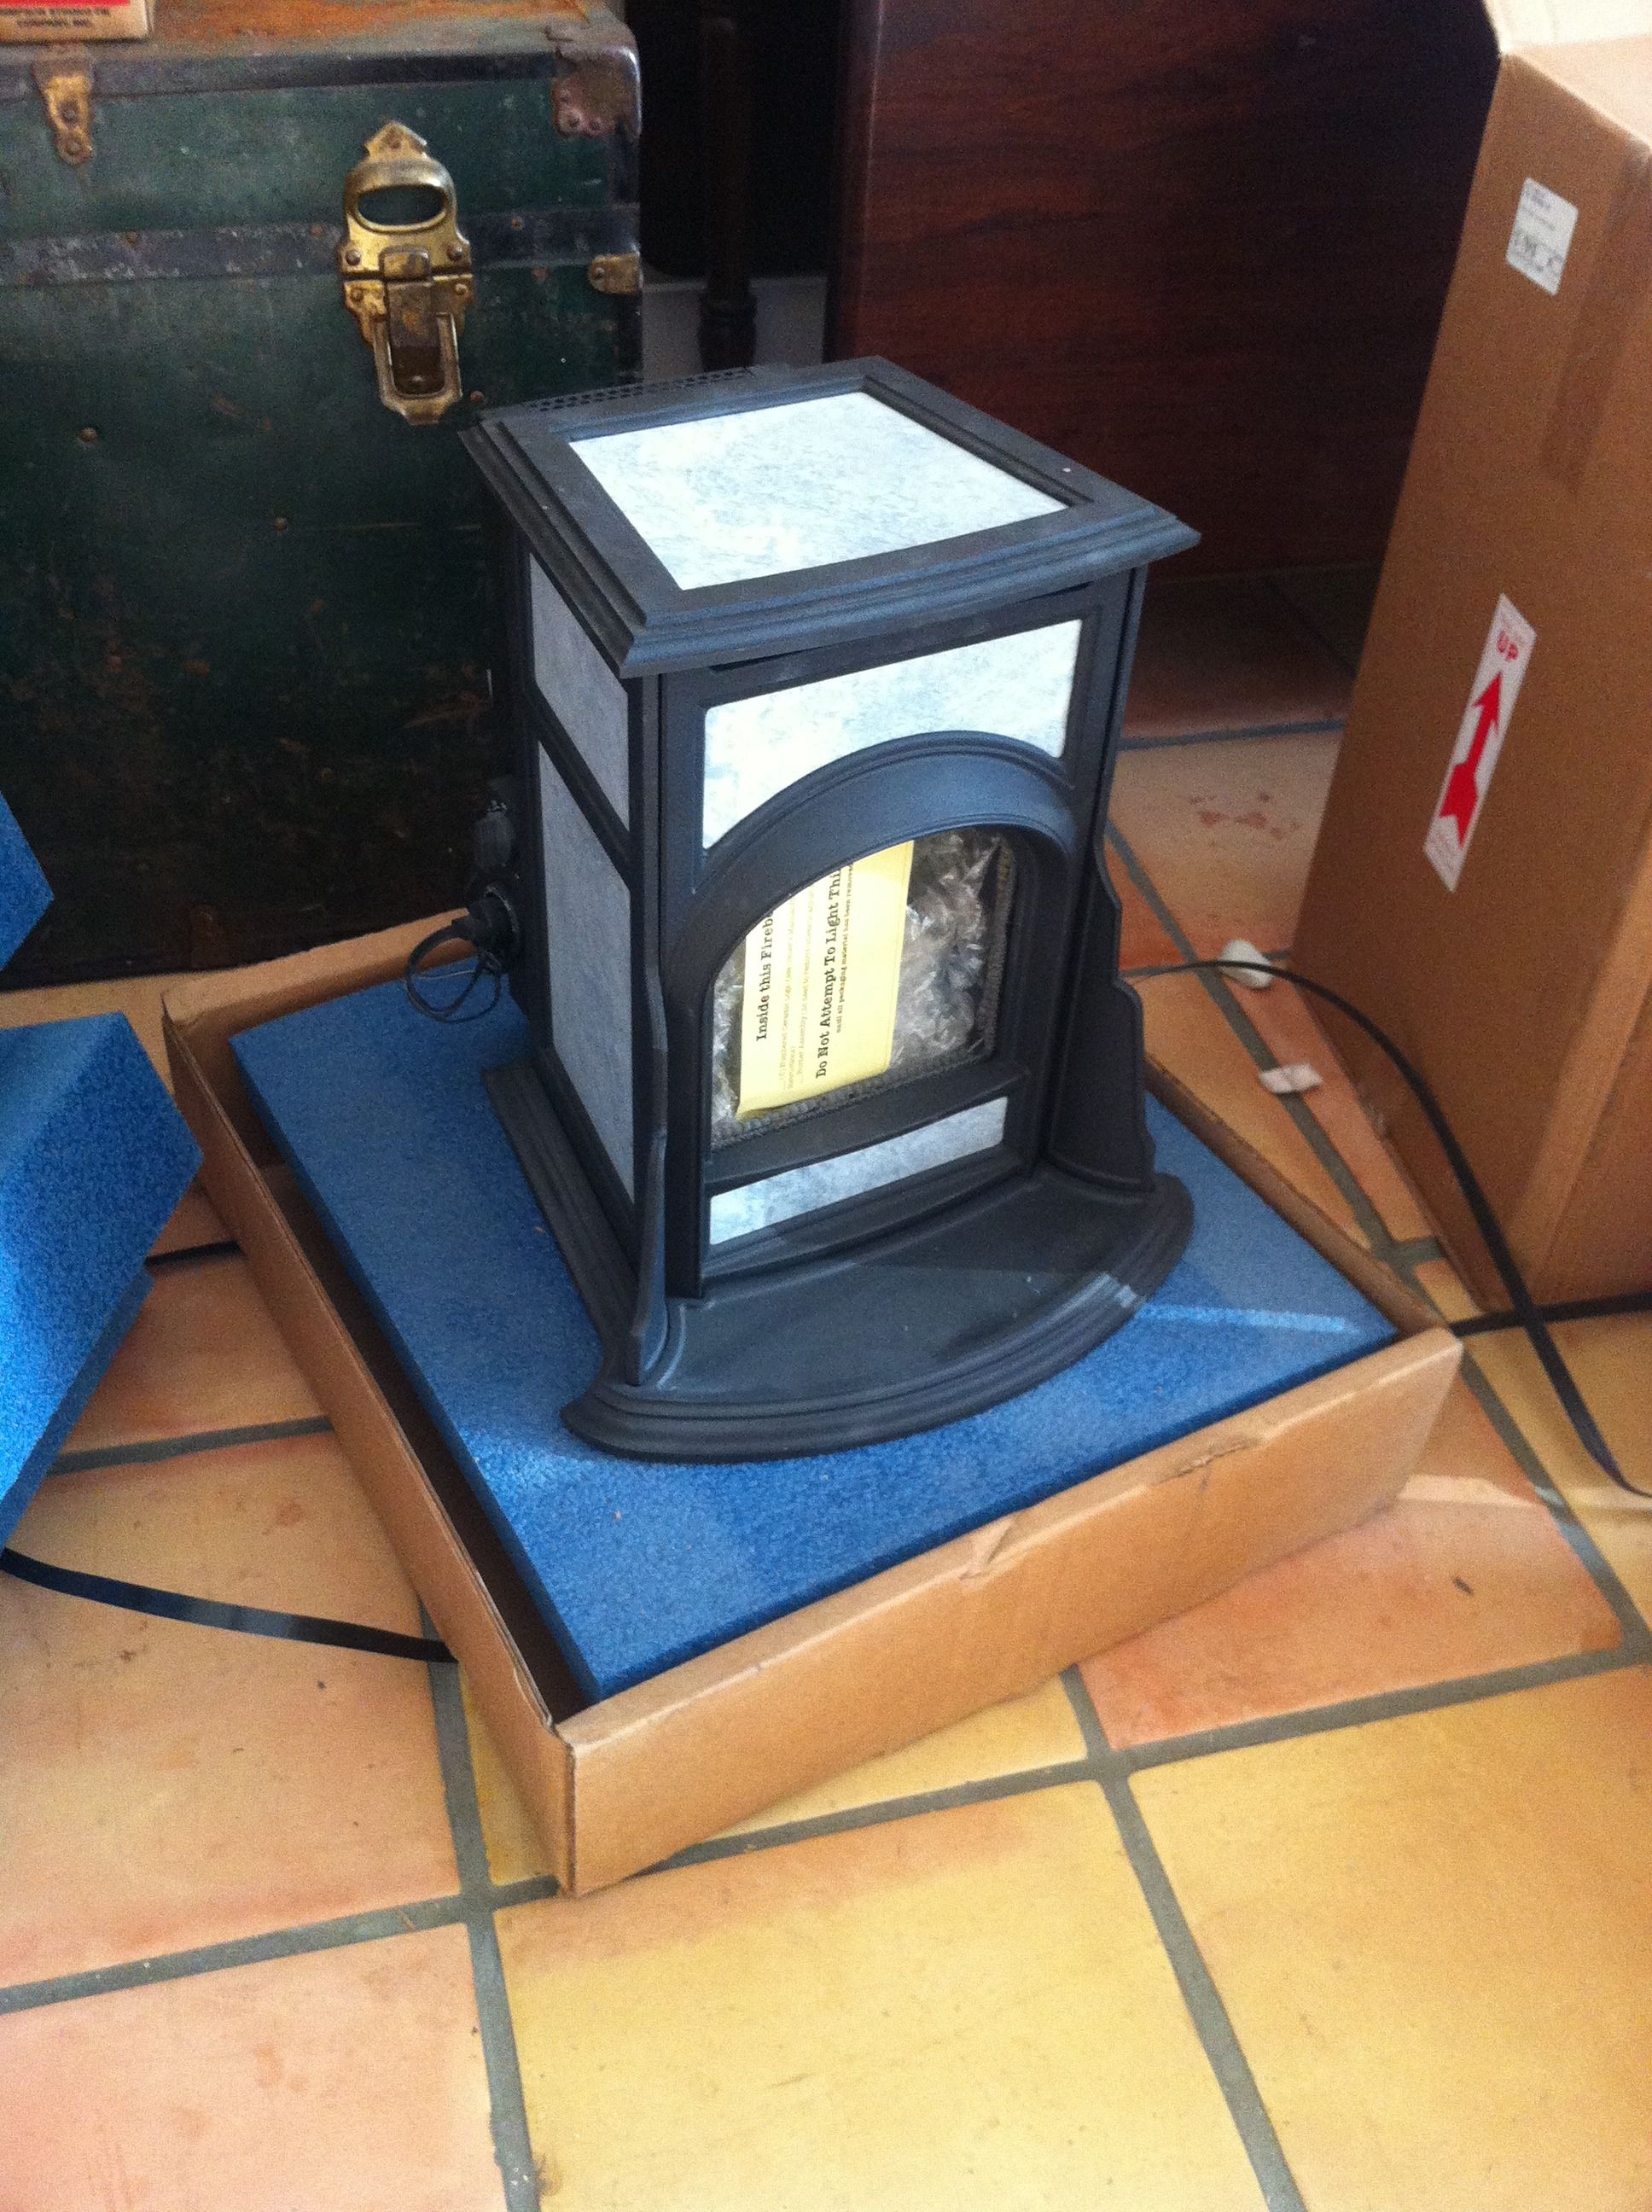
My Woodstock Soapstone Mini Franklin gas stove arrived! Looking forward to curling up in front of its fire next winter.
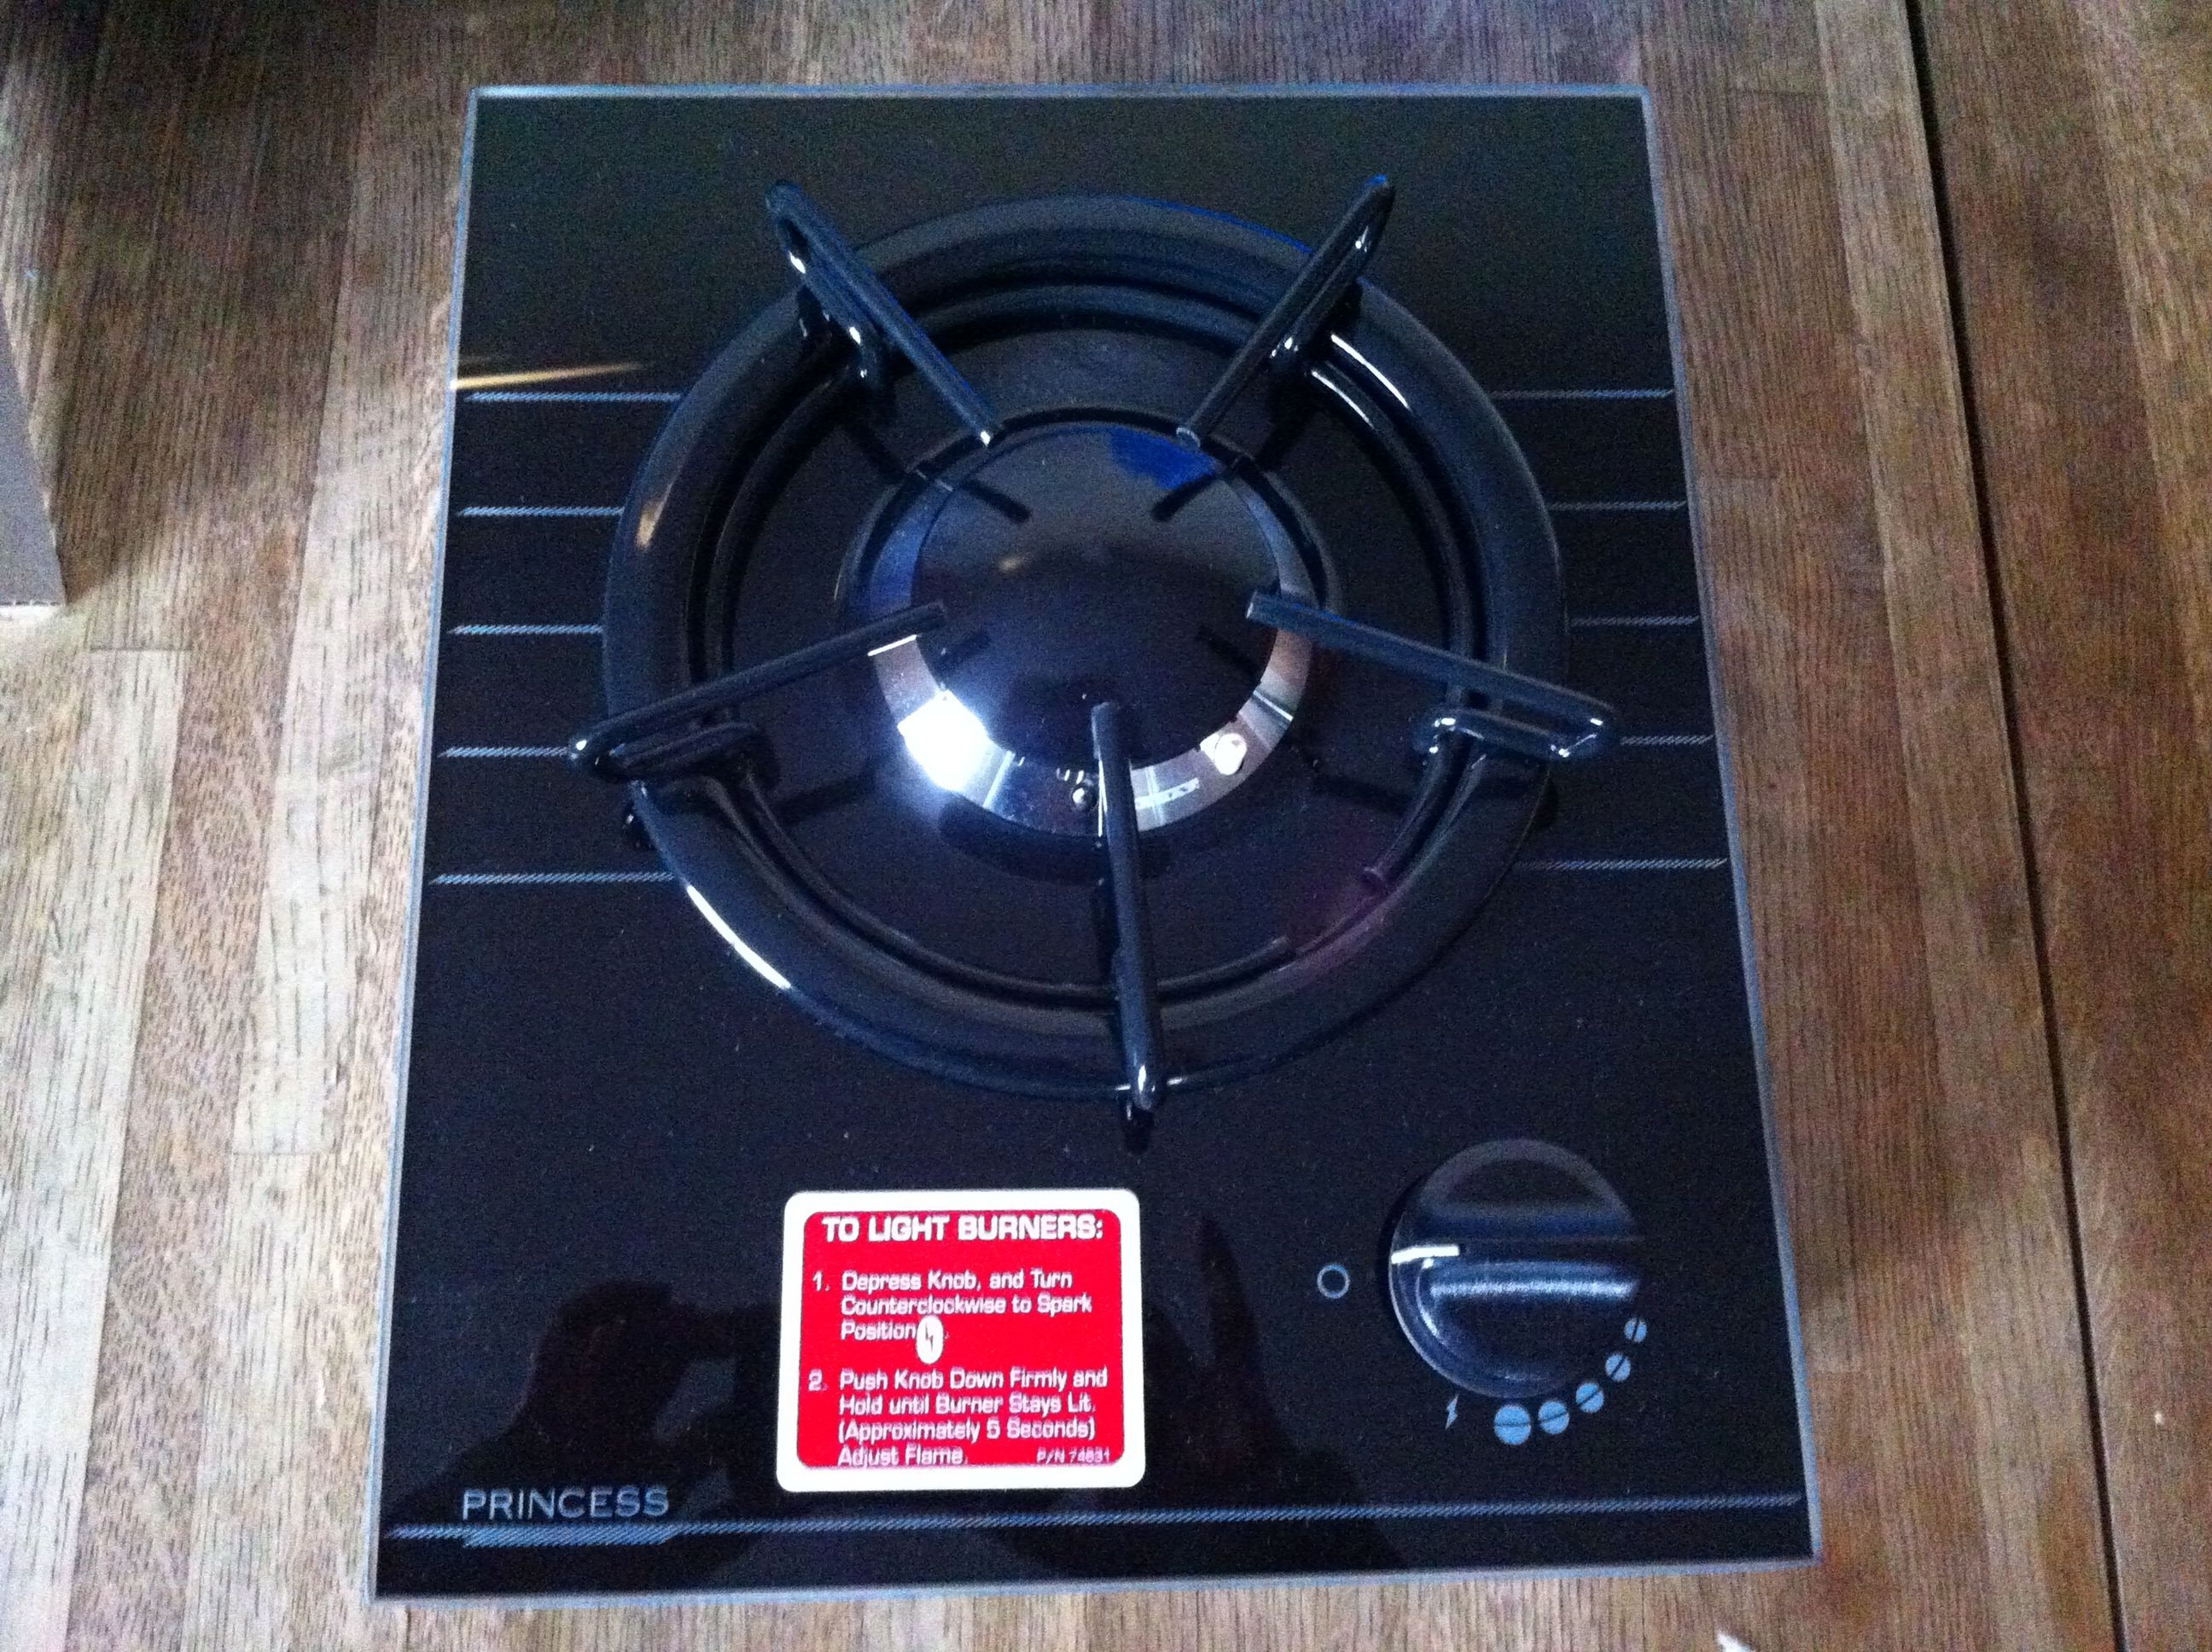
My propane single-burner stovetop also arrived (even though I’m far off from doing the interior, I realize I needed to have everything on hand that involves puncturing my walls as I look to installing my siding). I rarely use more than one burner at a time and would rather have extra counter space. If I need more than that, I figure I can always get an electric kettle or hot plate, or use a camp stove out on the porch – something that can be tucked away most of the time.
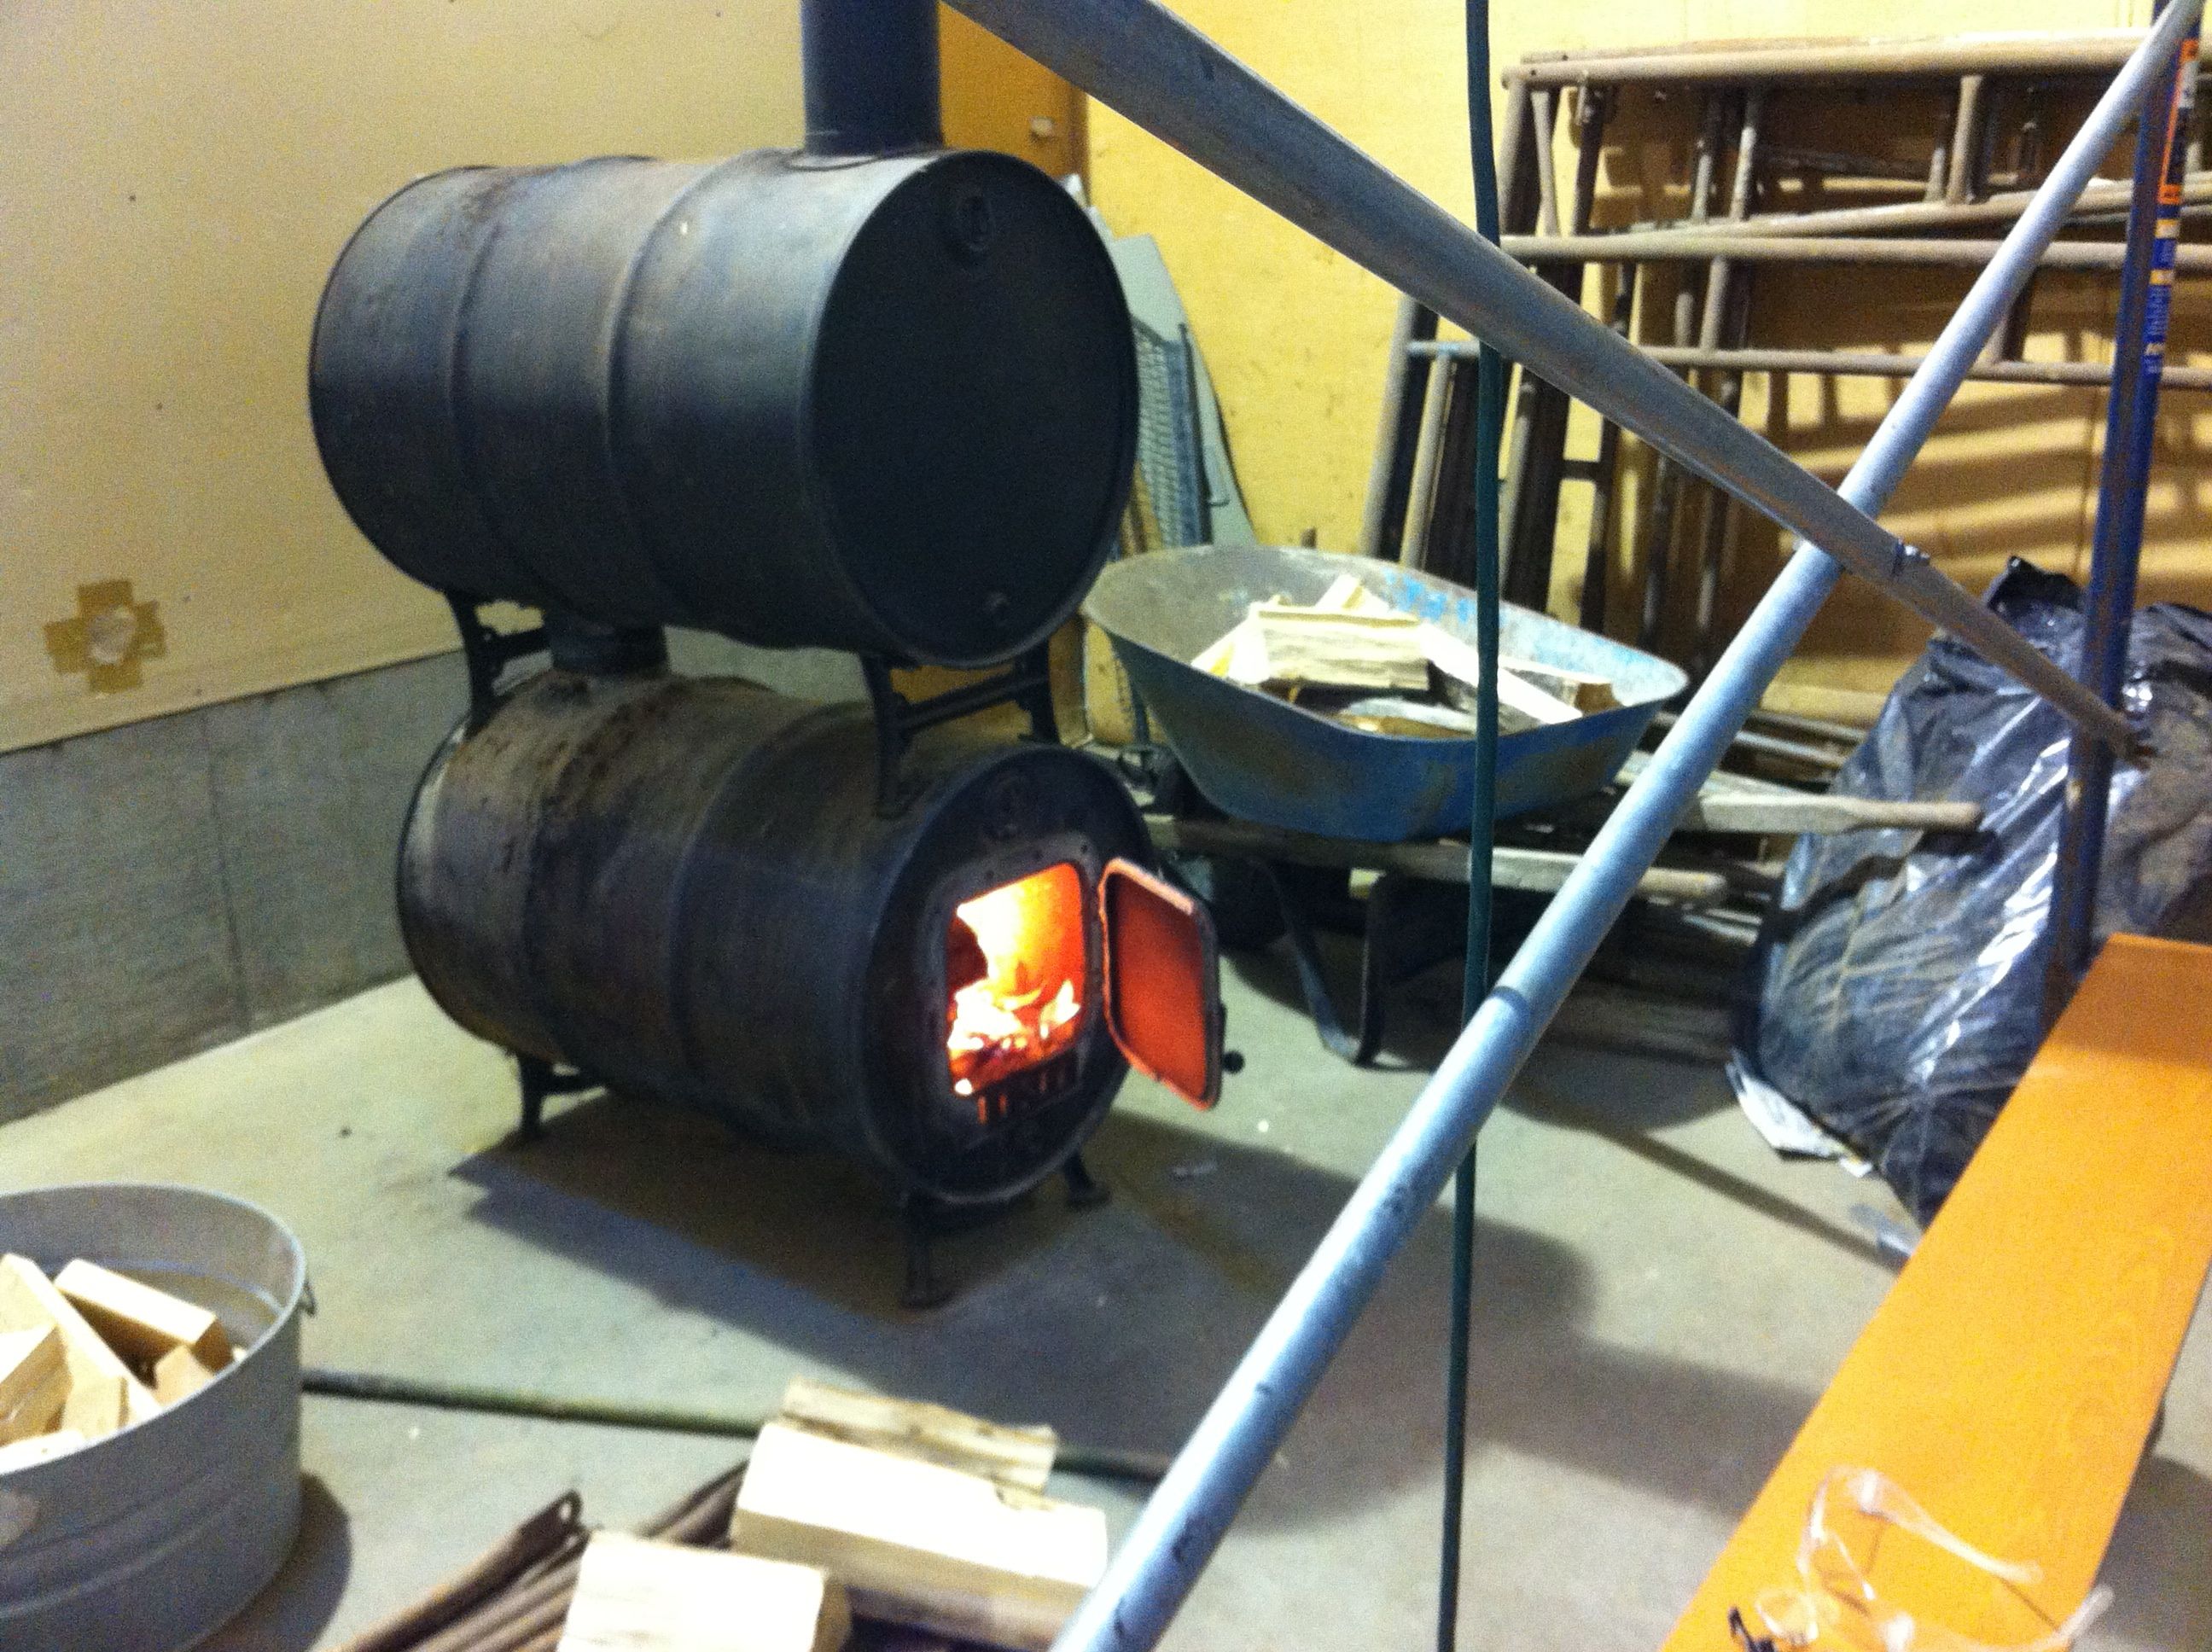
This is the massive woodstove that heats the barn. I was extremely grateful for all the wood donated by the neighbors last time I was up!

Spent a very enjoyable winter solstice at a restaurant called Solstice, watching Zan and Aurora of Instruments of the Now perform their fire dancing. My parents are friends with Zan’s parents so we all feasted together after the show. A warm way to welcome in the changing of the seasons.
The many faces of fascia
The constant refrain through this building stint was trying to get the fascia boards up around the eaves. Seems simple, no? Turns out it was anything but. The adjectives I applied to my fascia started off as fun, then f#@king, followed by fascist and finally, fortunately, fabulous. My little trial by fire, so to speak.
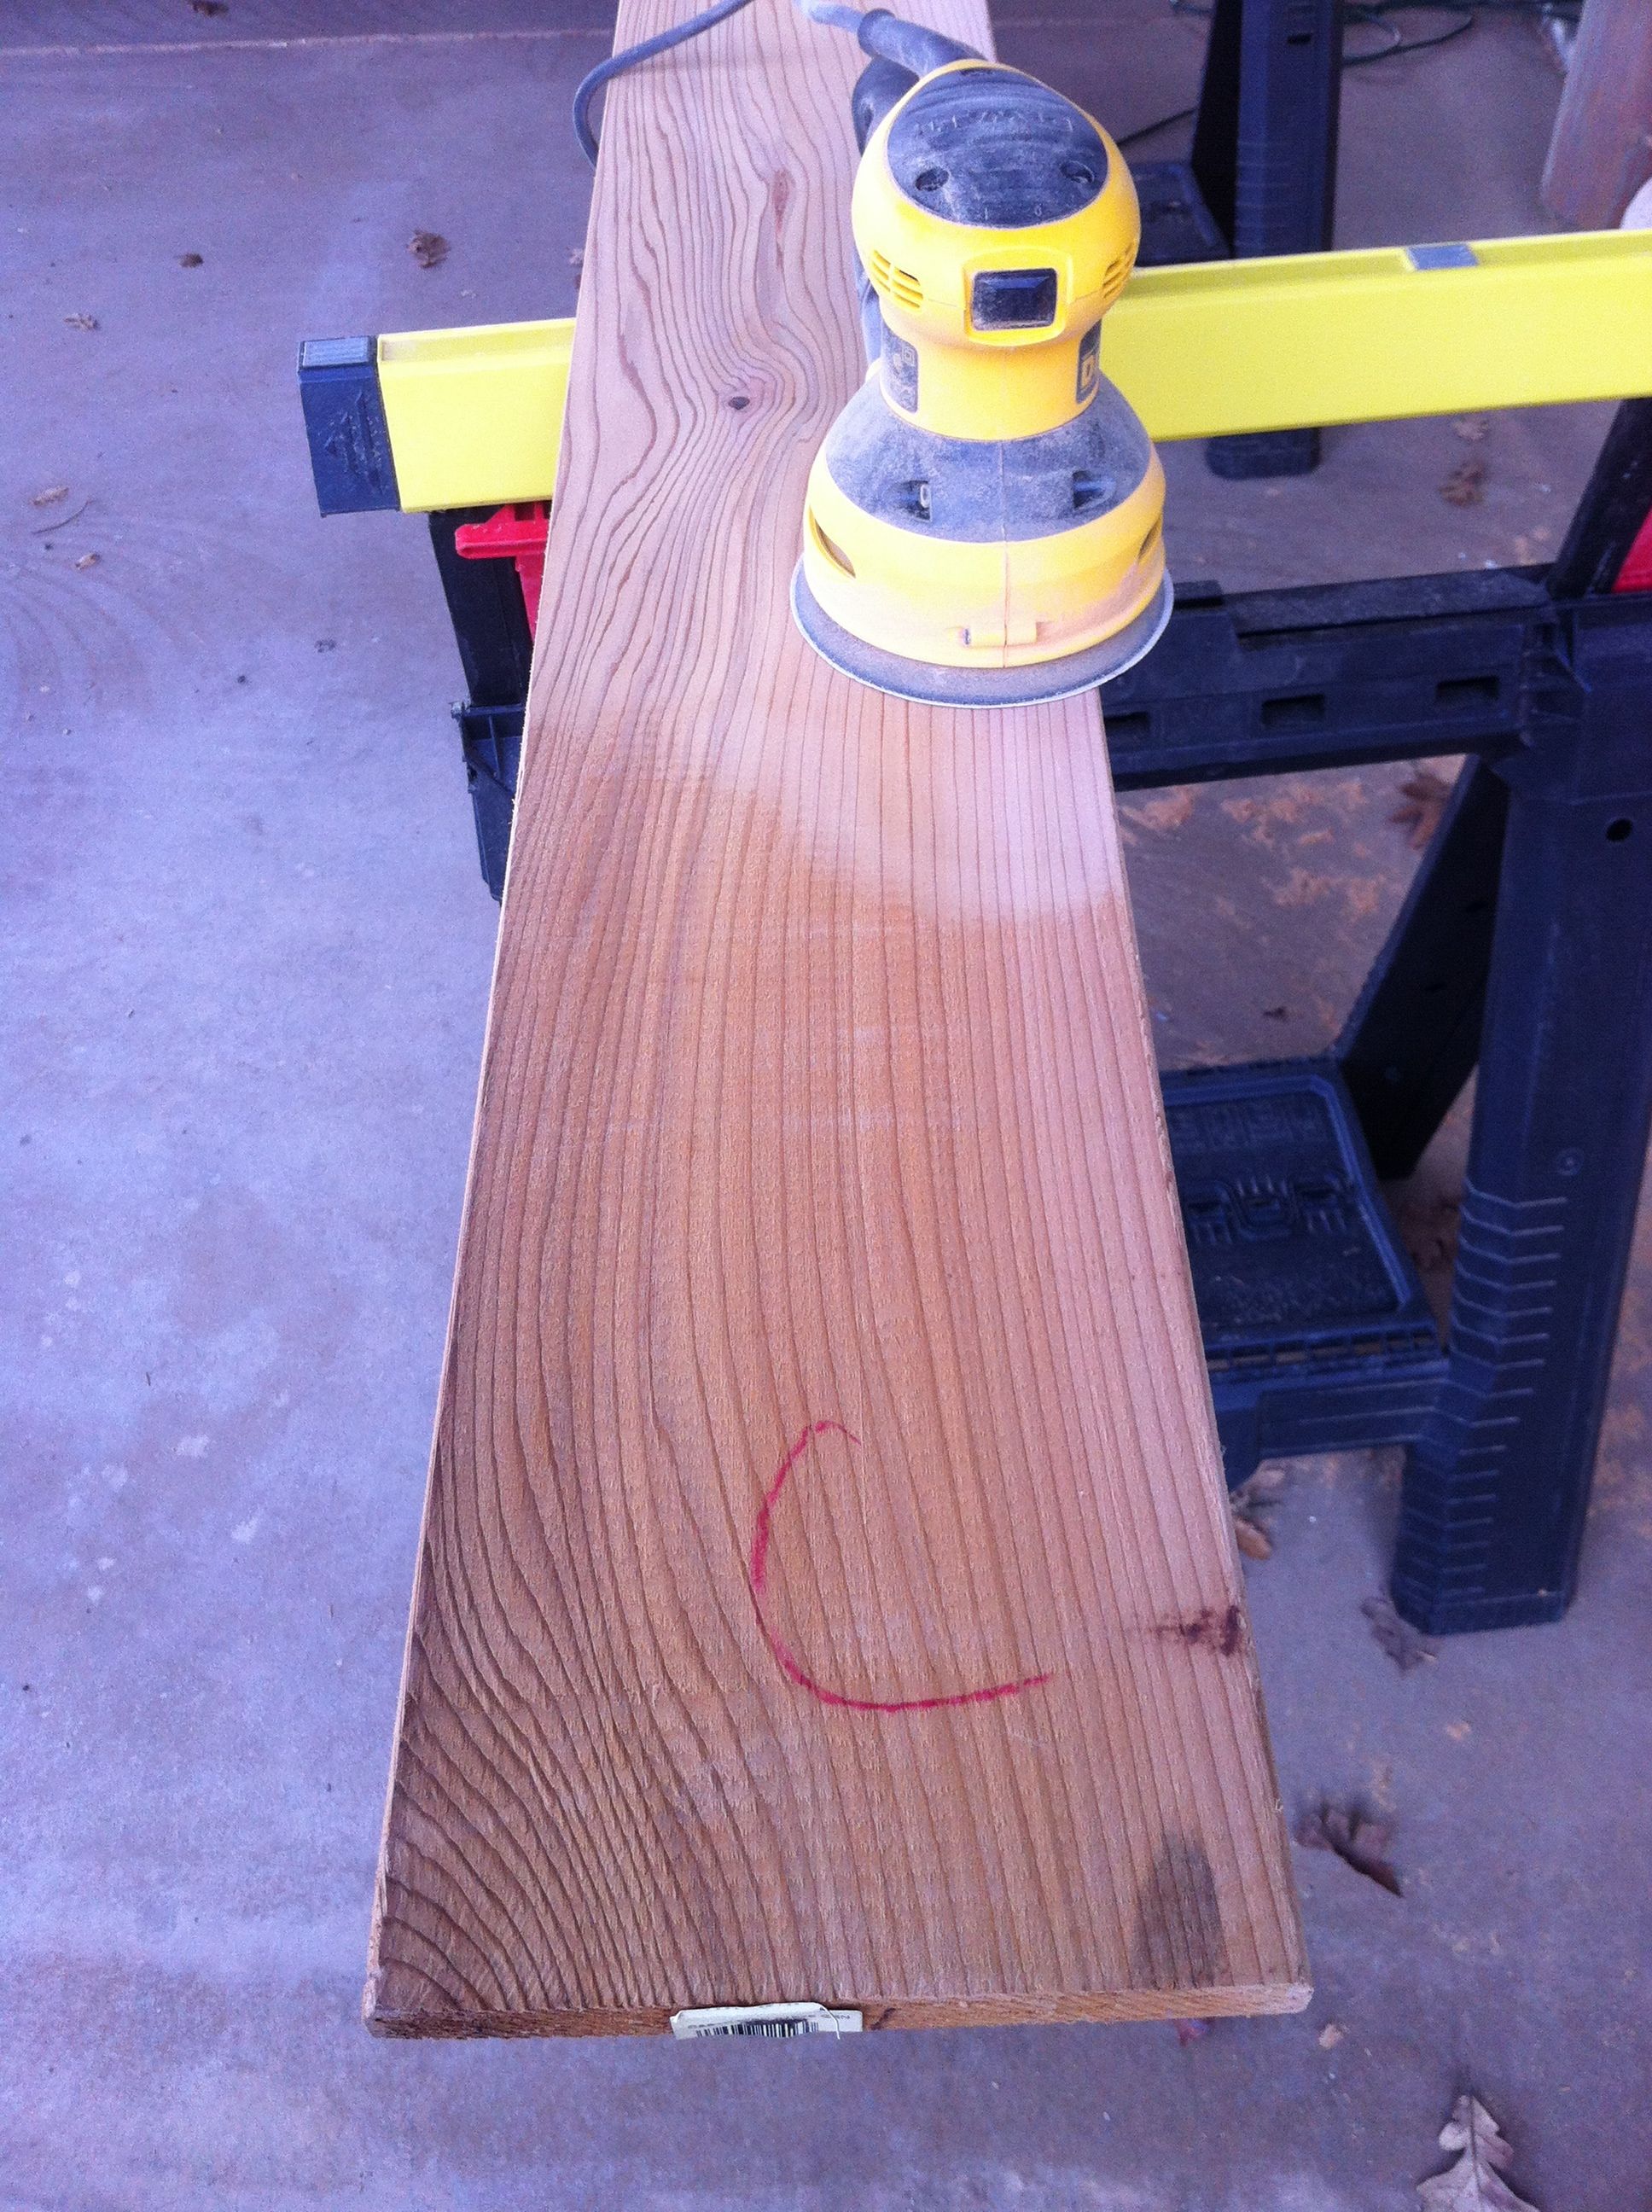
I had bought new cedar boards but realized they were pretty trashed so I sanded each one.

Definitely worth it and a nice, meditative way to ease back into construction (little did I know what was ahead).
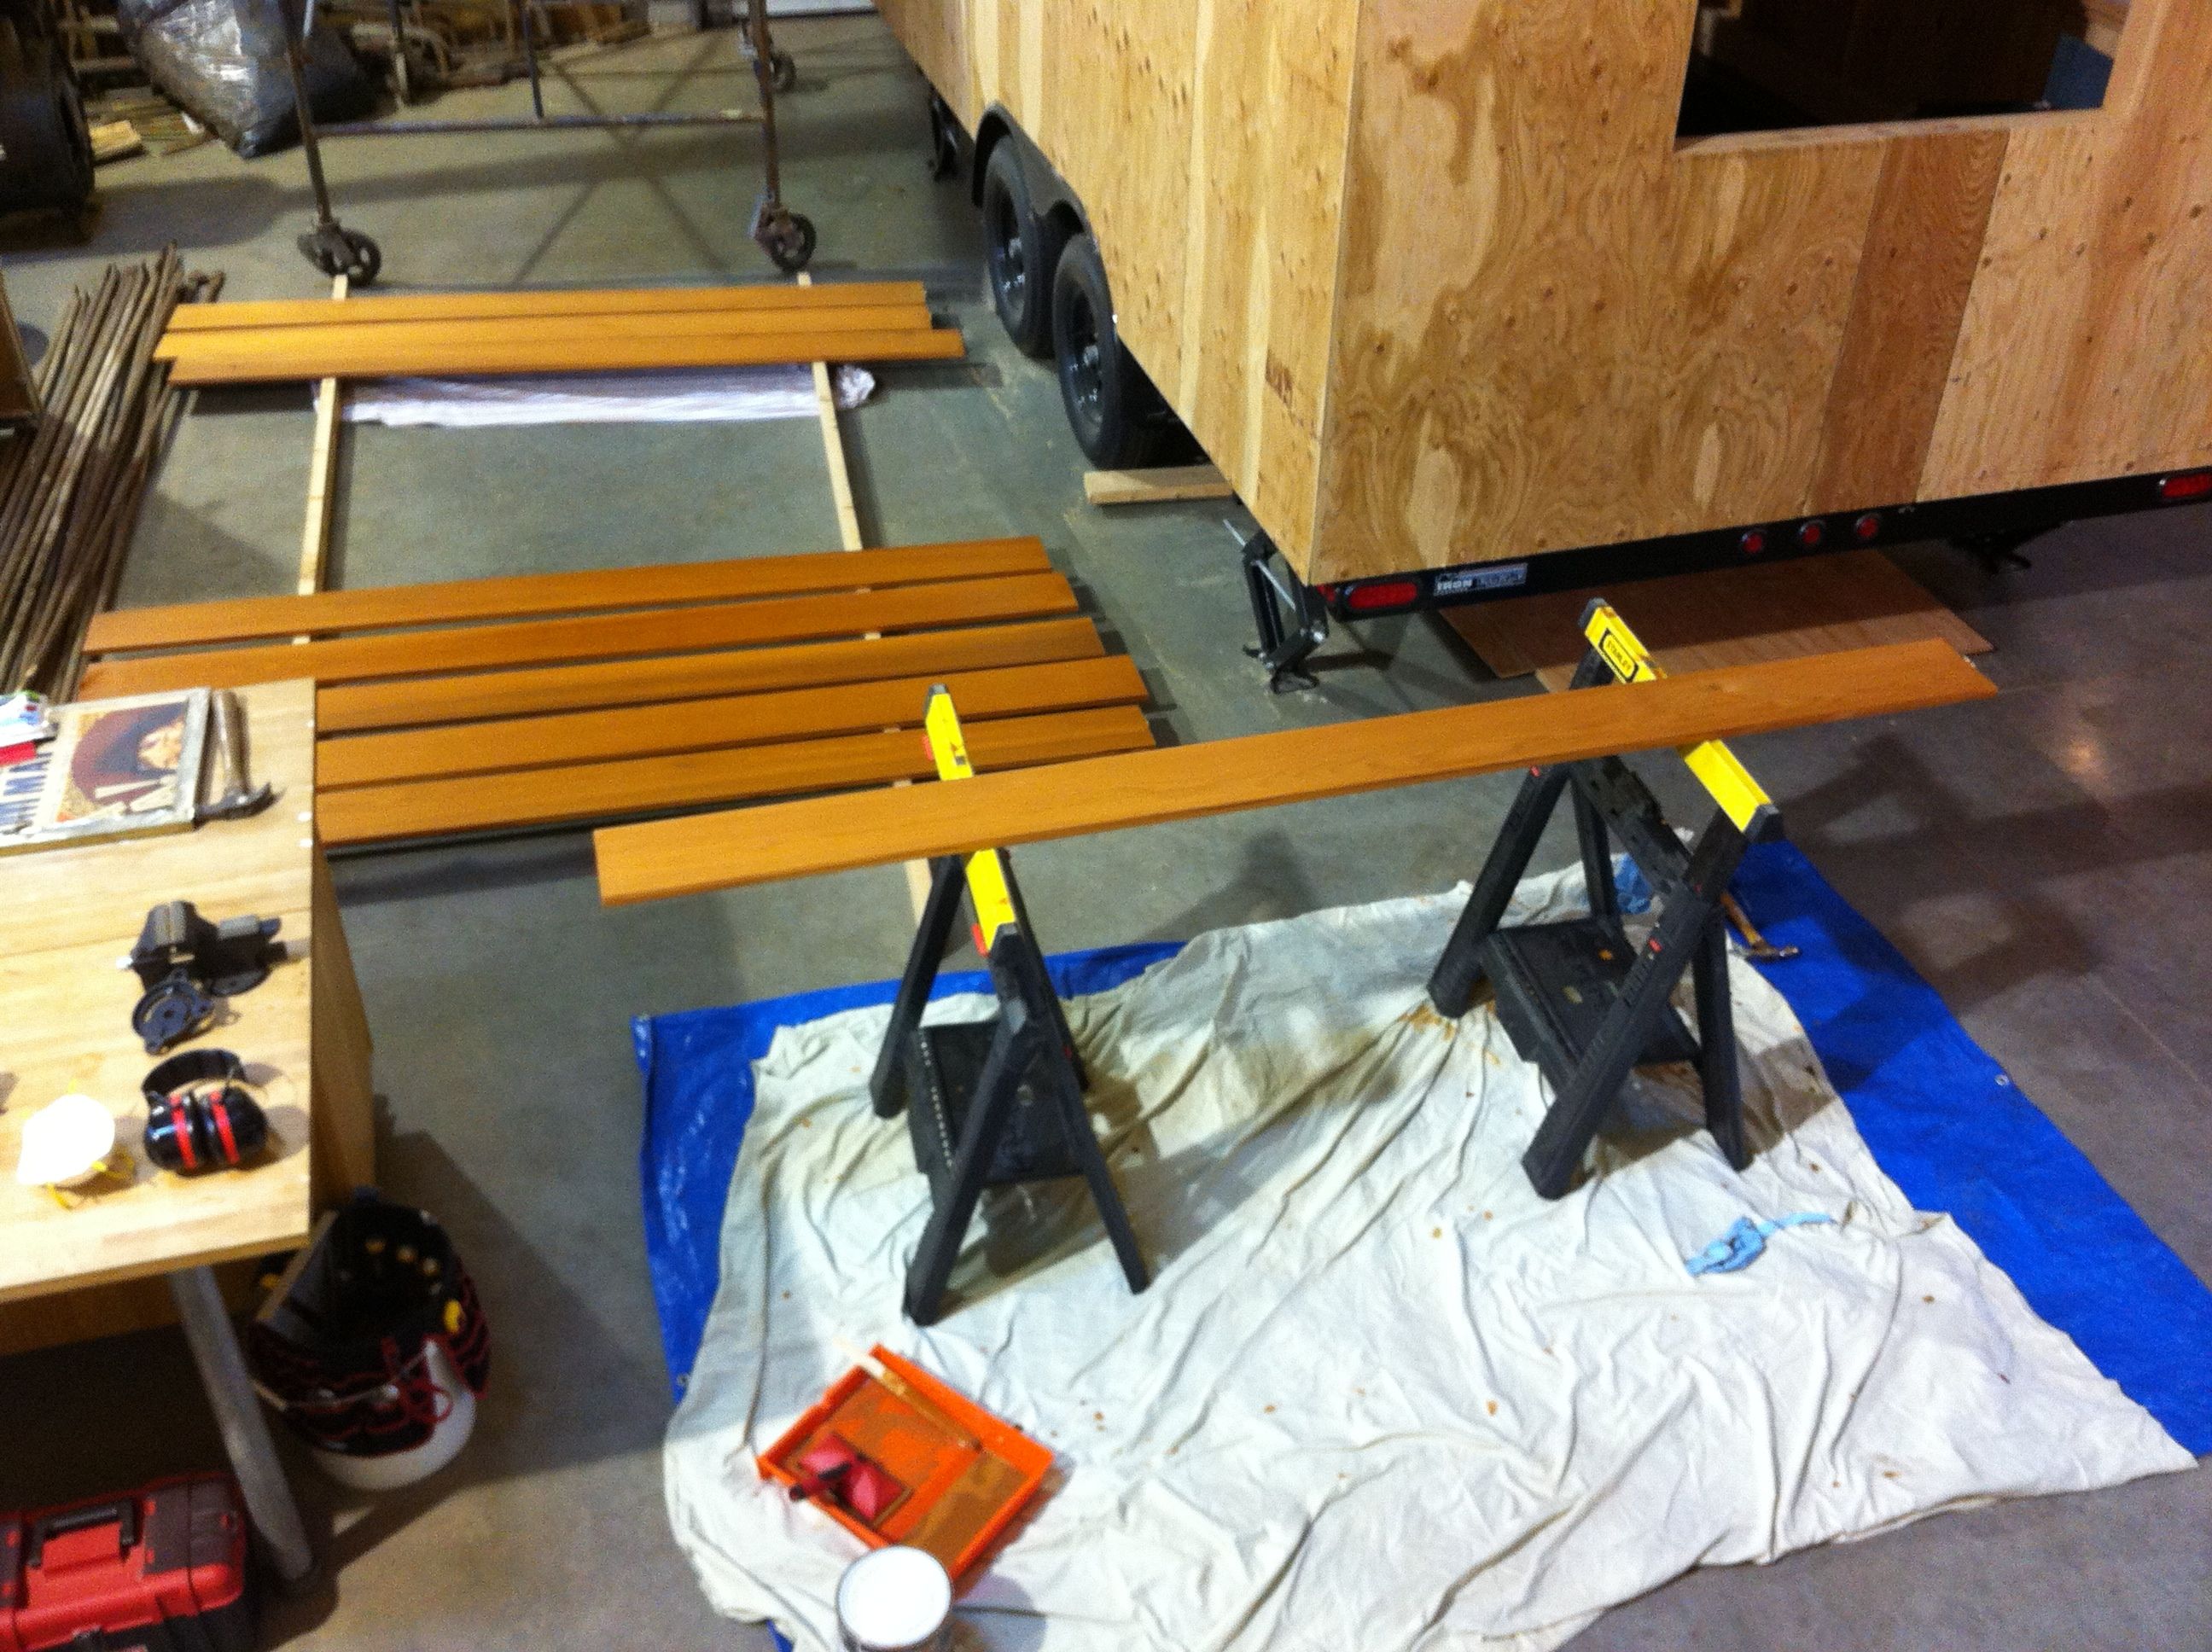
I then applied two coats of stain. Unfortunately the station I set up for the first coat didn’t have much light and I realized later that while the faces of the board looked nice, I had all sorts of drips along the edges. Ah well. This was a good training ground for learning how to apply light, even coats, which will come in handy for trim and siding.
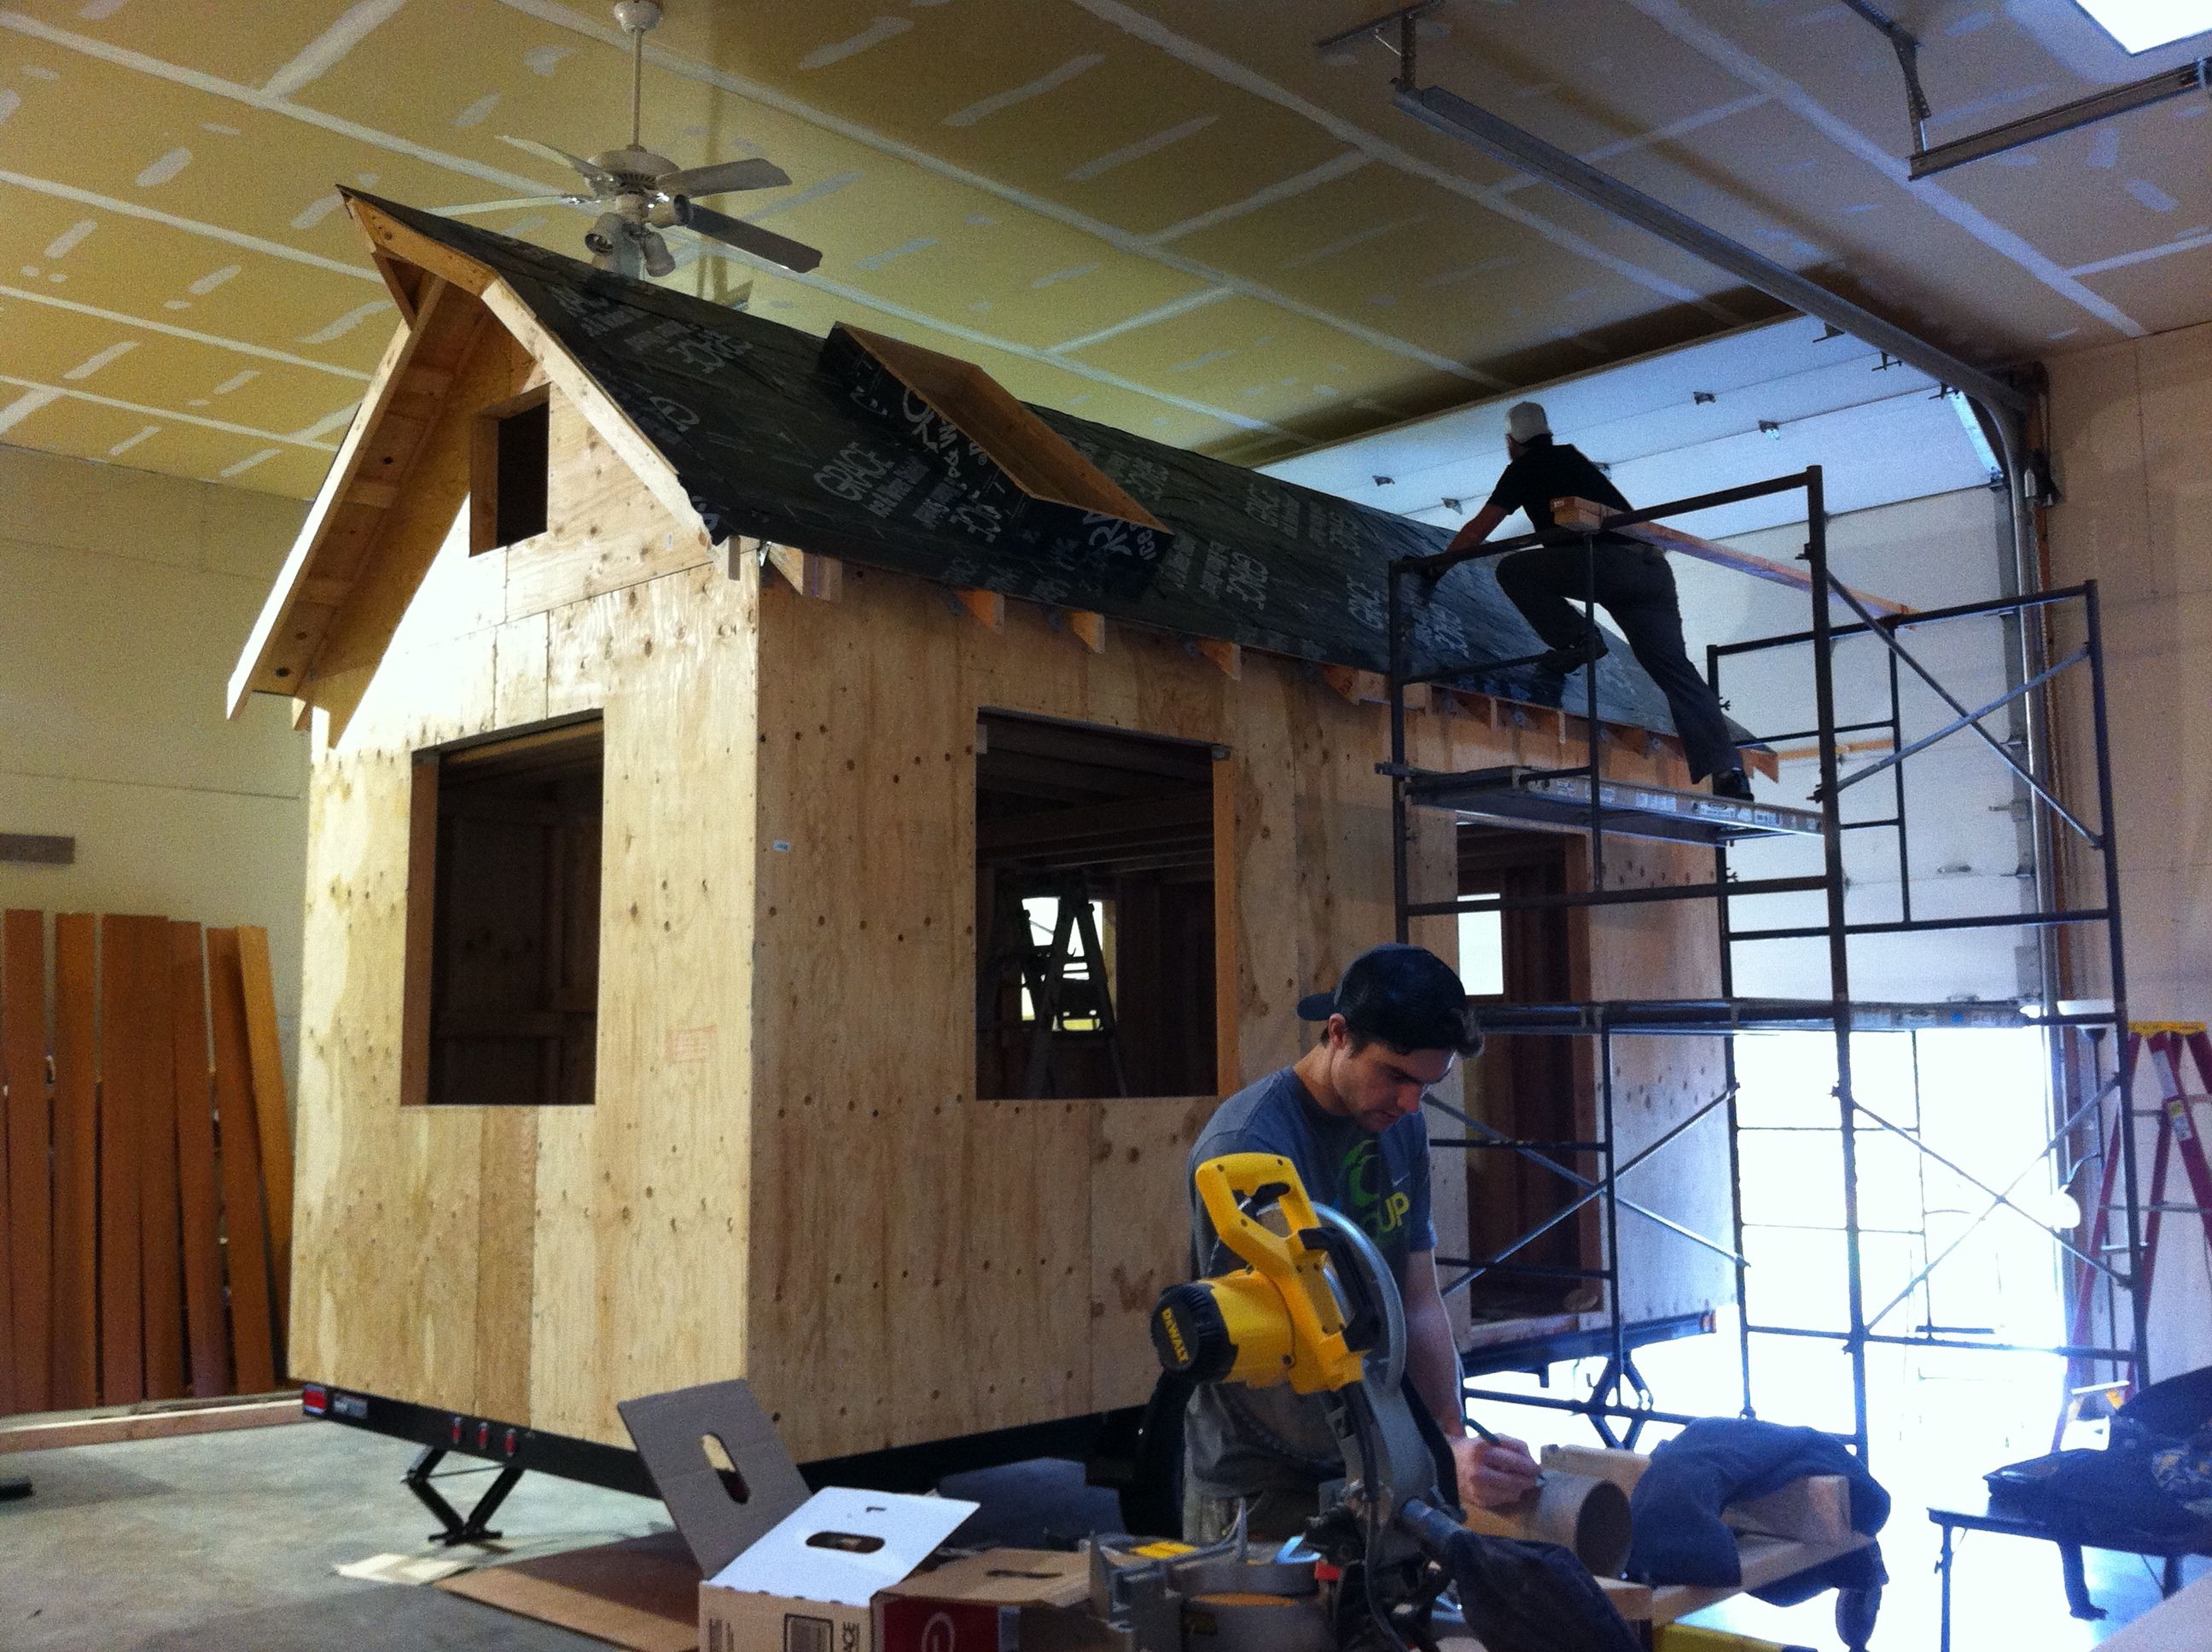
The Roof, chapter 3: The Good Men of Shelter Wise (and Andra whom I haven’t yet met)
Those of you who have been following along know that the roof has been an ordeal for me, what with my fear of heights and all. Dee got me started in the first roofing chapter, raising the ridgeboard and working out the rafter templates, and I fumbled my way installing the rest of the rafters on my own. The most recent chapter involved my sheathing the roof solo. I feel a certain amount of pride in accomplishing this but I also know my limits.
I did a considerable amount of research into how to best install my roof in a way that would keep moisture from condensing on the inside of the sheathing, leading to mold or rot. As I got bogged down reading about dew points and hot and cold roofs, I decided to call in the experts. Through Dee and PAD, I had met Derin Williams, who owns Shelter Wise, a company dedicated to creating energy- and spatially-efficient homes. Derin partners with PAD to offer consultations on both tiny house building and how to properly weatherize your home. Seemed like the perfect person to call.
Derin worked with me to come up with a solution that met my concerns about using non-toxic insulation on the interior but would still keep condensation at bay. For the particular microclimate I plan to be living in (other climates may require other solutions), he advised me to layer rigid foam board on the exterior of my sheathing to move the dew point outside the interior building package. I thought at first I would do this myself and he explained the steps, but upon further reflection I realized that having a well-sealed roof done properly was important enough to hire out. So I made arrangements for Shelter Wise to do the installation. We decided to break it into two stages. They would install the curbs for the skylights, lay down the ice and water shield and the foam board this trip, then return on my next time up to install the skylights and metal roof.
They got the first phase done in one day, the day before Christmas Eve. Leading up to it was the first of my feeling pressured about the fascia, since originally the plan was to have that installed before they began. As I began to realize what was involved in getting the fascia up, I knew I wouldn’t make it in time. Fortunately Derin and Ben worked out a way to proceed without it.
It was a long day for them but it went well. It was a strange feeling for me to turn over the ropes but also a huge relief to not have to be climbing around up there! That was also the day all my family was arriving so I popped back and forth between the house and the barn, seeing how things progressed. I was impressed with how prepared they were and how smoothly it all went. I look forward to having them back for the next chapter.
Ben builds the curbs for the skylights. One unfortunate discovery was that at the time I ordered my skylights, I had thought I should get curb-mounted ones vs. deck-mounted ones (still not entirely clear on the difference). The curb ones will work but turns out the flashing kits I had will not work on metal roofs, and if fact Velux does not make a metal roof flashing kit for their curb skylights. It’s not the end of the world since Derin and Ben can make custom flashing, but it was a bit of a bummer. Hopefully this will help others not make the same mistake.

Modern art.
Curbs installed. This was the last time my house cavorted in her nakedness. I was sad to see the wood disappear but she will be clothed in cedar soon enough (though maybe not ’til the summer).

The ice and water shield needs to be at least 50 degrees to adhere properly so I got a fire roaring in the stove.

Derin and Ben laying down the ice and water shield strips along the edges.
And then the larger sheets overlapping to prevent leaks. Note the open door – the fire got a little too hot! My metal roof will be black so this gives a little sneak preview into what it will look like.

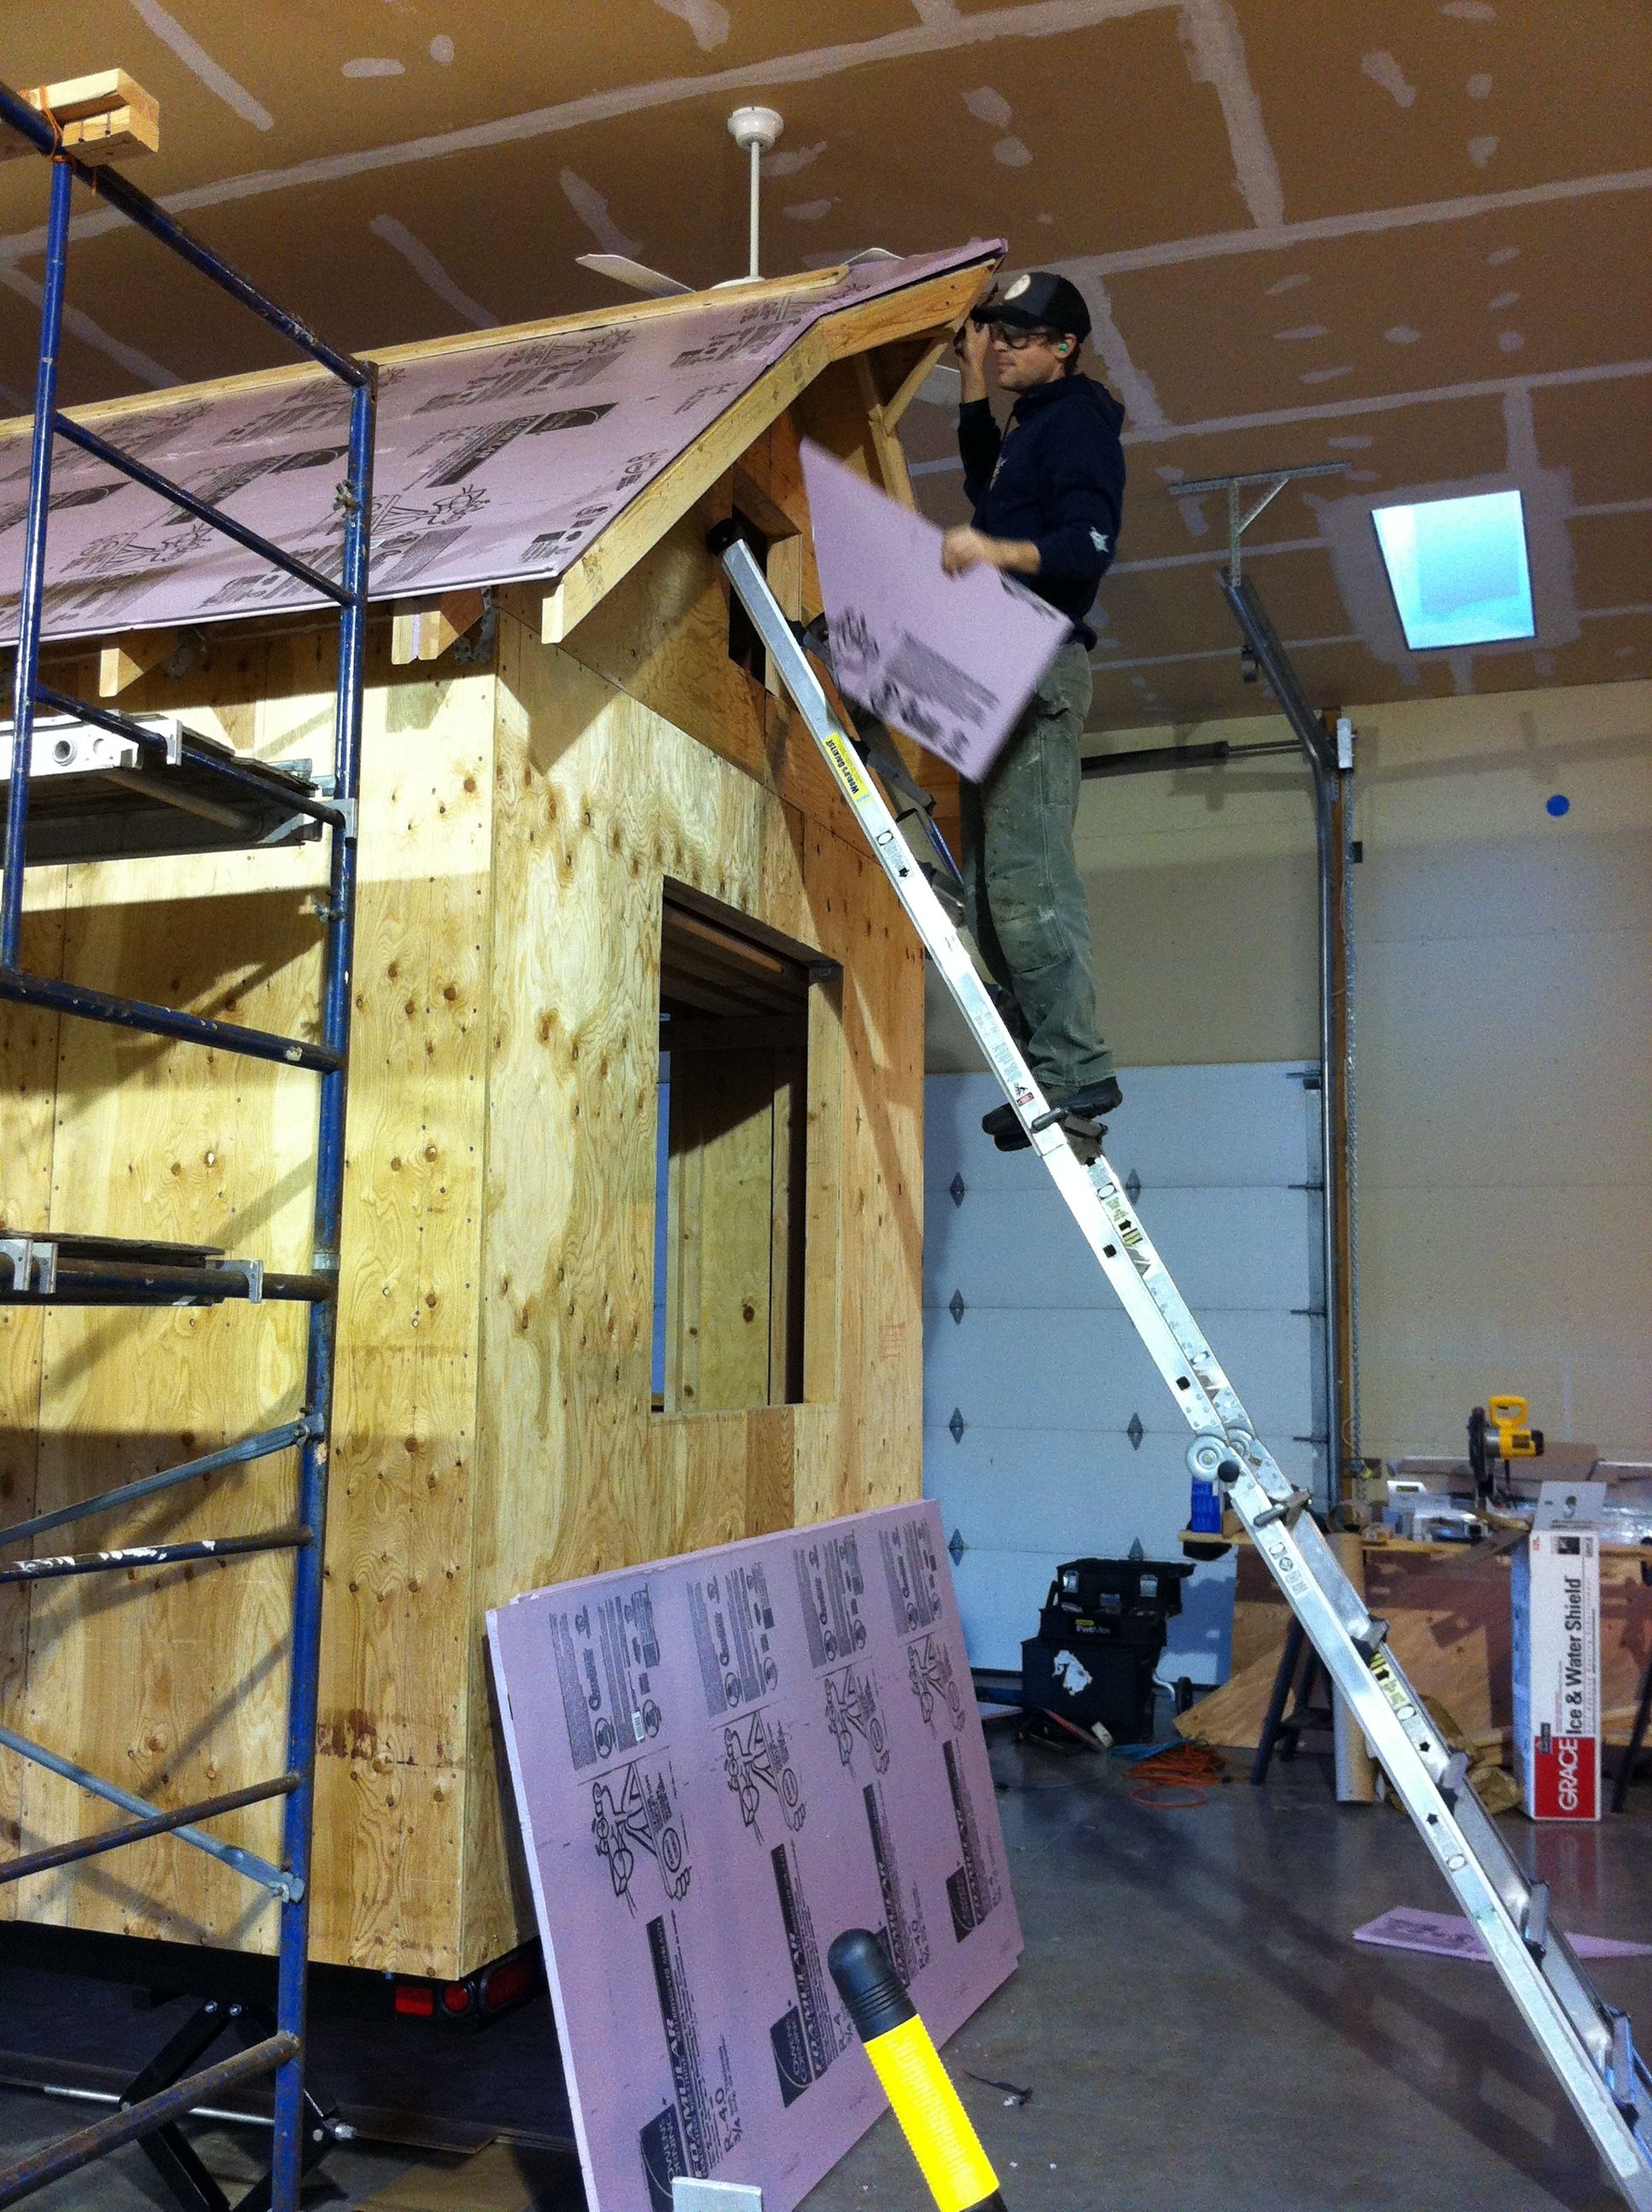
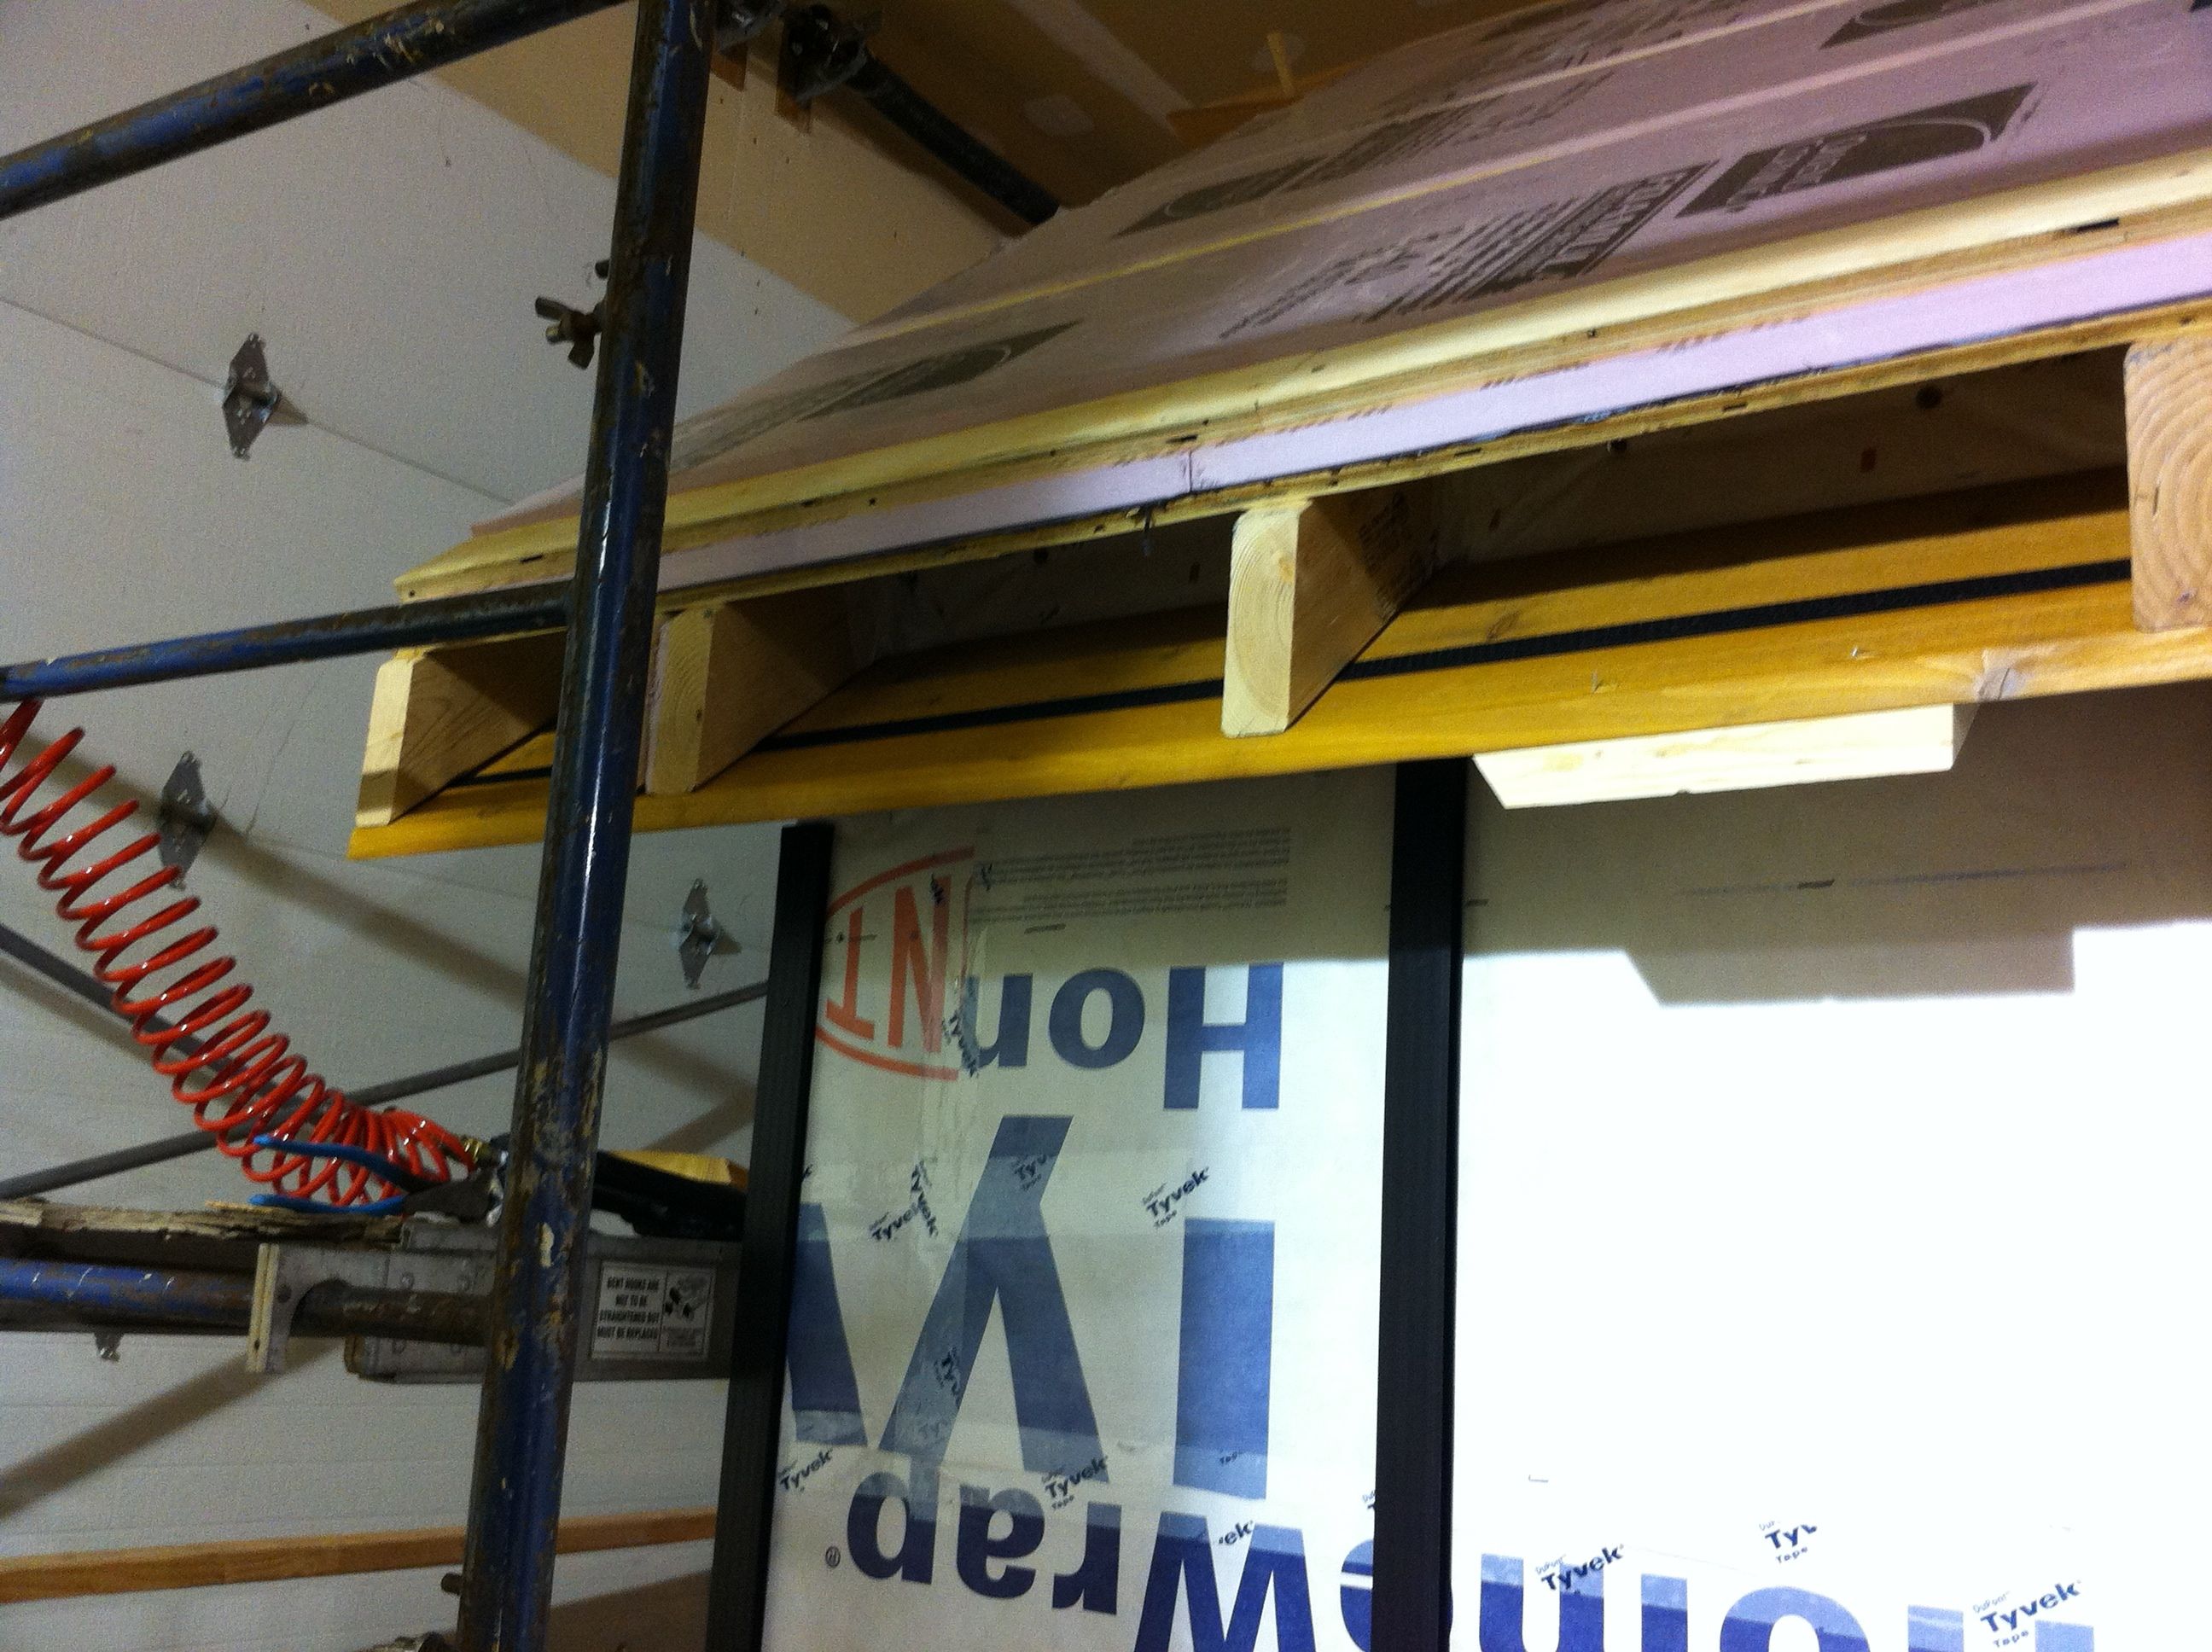
The 3/4″ rigid foam board waiting to be cut to fit. Two layers will be applied. Ideally I would have had a total of 2″ but I was staying up nights worrying about how tall my house was getting and whether it will get out the door so decided to save a 1/2″.

First layer of foam goes down.
Cutting out the ears.

Wood battens were screwed in to secure the lower layer of foam and to have something for the metal roof to attach to. The second layer of foam was added in between the battens.

Sir Derin and Sir Ben after a valiant day’s work. It’s nice to have their good energy be part of my house.
Christmas interlude

A beautiful hike along the Hood River.
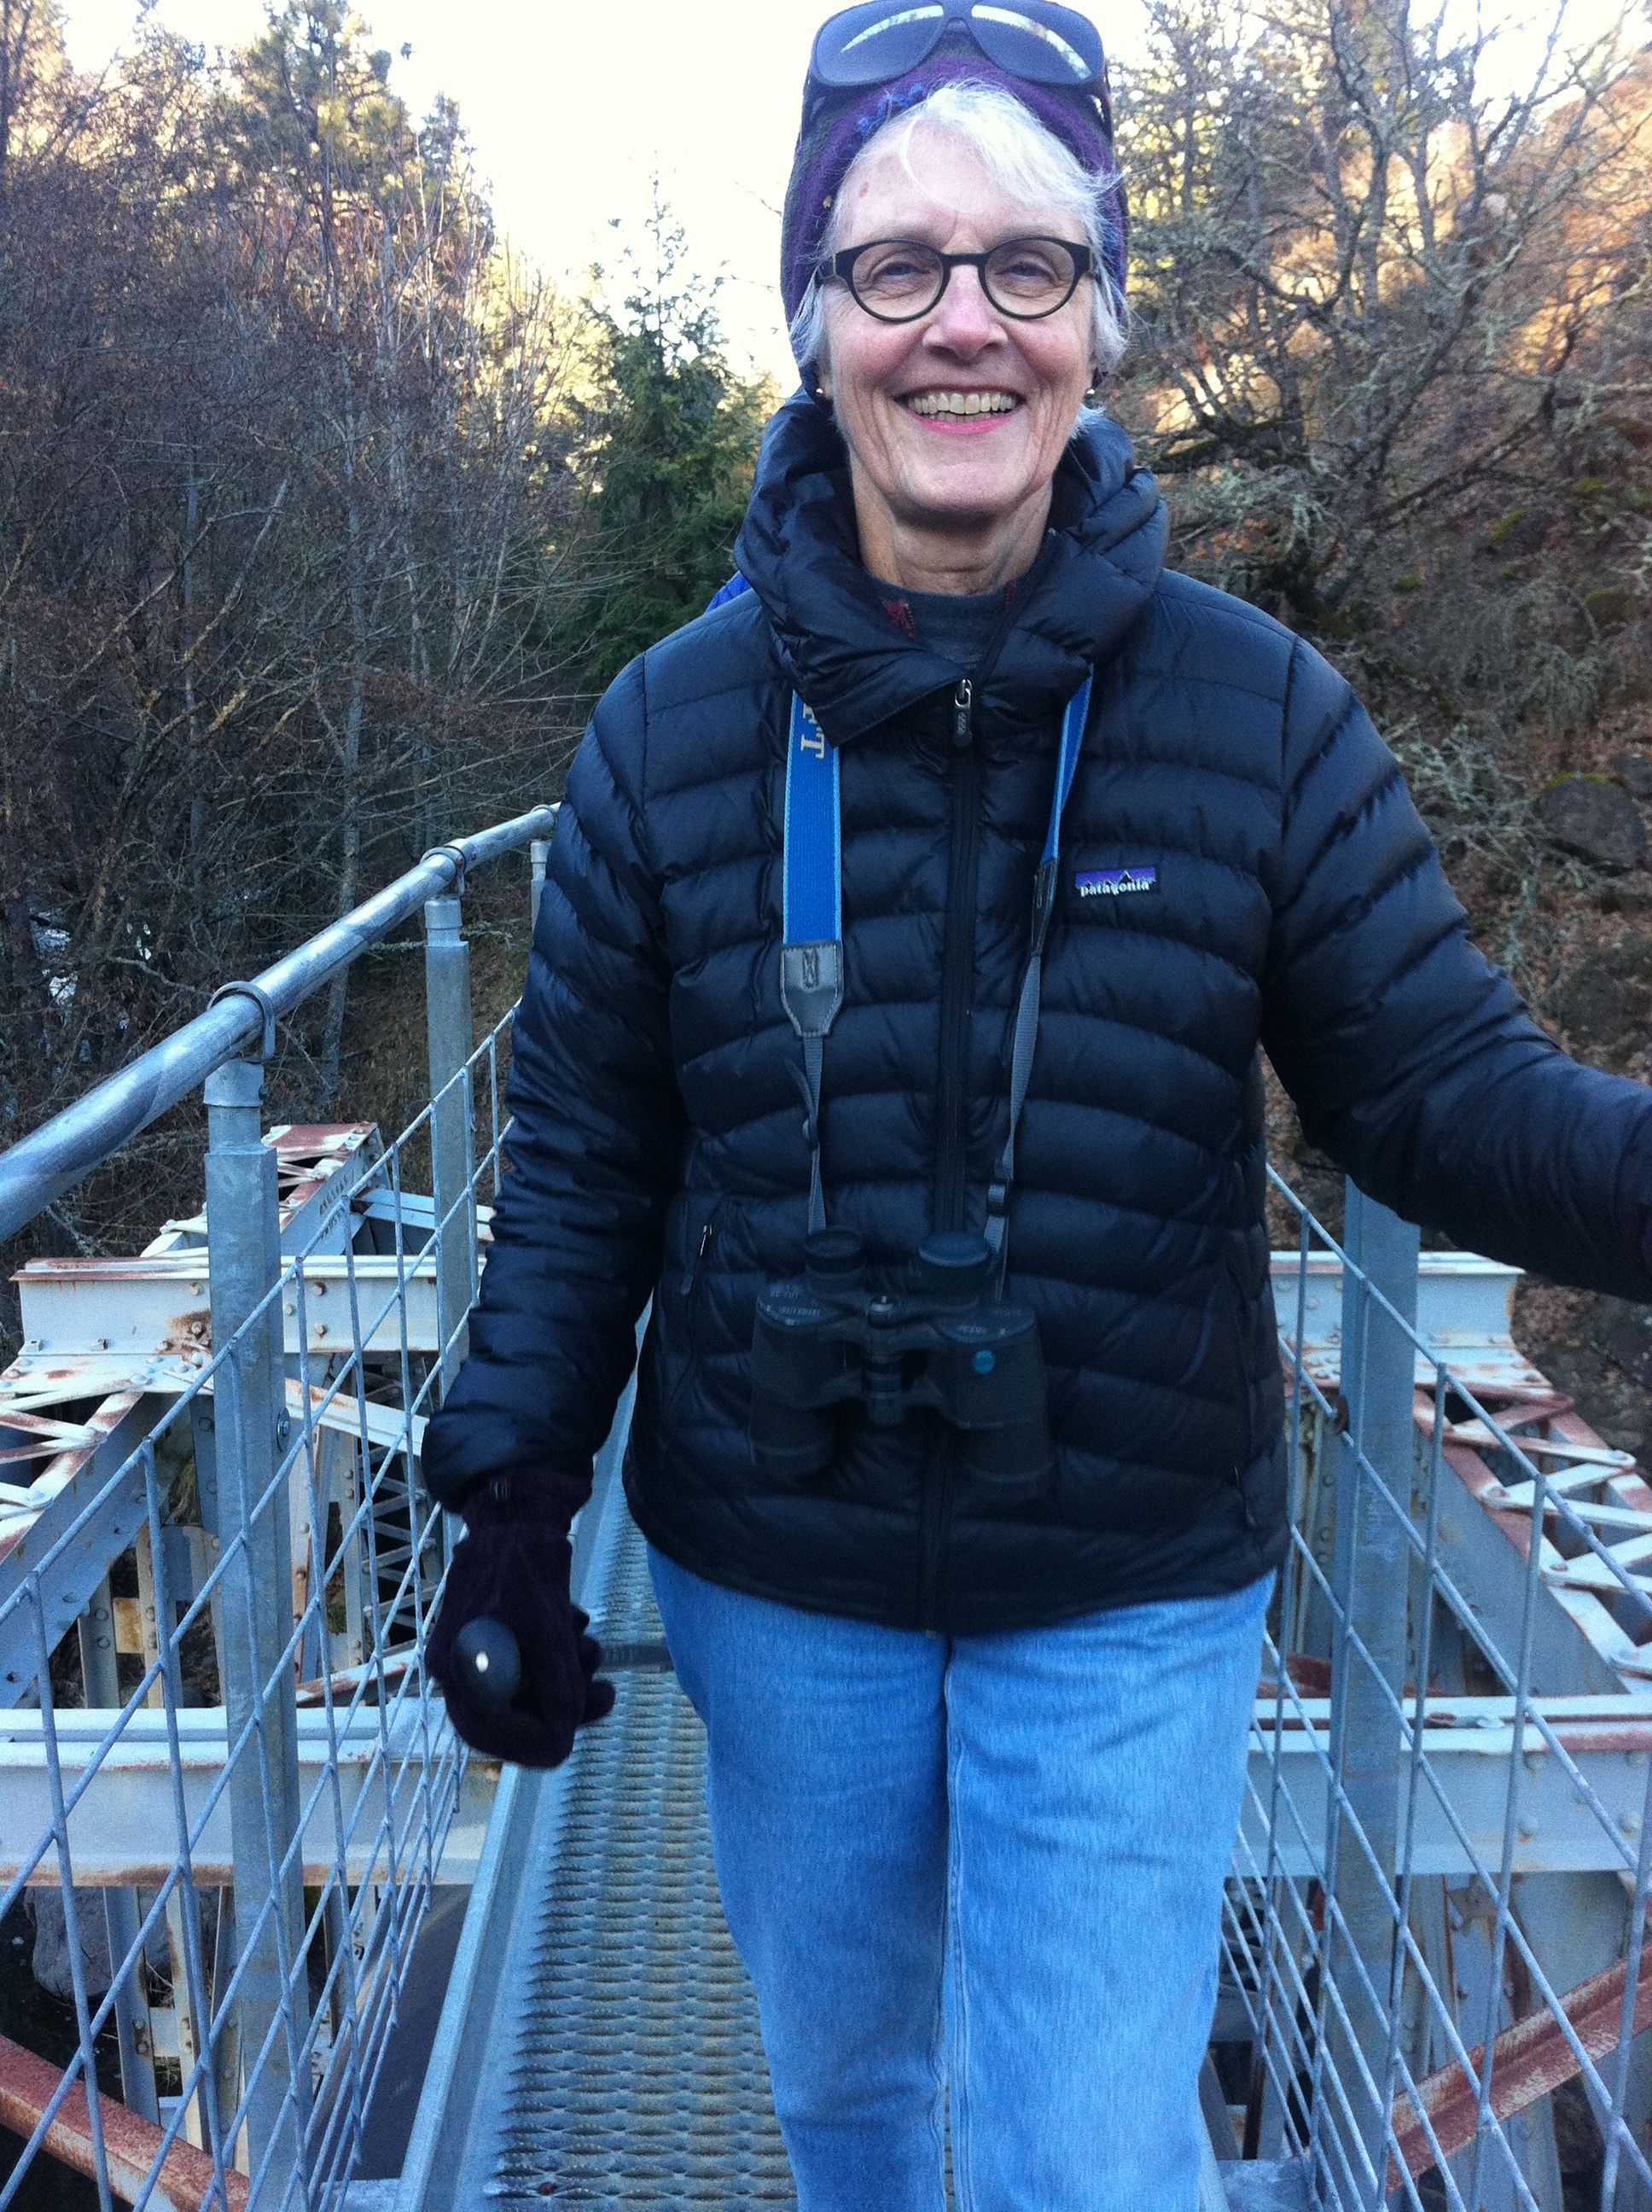
The Queen Mum.

Sir Froggy.

Sorcerer E the Amazing
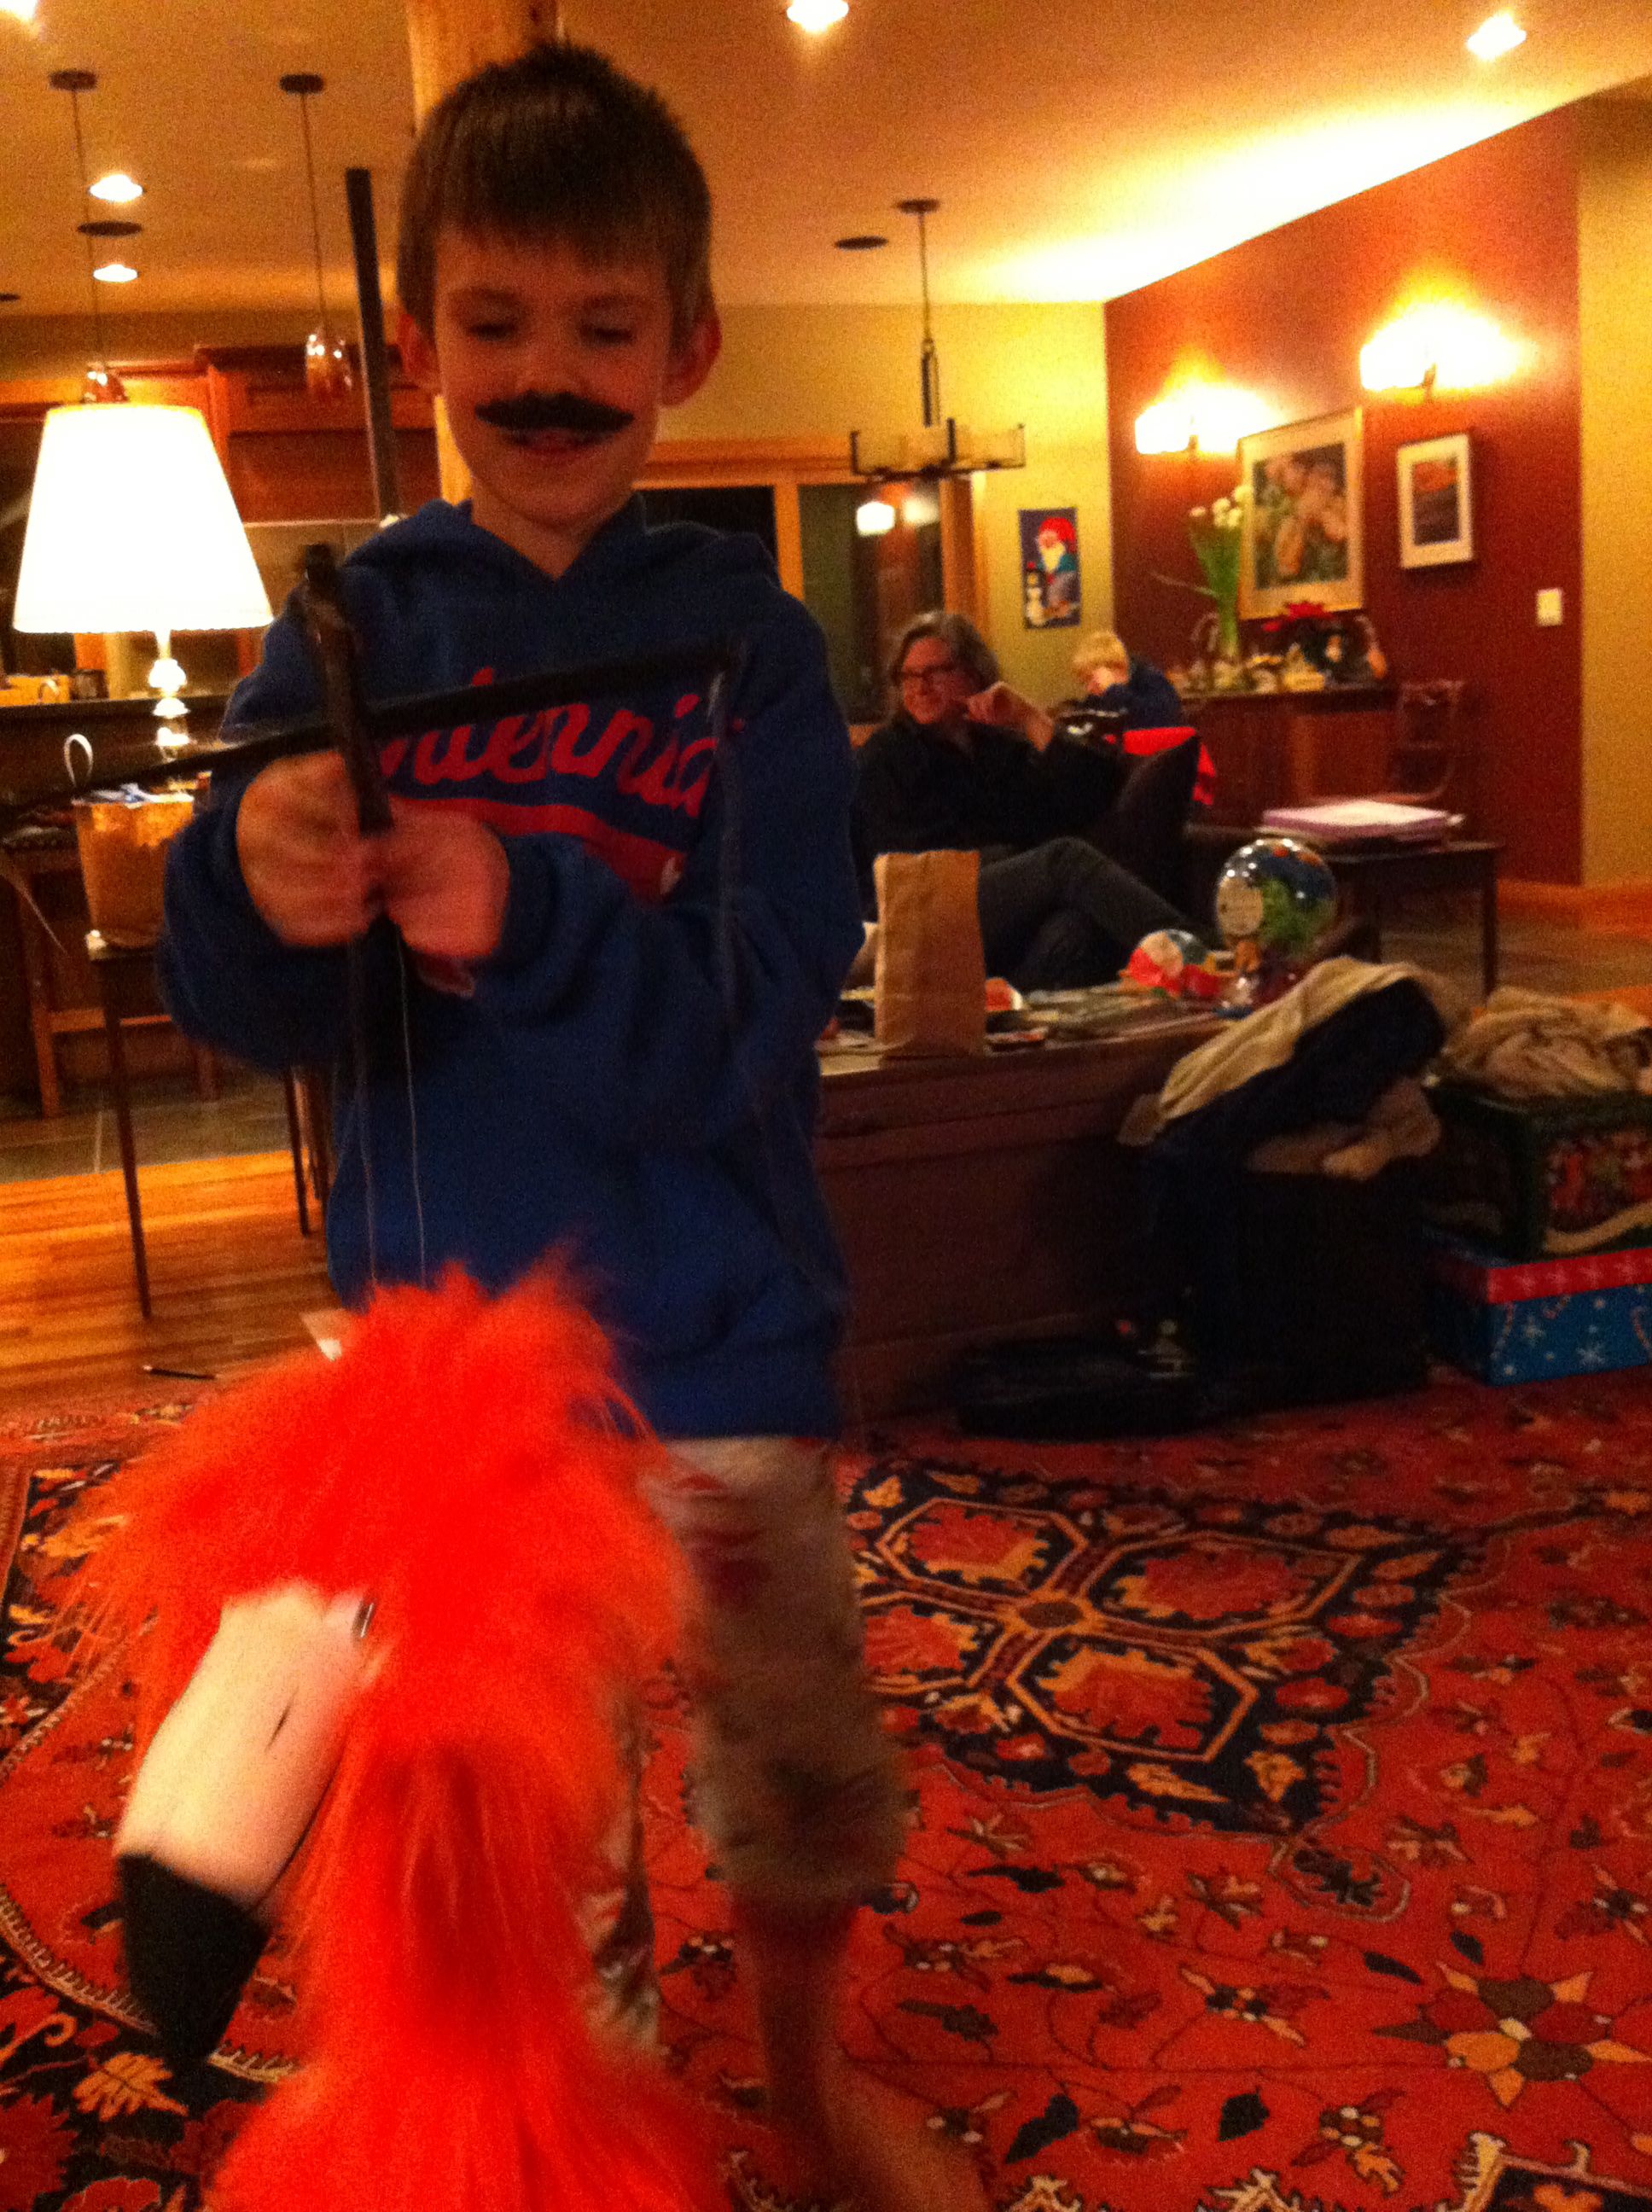
Mummer Stache and Mingo
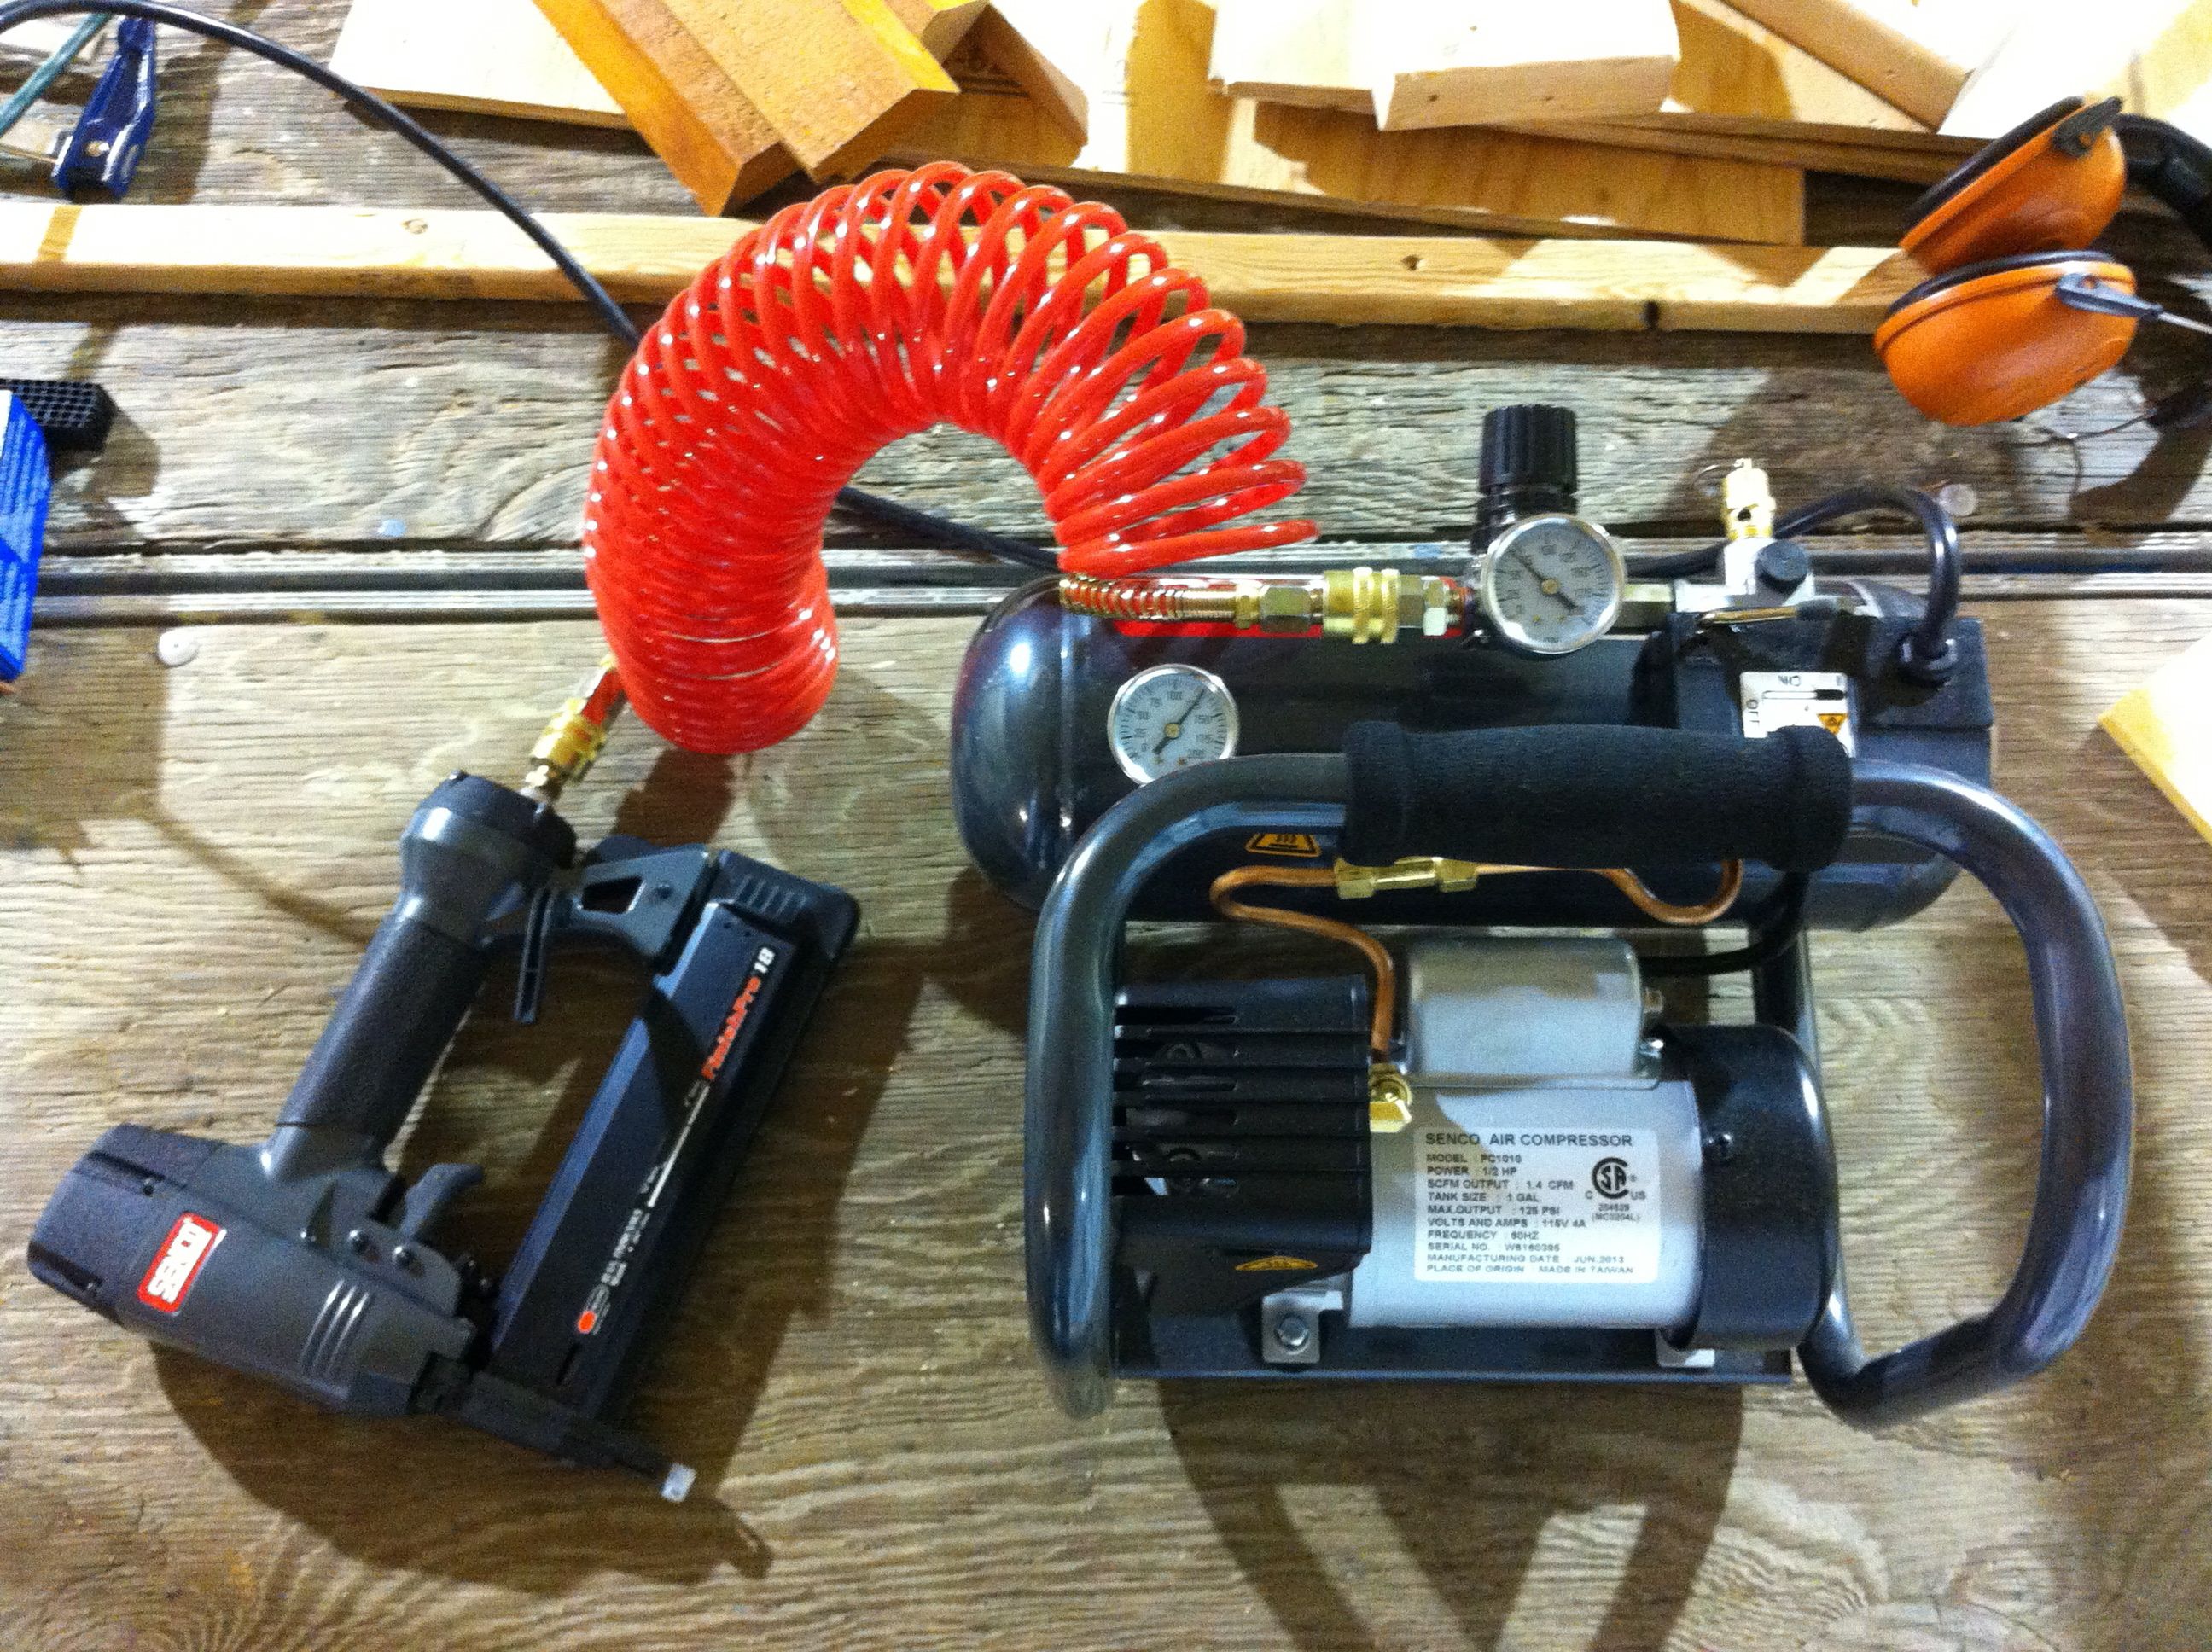
And toys for the elder folk: this nail gun and compressor have opened up a whole new world for me. It’s a breeze tacking things up until you can come back later and screw them in. Thank you, Santa 🙂
Because I just couldn’t get enough present wrapping…
I was back at it the next day, feeling the fascia breathing down my neck. Derin and Ben wanted to come back and take measurements for the metal roof once the fascia was up. I realized that if I put the fascia up before I had done the house wrap and closed in the eaves, I would have a devil of a time getting tools up in behind it. So I dove into these tasks. Fortunately, unlike my last solo stint, I had lots of help this time.
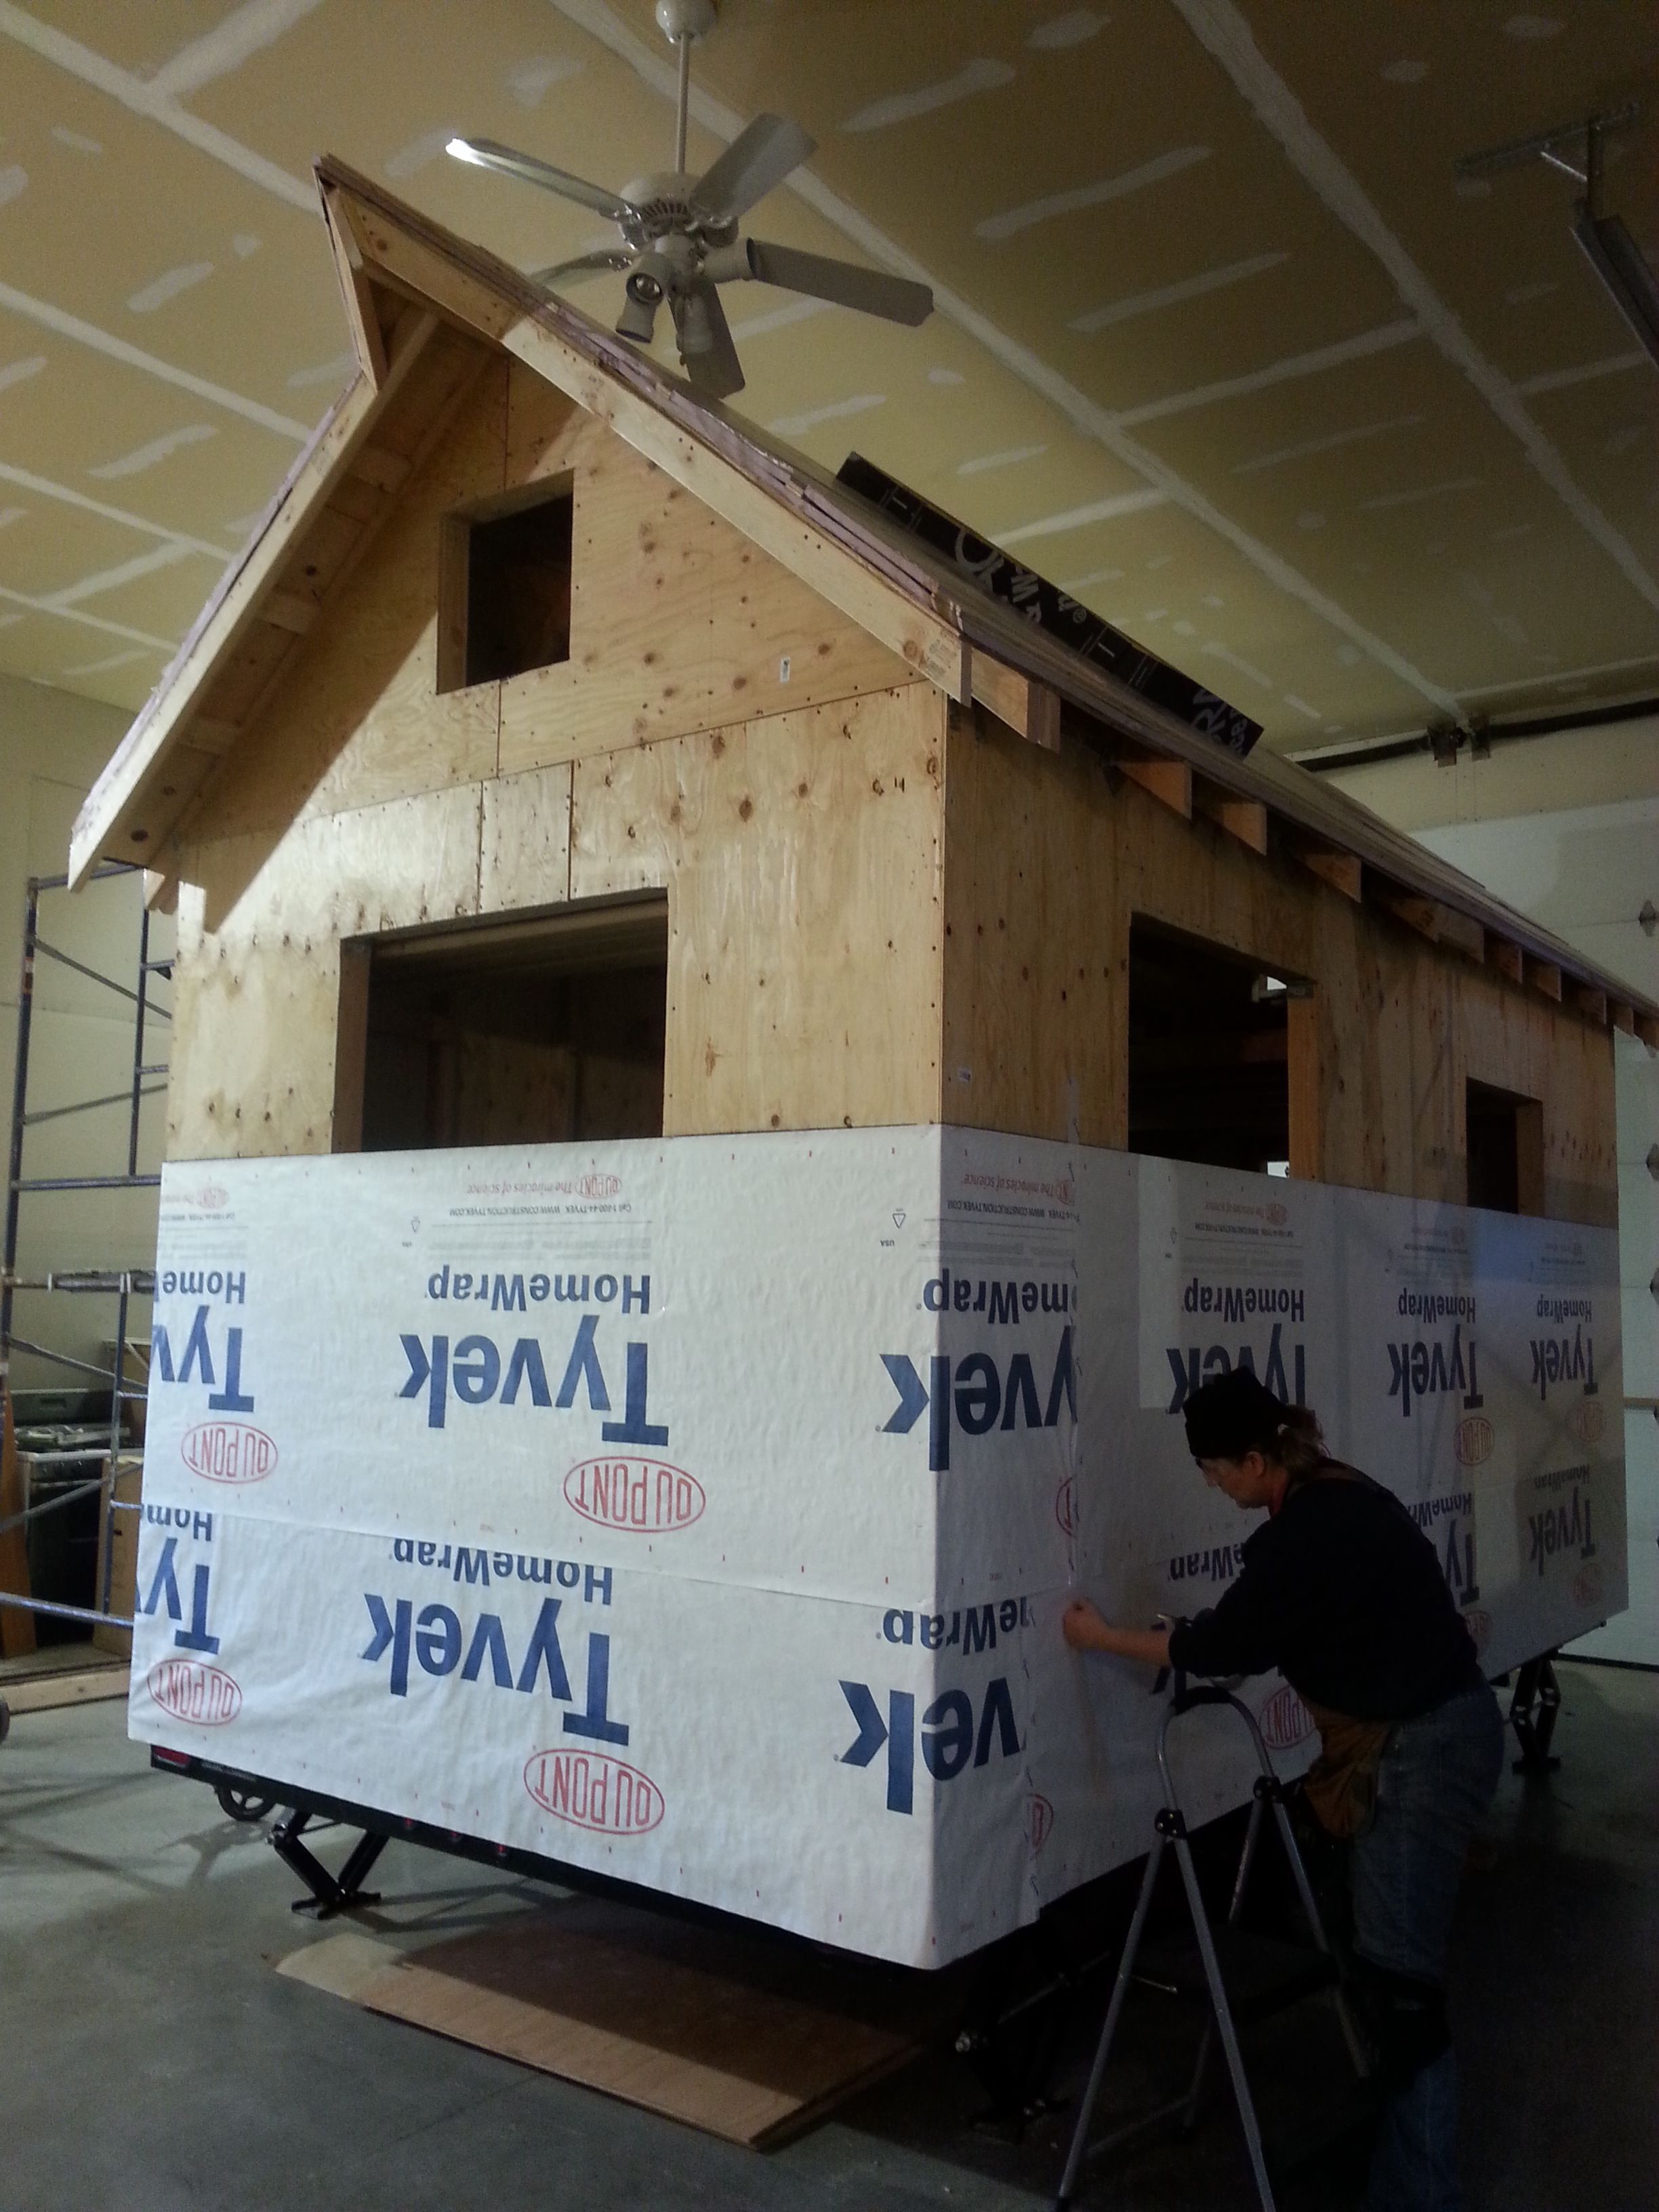
Kate the Castle Carpenter tapes down house wrap after help from her trusty familial apprentices. And yes, I do realize it’s upside down. This used to bug me when I saw it on other tiny house blogs, but I now realize it is a sign of a left-handed builder. We lefties tend to roll it out to the right and staple with our left hands.

For those of you unfamiliar with house wrap, it’s basically the same thing used in those hard-to-tear mailing envelopes. It’s a water-resistant barrier that supposedly allows any moisture on the inside to work its way out, but helps keep moisture from entering from the outside. It has its own special sticky tape. Here I used a small pry bar as a rounded tool to make sure it stuck flat and tight.
Um, the moment after you realize you’ve just wrapped the ladder inside the house…
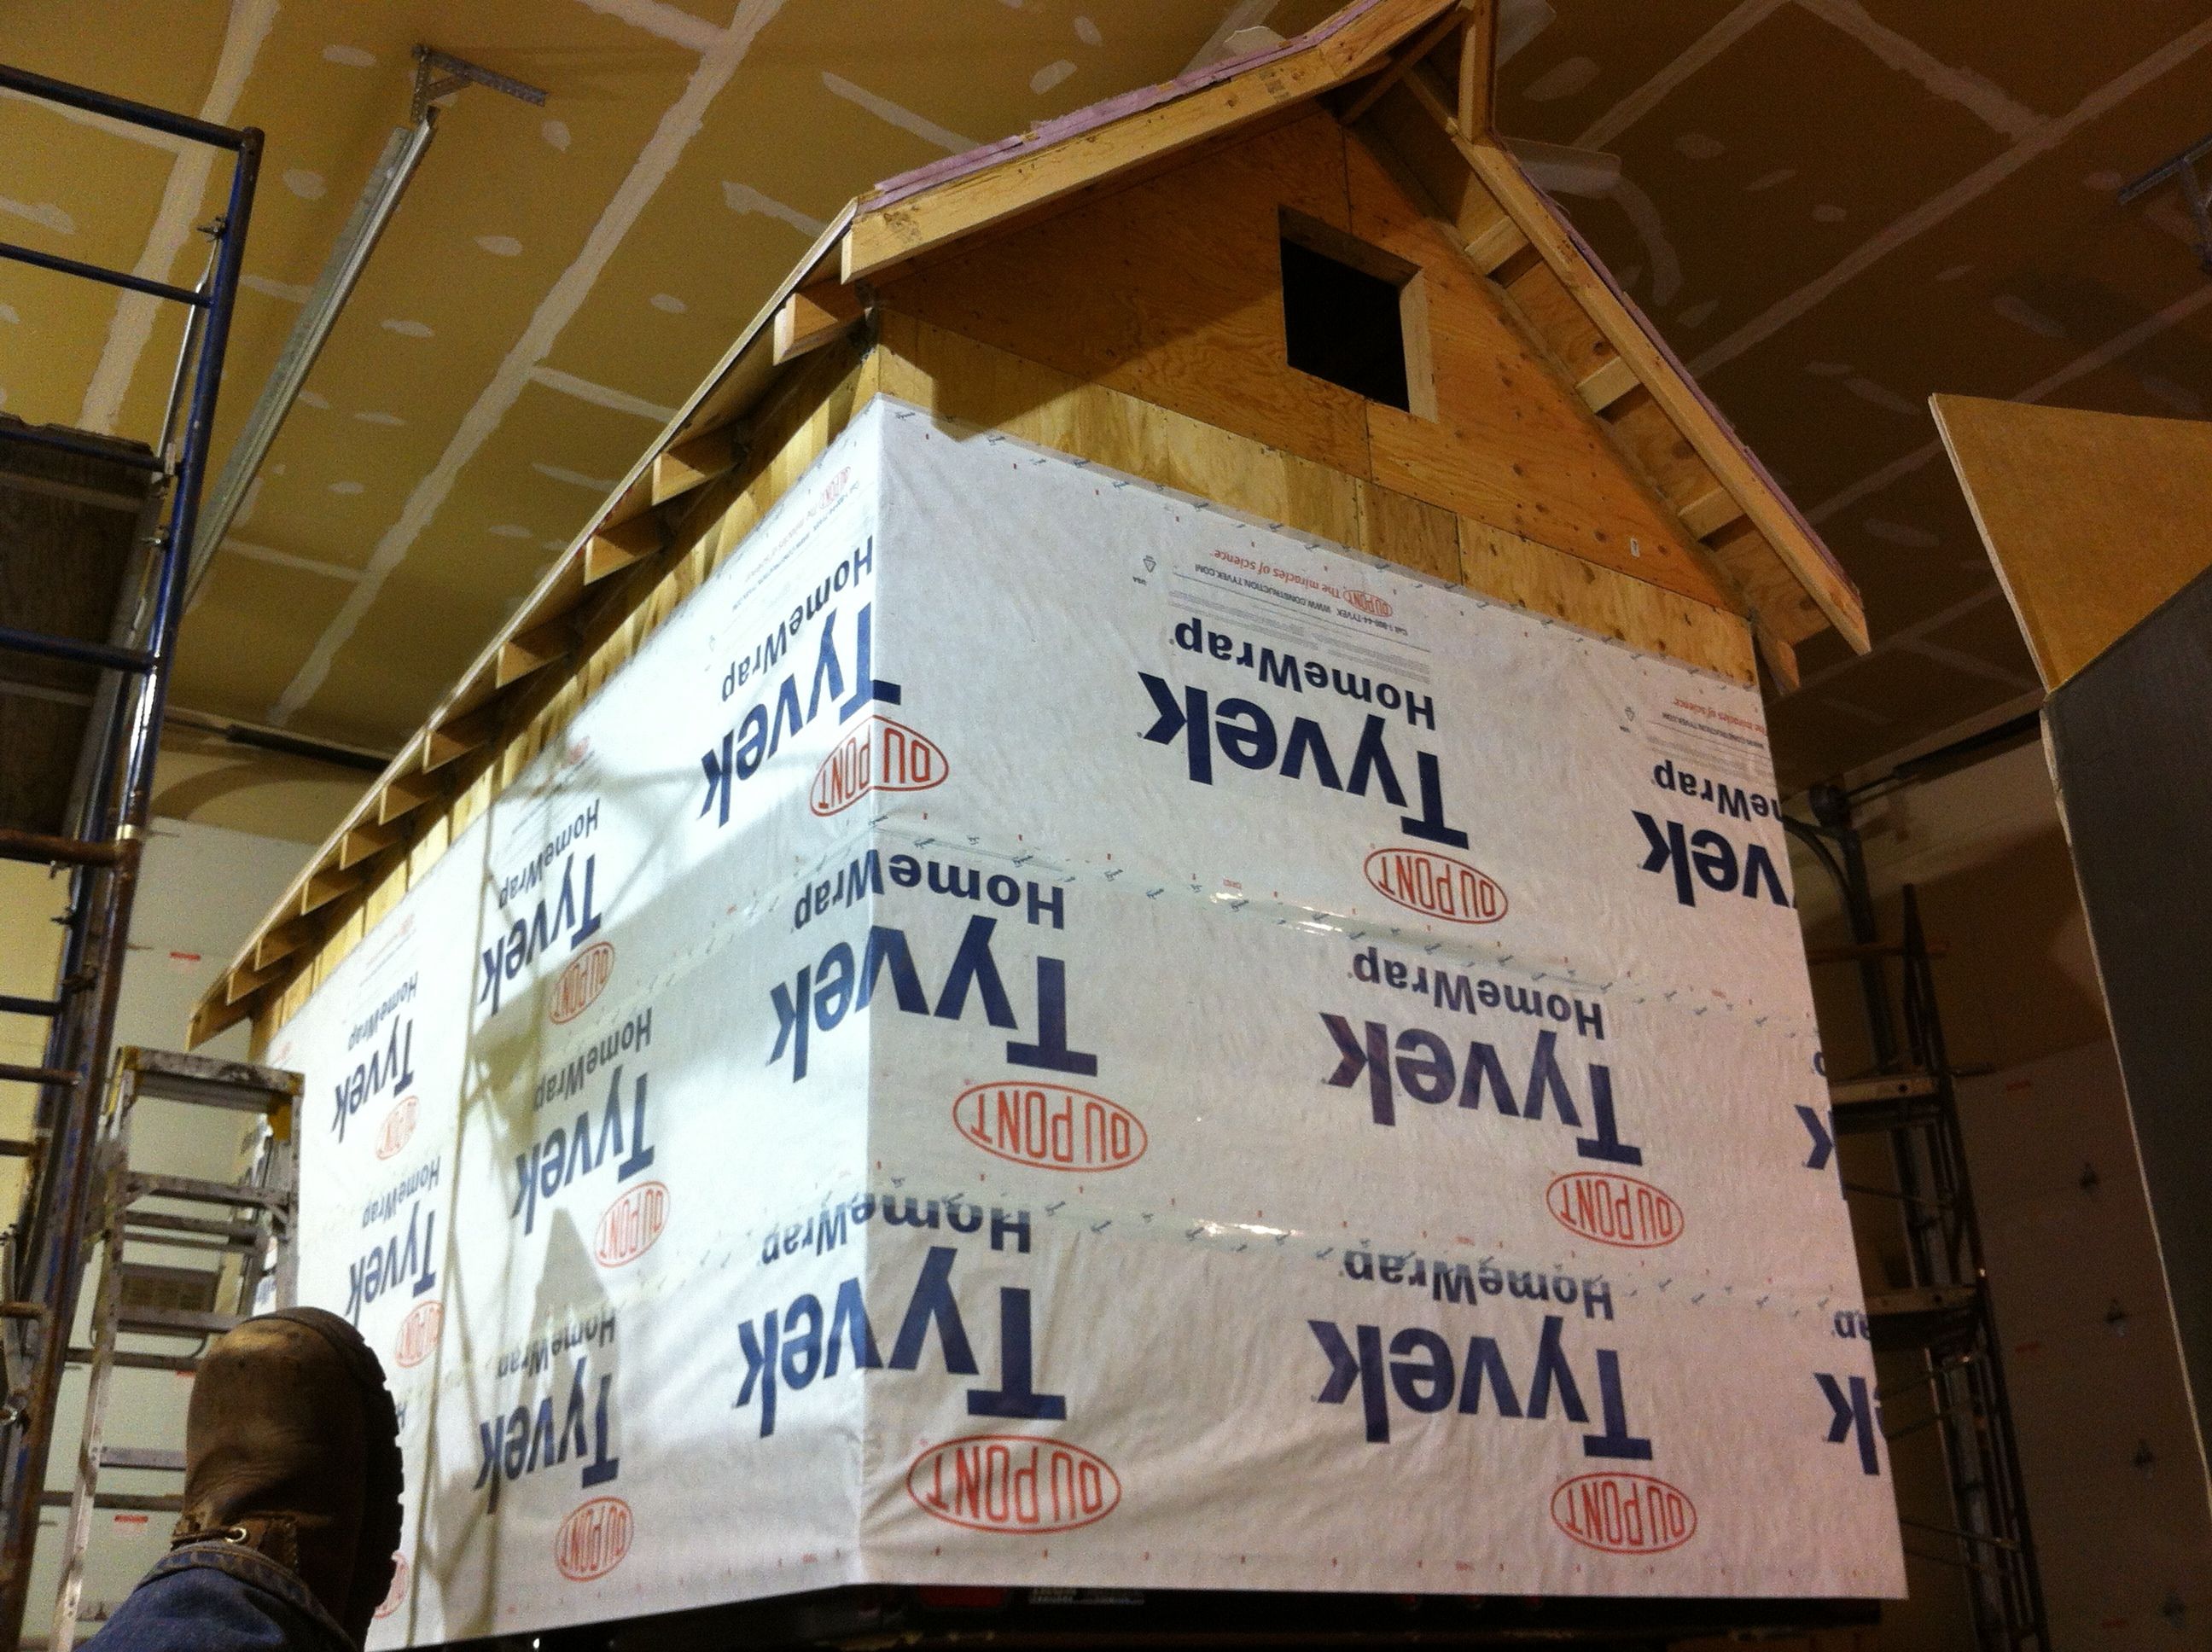
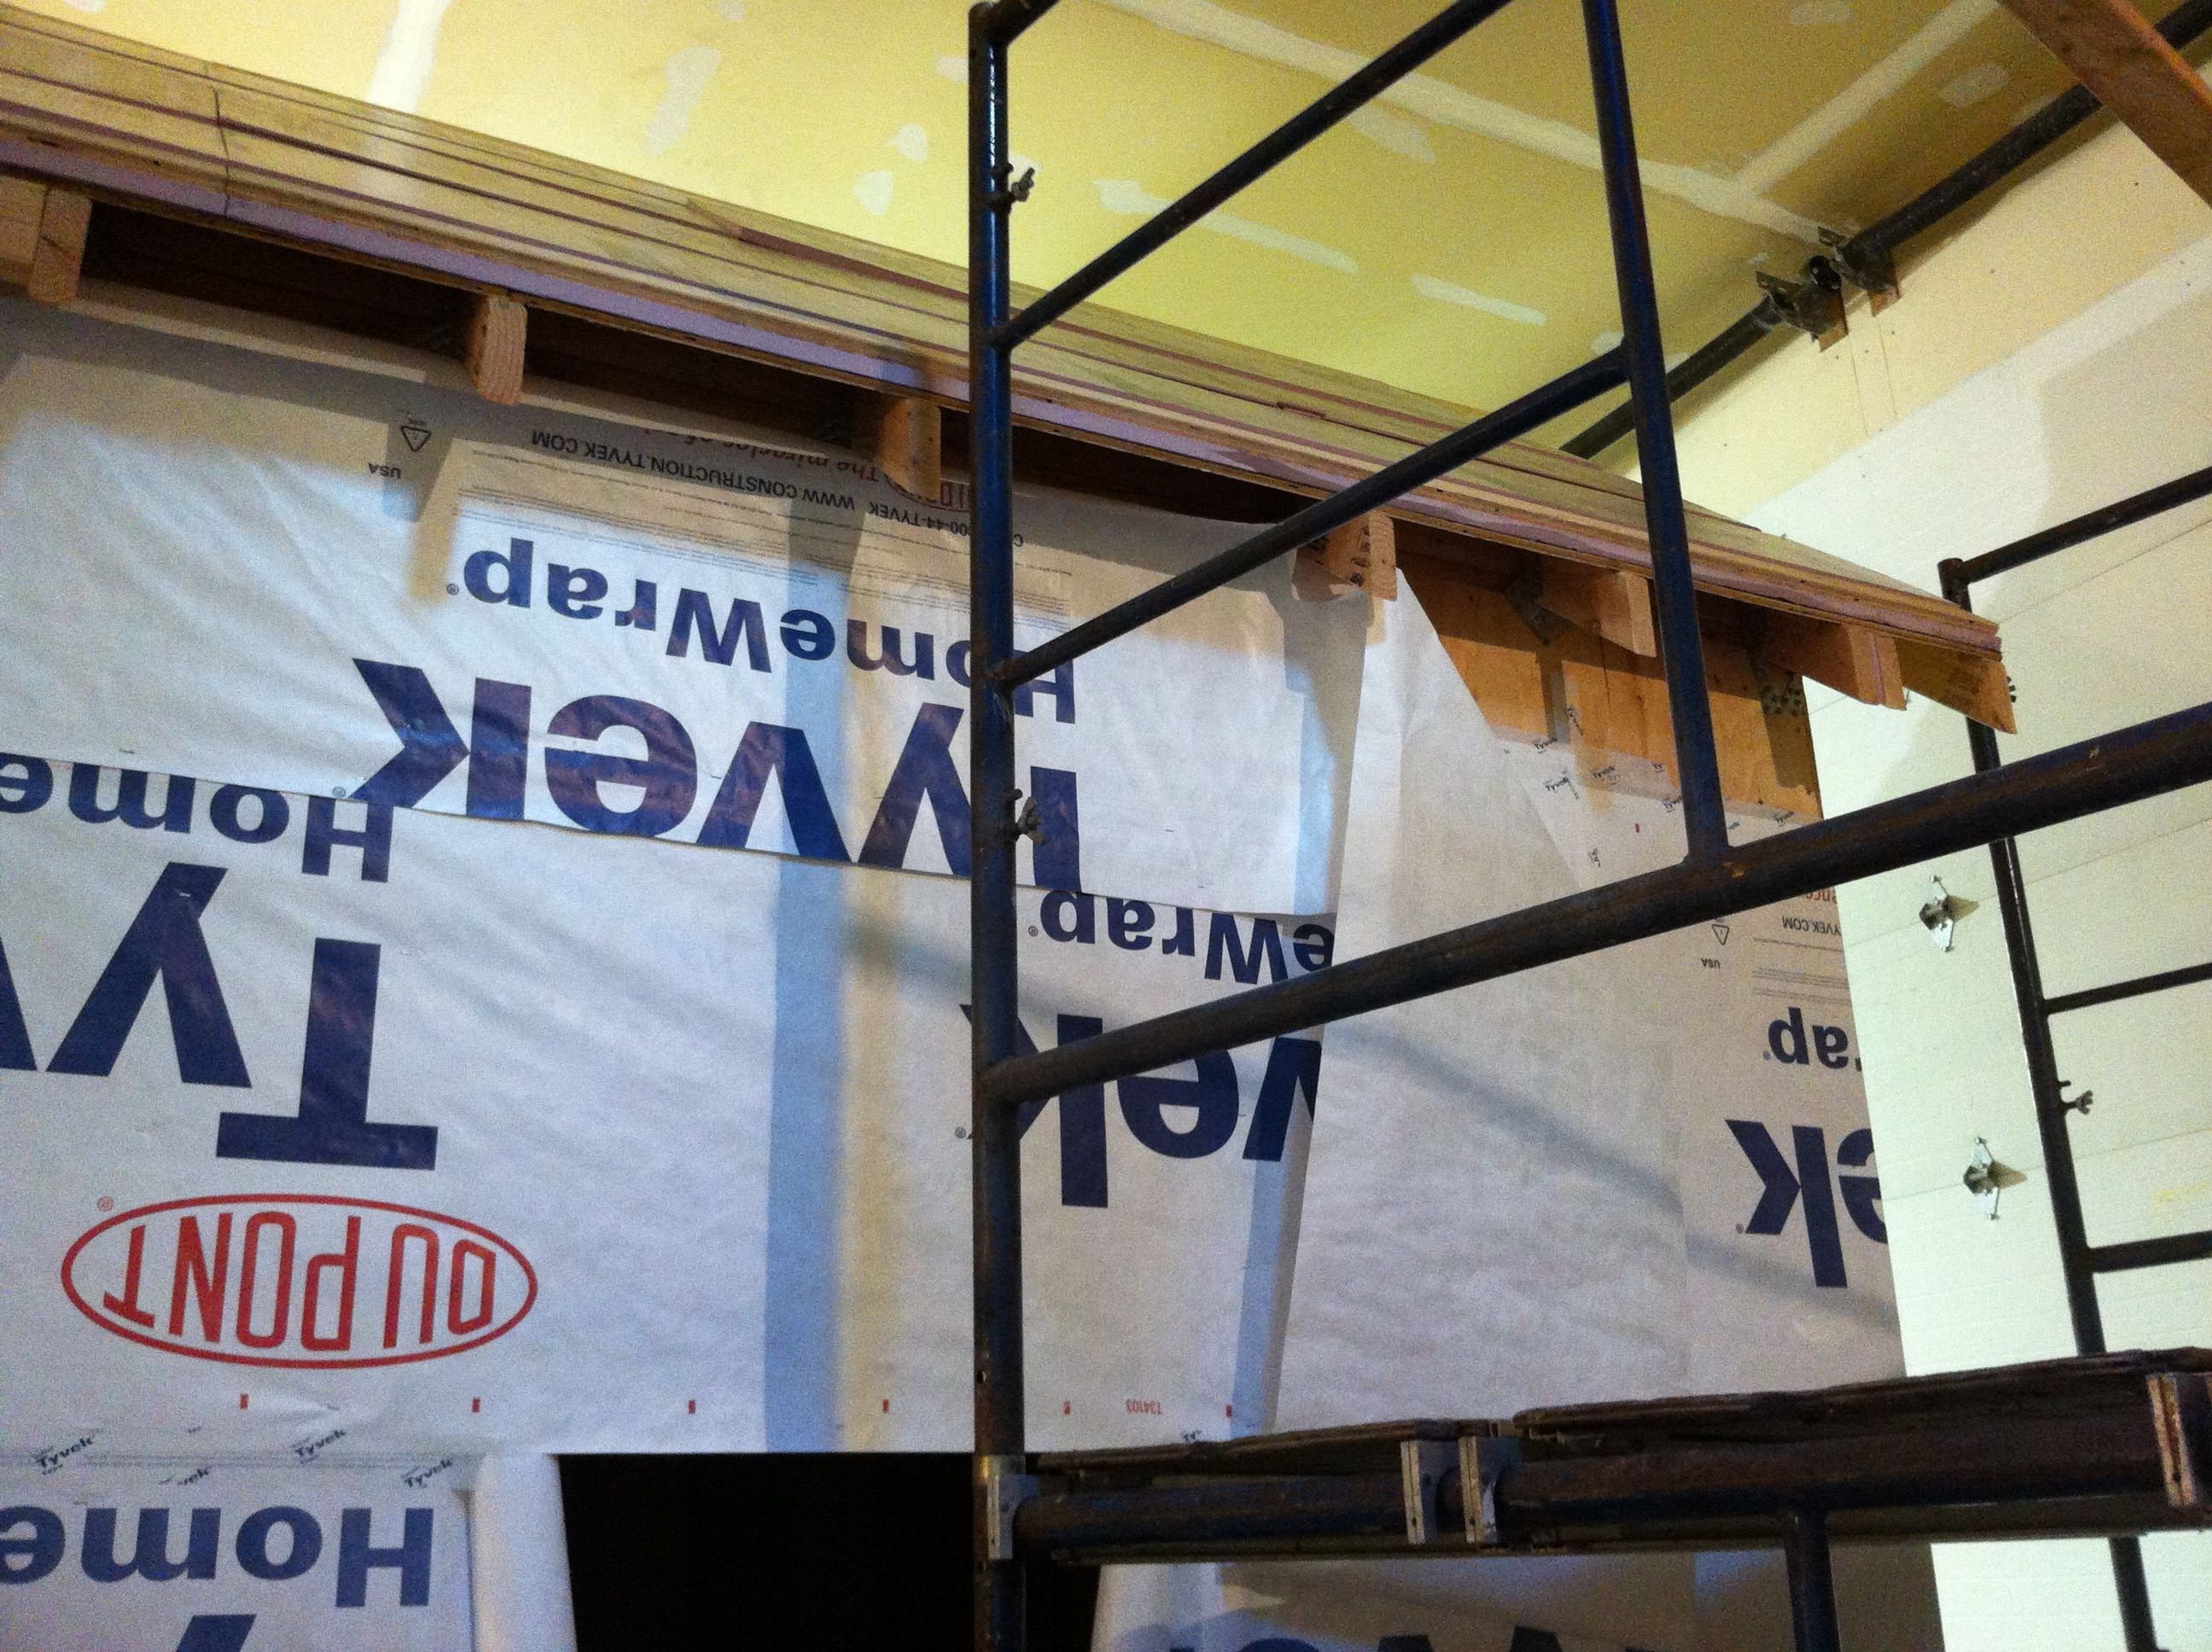
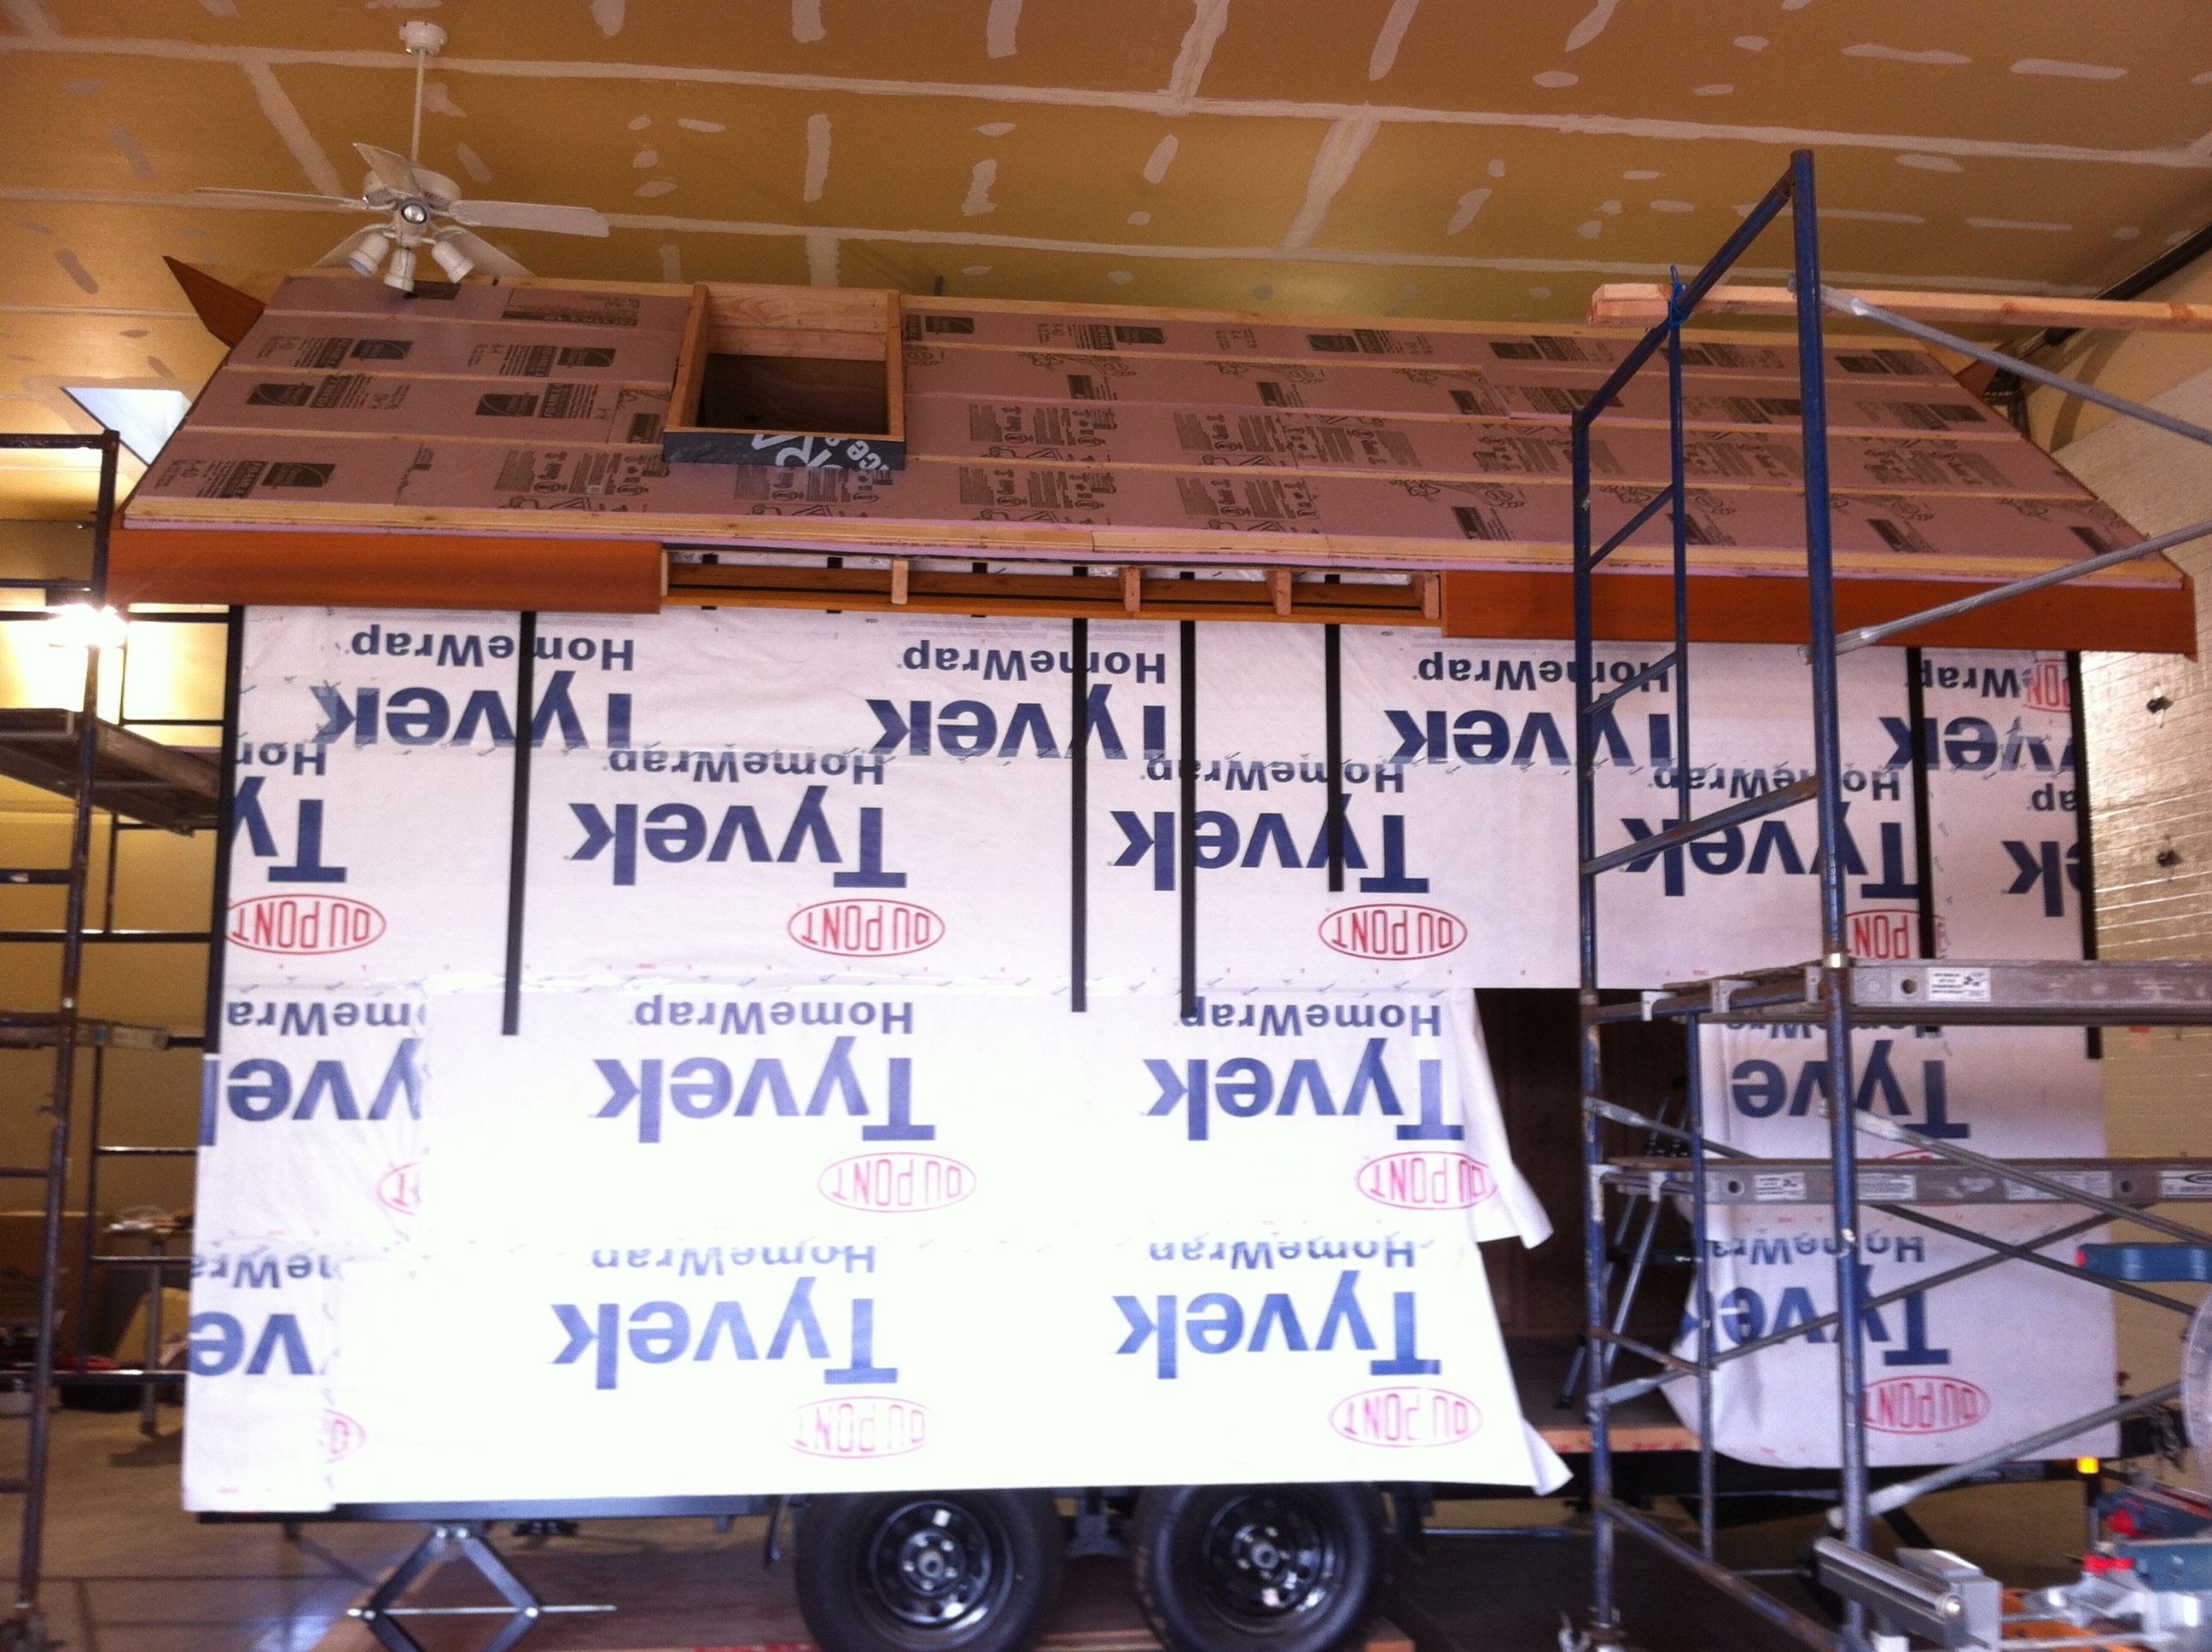
Looking up at a good day’s work. My family left the next day so I was on my own for the rest of the wrapping.

The interior – kind of cozy in a Dupont curtain kind of way.
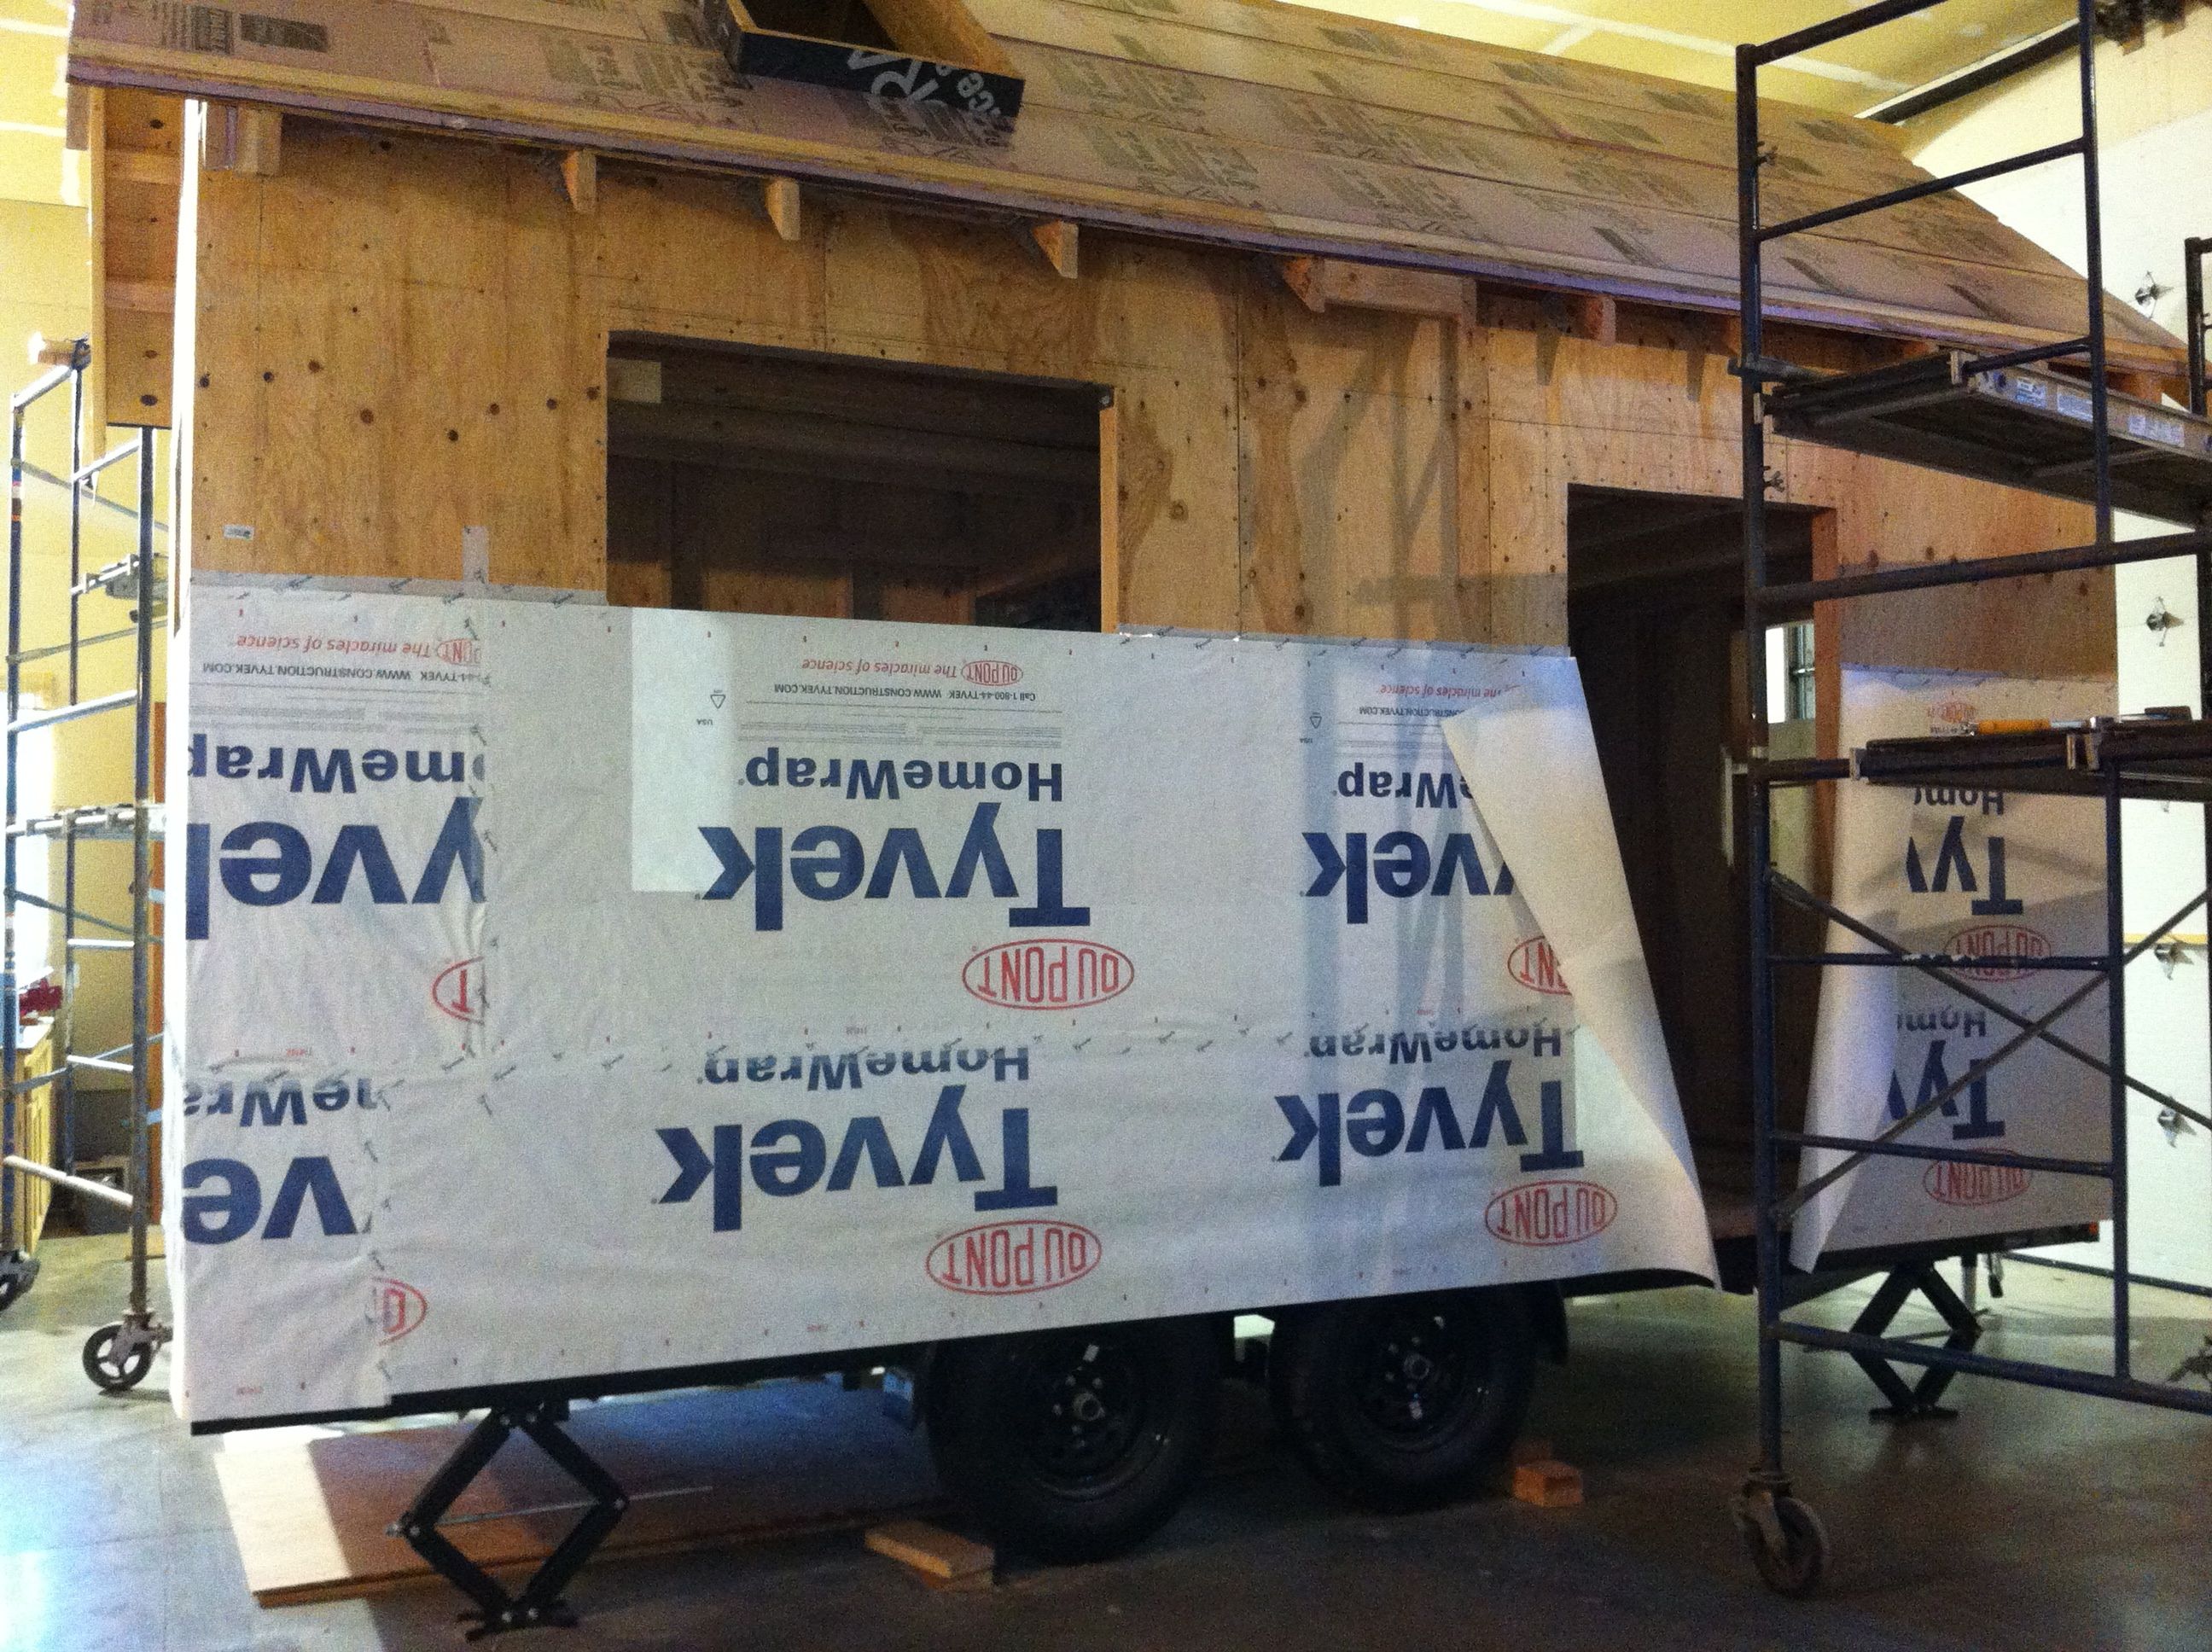
It was a little tricky trying to get the wrap up under the eaves, but I figured out how to do it by cutting it into a manageable width.
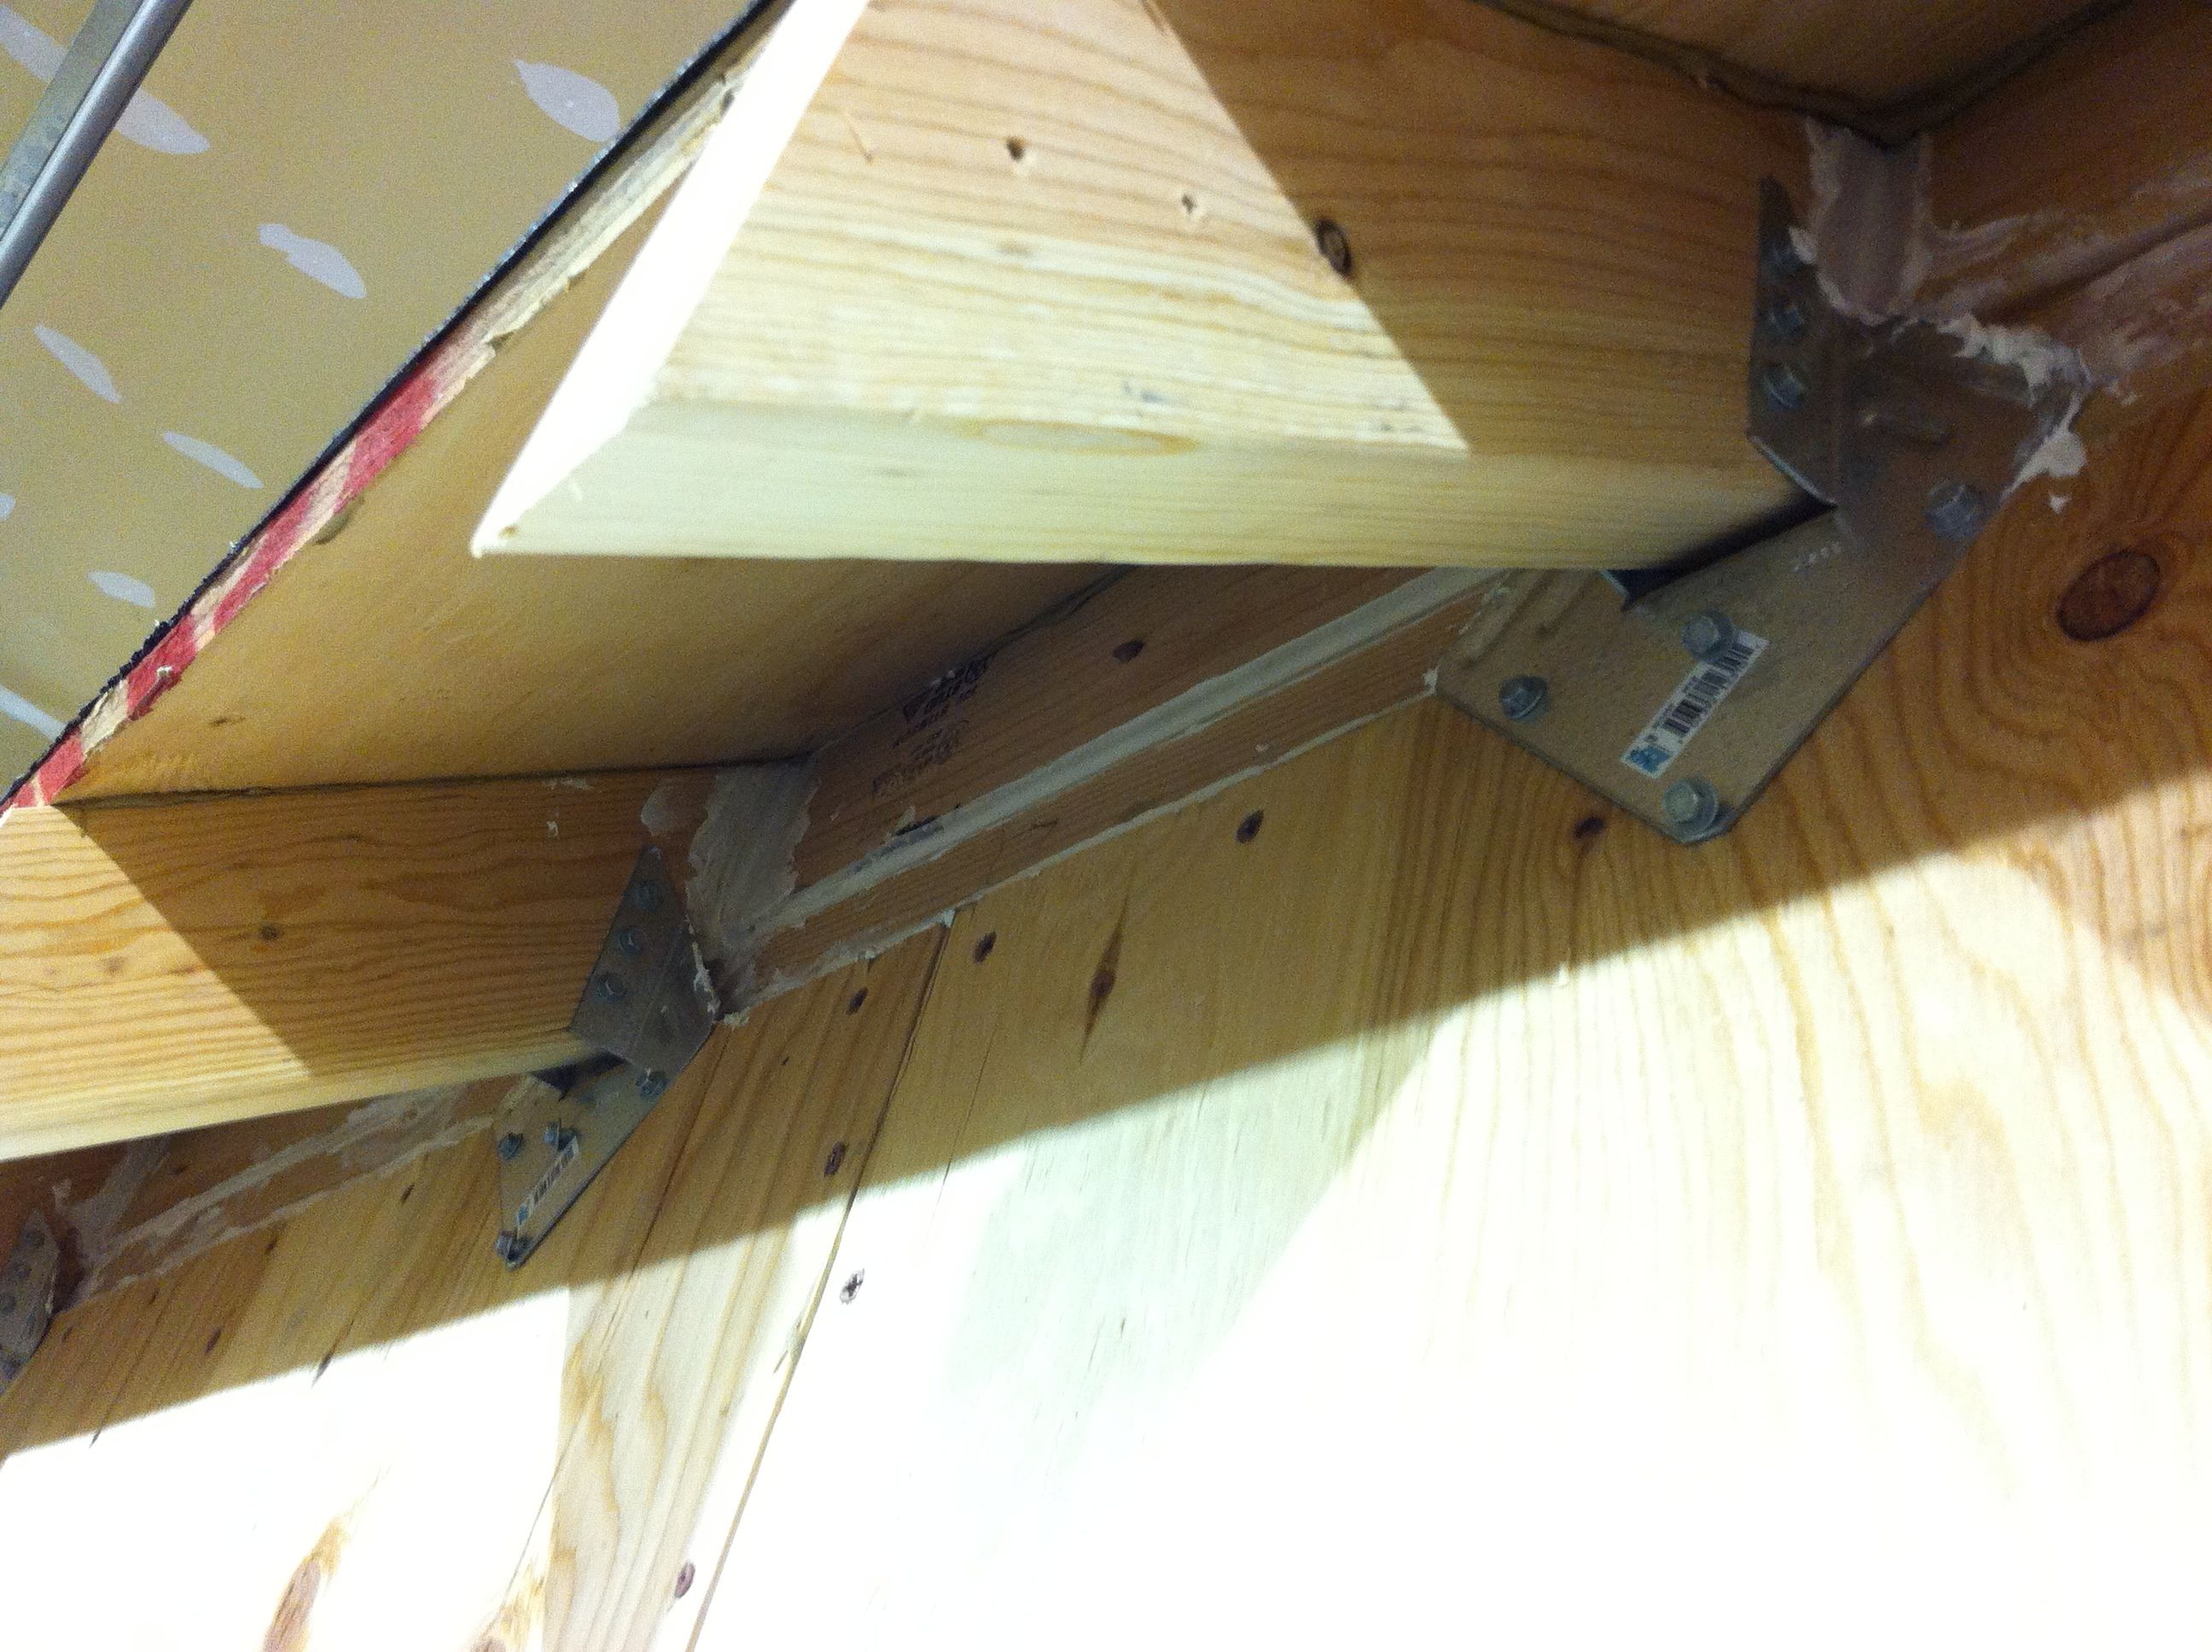
The pre-wrapped eaves. I had caulked where the two top plates come together since this seemed like a open invitation for cold air. I then cut the house wrap so that it went around each rafter tail and taped it so that it covered the seams for extra protection. Note the SDS screw heads I used in the hurricane ties. I used these because they were a shorter Simpson-approved fastener than the nails and a snap to install. However, they came back to haunt me as I tried to figure out how to build my rainscreen wall and place the top trim flat against the sheathing. More about this below.

I had been using a staple “bammer” for most of the wrap but that didn’t work for under the eaves so I got a staple gun. It got up there a little better but not as high as I had hoped.

I was a little worried that the tape wouldn’t hold up under the eaves over time and that the flaps would flop down and cover part of my eave venting system (and provide less protection at the top plate seams). I got some screws and washers to hold it up – it’s a kind of a belt-and-suspenders approach, probably overkill, but easy enough to do now and much harder later.

By now it was New Year’s Eve and it was a race but I was able to say farewell to the old year with a fully wrapped house. Mom said it looked like a big box of cheese, which had me stumped until I realized that the writing is somehow reminiscent of childhood days of eating Velveeta 🙂 I’m not real keen on the fact that my house looks like a giant billboard, but what can you do…

Toasting in the new year with lemon drops!
All about eaves
The eaves about broke my brain trying to figure out how to enclose them, whether or not to ventilate them, and if so, how to in such a tiny space, and how to integrate them with the rainscreen wall with my hurricane tie screws rearing their ugly little heads. I’ll go into more detail about the rainscreen wall after my next building stint so will breeze through it here.
Steffen, my master builder neighbor, completely saved the day as I continued to feel hounded by the fascia. He put in countless hours between football games helping me cut custom trim boards and the tongue-and-groove for the eaves, wielding the table saw like Michelangelo. I learned a lot about carpentry working with him.

Staining the custom cedar trim for the top of the rainscreen wall. Staining puts a serious kink in things when you’re working on a deadline. By now I only had a couple days to get the fascia up before I left so that Ben could take the measurements.
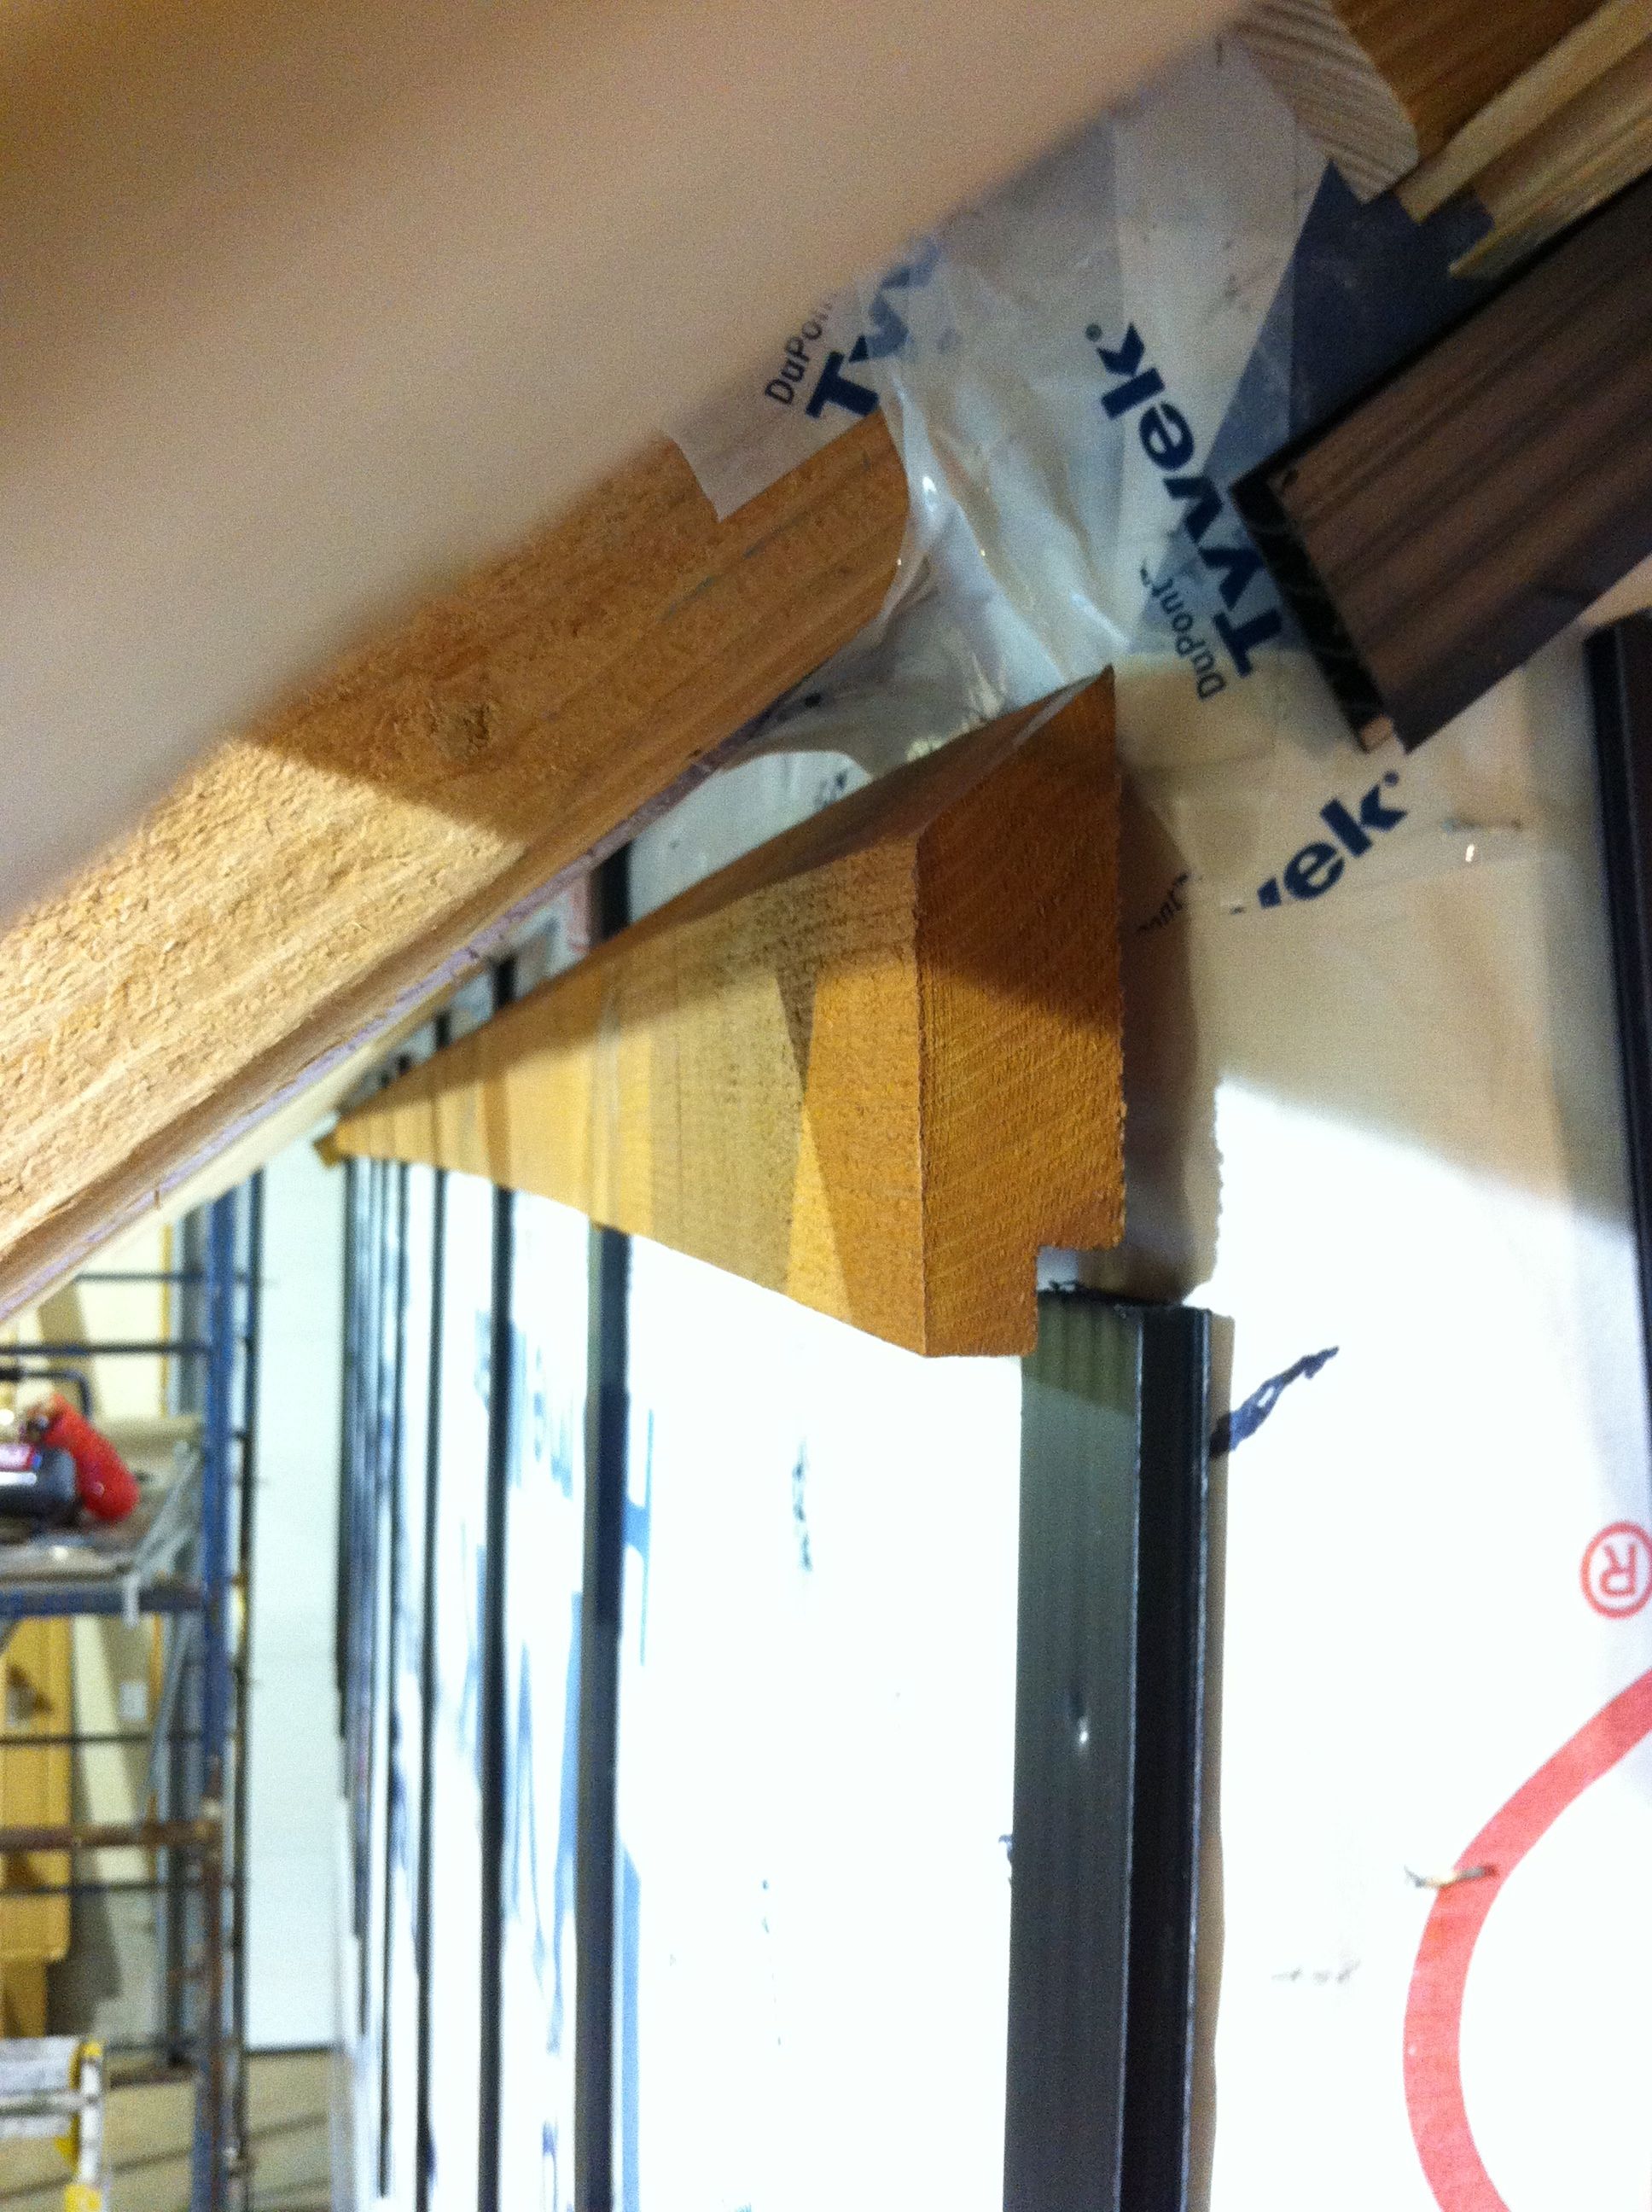
The custom trim installed. It was tricky to get the right placement so that there would be a good join with the tongue-and-groove in the eaves. I’m using Cor-A-Vent products for my rainscreen wall. These are sturdi-strips made of plastic so you don’t need to worry about them rotting or leaching surfactants that might degrade your house wrap. They were the right thickness to put up between my hurricane ties so that the trim would lie flat.

The first row of tongue-and-groove tucked in on top of the custom trim. I nailed another Cor-A-Vent product, PS-400 strips, to it to create a continuous vent.

Here you can see through the vent from below. It’s like plastic corrugated cardboard. It won’t keep bugs out of my eaves but at this point I was beyond caring and decided not to bother trying to put in some kind of screen.

The second piece of tongue-and-groove installed and cut to fit flush with the fascia boards.

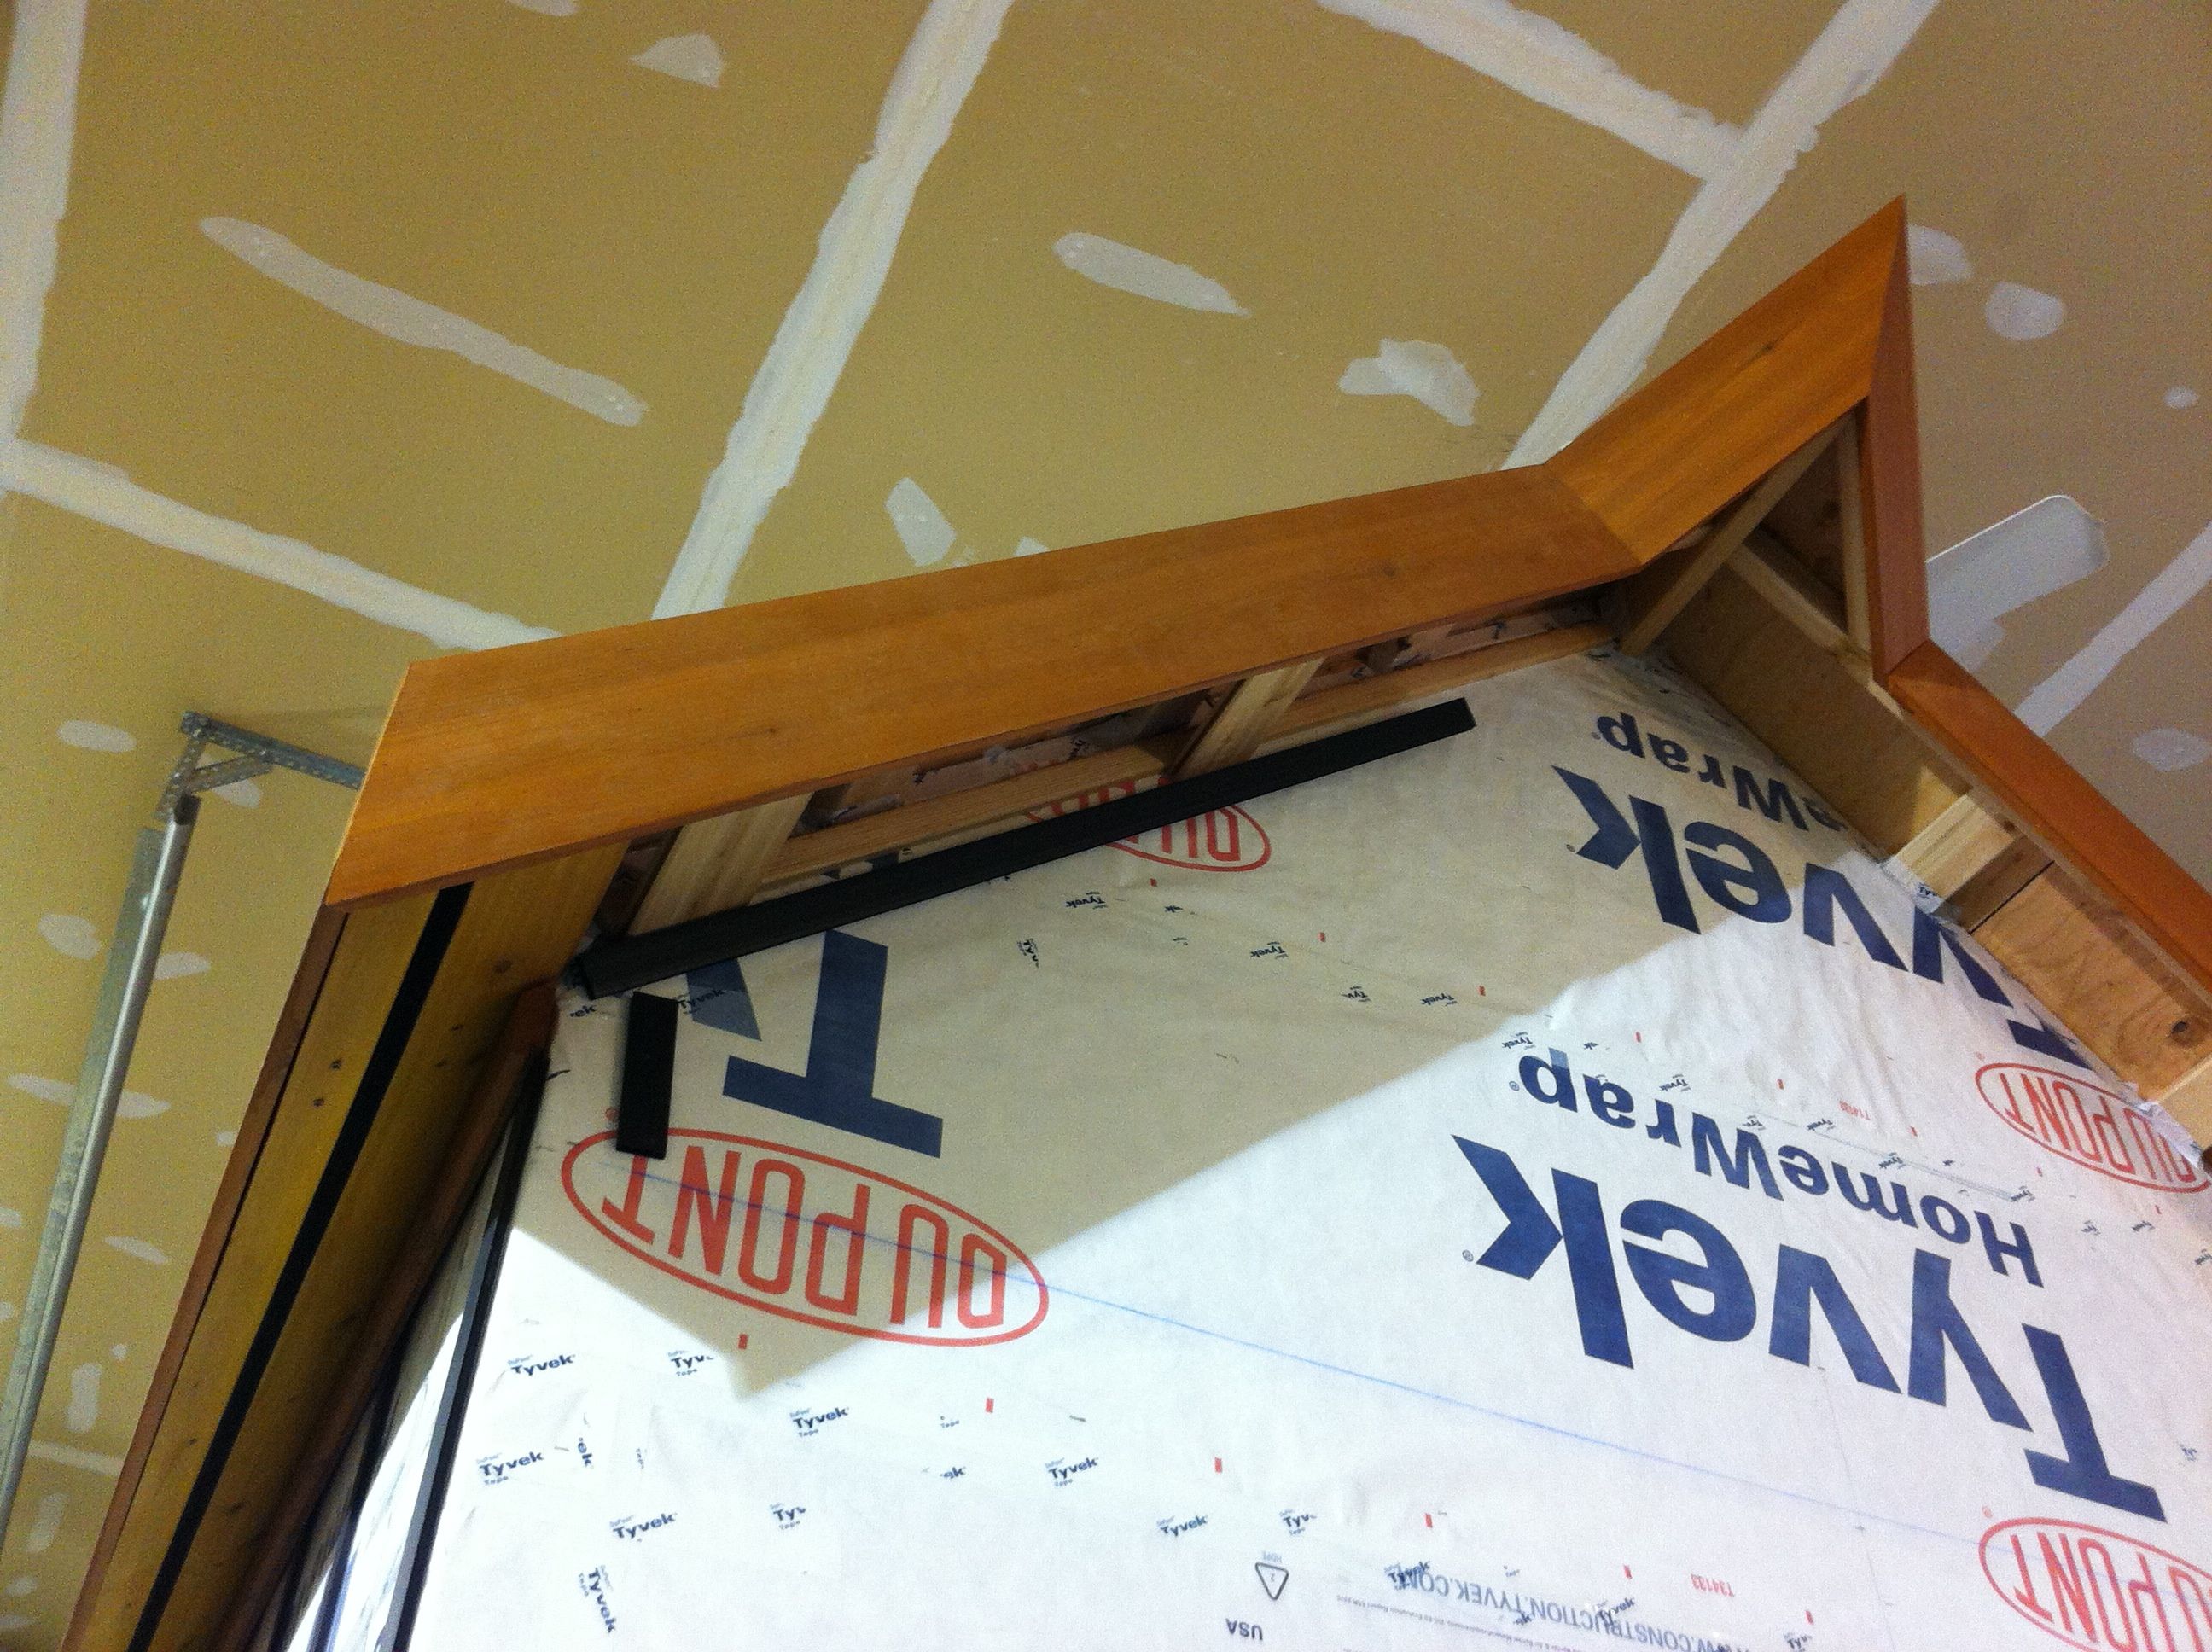
View of the eaves from below, before the fascia is installed. Thanks to Steffen, the join between the eaves and the trim looks great!!
Finally fascia (almost)
At last I was ready to begin putting up the fascia! Once again Sir Steffen saved the day:

He first mocked up the complex compound angles around the ears in pine and used these as templates to cut the cedar.

Steffen taught me lots of cool carpenter tricks like using bullnose pliers to pull out nails by gently grasping them and rolling them out.
He also taught me about devising guides and gauges to help with things like driving in screws at equal distances from an edge and the one above (temporarily attached to the underside of the eaves) to help us get the fascia at the right level.

His fancy chop saw got a workout with all of these mitered corners.

At long last, the fascia going up.
A work of art thanks to Steffen. We ended up running short on stained boards and the ones that are up will need to be screwed down (they are just held up by nails now) and finished, but I am so pleased with how it came out. And it’s complete enough to get the roof measurements (whew!)

It looks like a beautiful prow of a ship (Dad said I will have to be careful not to skewer birds as I go down the road). This will look a little different once the metal roof goes on with the flashing that will come part way down the fascia.

Speaking of skewers, a carpenter’s best friend. This building stint was particularly hard on my hands – I had a nightly ritual of pulling all the splinters out and soaking the brewing infections. Also, all of this working above my head meant screaming deltoids most of the time but, hey, I can now hold a plank pose much longer than I could before 🙂
A near tragic toast and a new year’s toast
So I almost burned down my house. I’m still a little shaky thinking about it. I had been really careful not to turn on the ceiling light once the foam went on since I knew how hot it got, having burned myself previously. Although I don’t remember doing it, I must have flipped it on at some point. It wasn’t until the last night of building that Steffen discovered a hole the size of a tennis ball beneath the light. Burned right through the first layer of foam and into the second. Fortunately it stopped before it hit the ice and water shield and all can be easily repaired, but it made me realize how quickly things can change.

The light has now been disconnected so there’s no chance of this happening again.

Burned clear through the first layer.
I am keenly aware of the irony of not wanting to use rigid foam board inside my house because it so full of toxic fire retardants to combat the petrochemicals used in its manufacture – and here I am extremely grateful for those very same fire retardants for not letting my house go up like a flaming torch. There’s some kind of twisted humor in all this. So I won’t cry about nearly-spilled mead but will take this lesson from my house:
What better way to start off the new year than dancing around in your slightly-singed waterproof undergarments and half-done up cedar boa, supported by your friends and singing bawdy songs?

Neil Gaiman said it best. Best wishes to you from Naj Haus!

Reblogged this on Small & Tiny Home Ideas and commented:
Sweet. 🙂
Thanks!
I love your project! My name is Whitney, I am completing a Certificate at Yestermorrow Design Build school in Warren, VT. For my project I am researching the availability of homeowners insurance for tiny homes. If you own a tiny home please take a few moments to fill out this survey. Thank you for your time! https://www.surveymonkey.com/s/DXXW3X3
Hi Whitney – thanks for your interest. I filled out your survey. Good luck with the project and look forward to hearing about the results!